
Add a chatbot widget to your website
Last updated: 27 Mar 2024
Your chatbot widget lives in the bottom right of your website. It's a familiar little bubble web visitors can click on to start a conversation.
Implementing your chatbot widget is incredibly simple.
Step 1: Activate the Converse channel
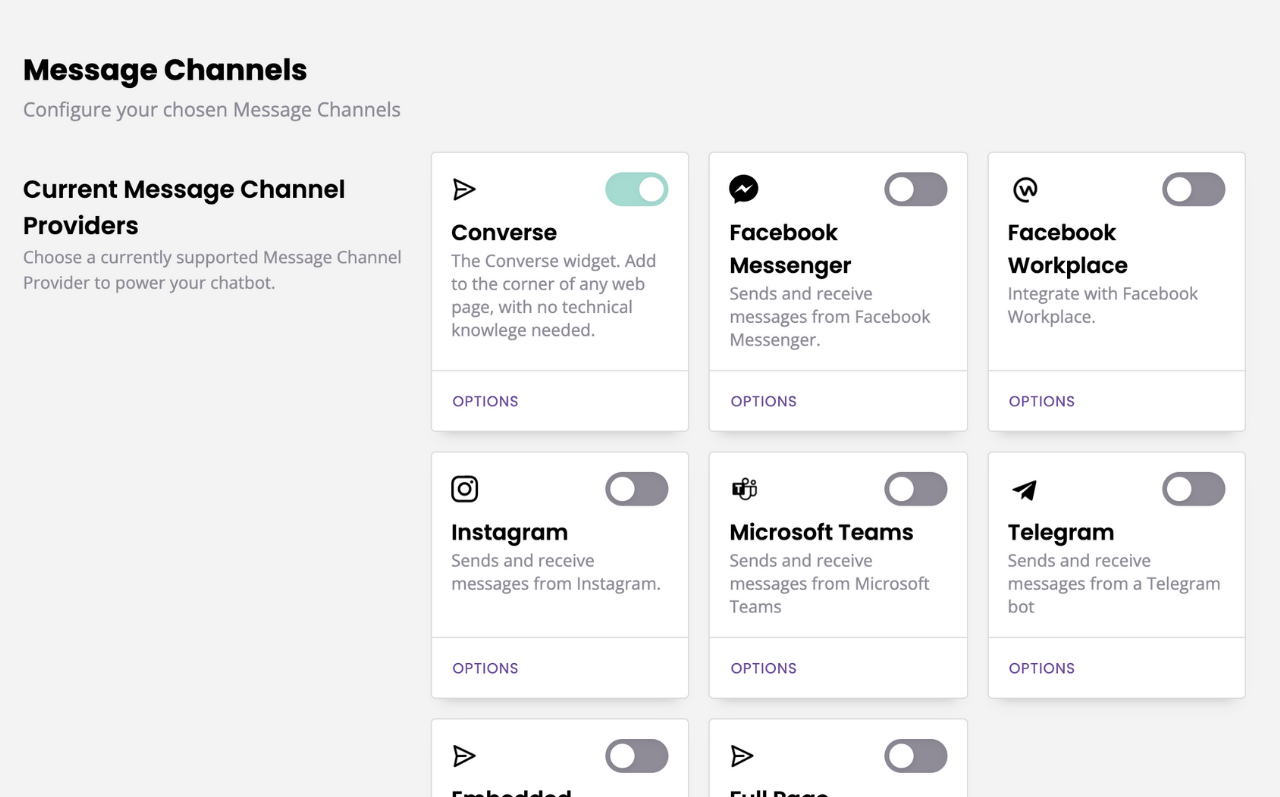
Go to Engage → Channels
Ensure the Converse card is active. You can tell a channel is active by its green tick.
Step 2: Find your widget's code snippet
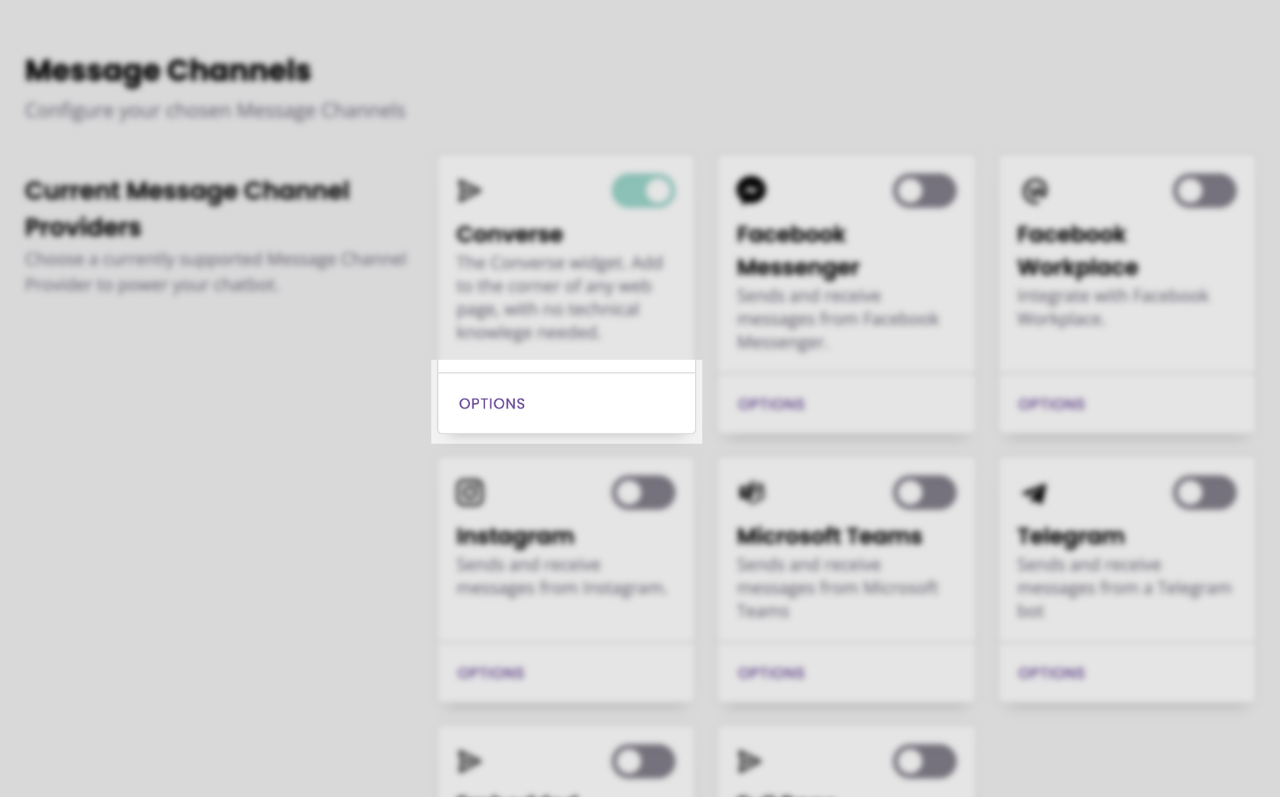
From the Channels page, click on the Converse's Options button.
At the top of that page, you will find your chatbot widget's code snippet.
Copy the entire snippet into your clipboard.
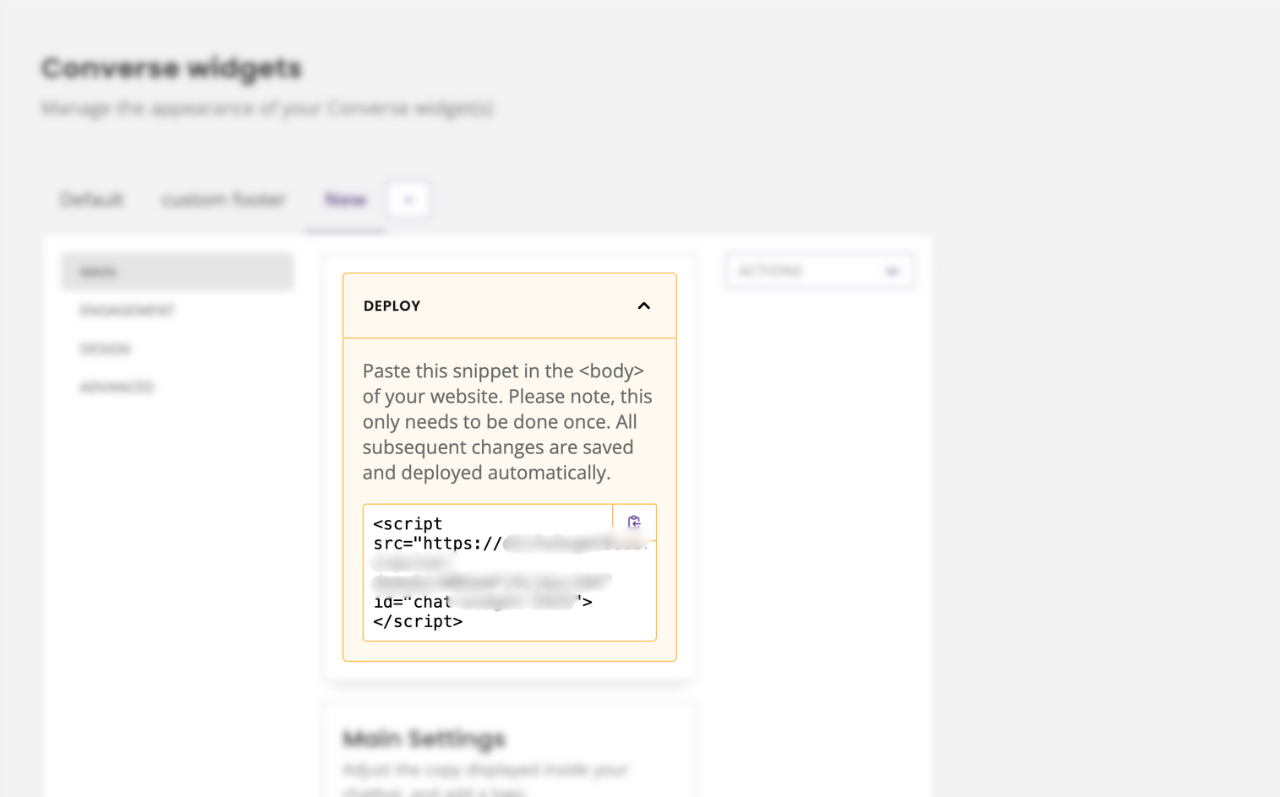
Step 3: Paste your snippet into your website
If you are uncomfortable or unable to make these changes yourself, involve your web team.
Open your preferred web page editor and paste the snippet into the <body> of a page.
Save and publish your changes.
Head over to your website and notice the chat widget appear in the bottom right of the screen.
To deploy your chat widget across every single page of your website, make sure you add the code snippet into the <body>tag of a template (or equivalent in your CMS).
Browser and screen compatibility
The Converse widget is built to work best with the latest versions of the following browsers:
Google Chrome
Microsoft Edge
Firefox
Safari
The minimum screen size required to display the Converse widget properly is 320px. The ideal screen size is over 375px.
(Optional) Step 4: Customise where your widget displays
If you have followed the steps above, your chatbot should now be present across your entire website.
You can now decide, granularly, where you would like your widget to display and whether it’s open when a user arrives on that page.
For example, you may want your chatbot widget to be visible everywhere except your pricing page, and only open immediately on your homepage.
To do so, head back to your Converse → Options.
Unfurl Display Rules.
By default, your widget has only one rule: always show converse.

You can edit or delete the existing rule, and create as many new rules as you’d like.
Simply click + Add new.
In the popup, design your smart rule using the conditionals. For example, to create a rule that displays your widget across your entire website except for example.com/pricing, this is what you would enter:
