
Add an embedded chatbot to your website
Last updated: 31 January 2024
The embedded channel allows you to add your chatbot anywhere on your page. It's an excellent way of strategically encouraging chatbot interactions at key parts of your audience's web journey.
Embedding a chatbot is incredibly easy. Let's go through the short process.
Step 1: Activate the embedded channel
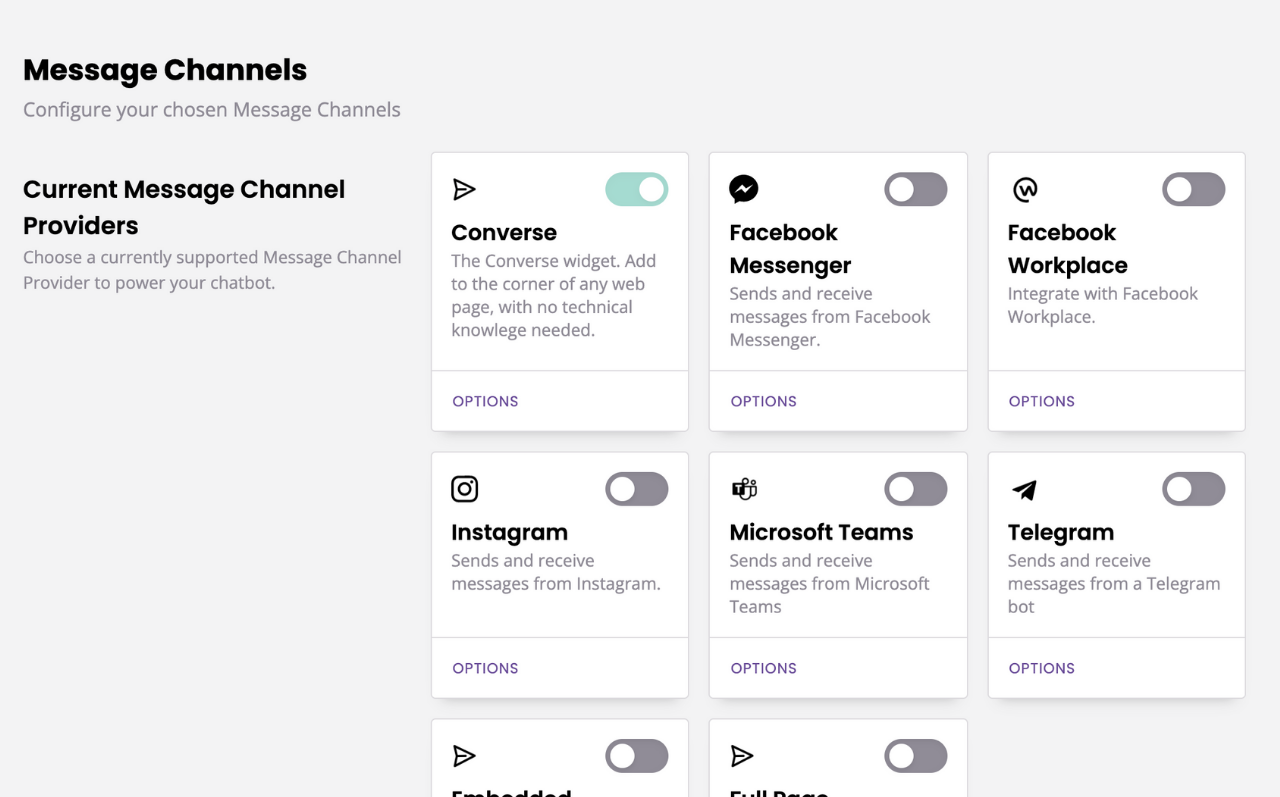
Head to Engage → Channels.
Ensure the Embedded card is active. You can tell a channel is active by its green tick.
Step 2: Find your embedded's code snippet
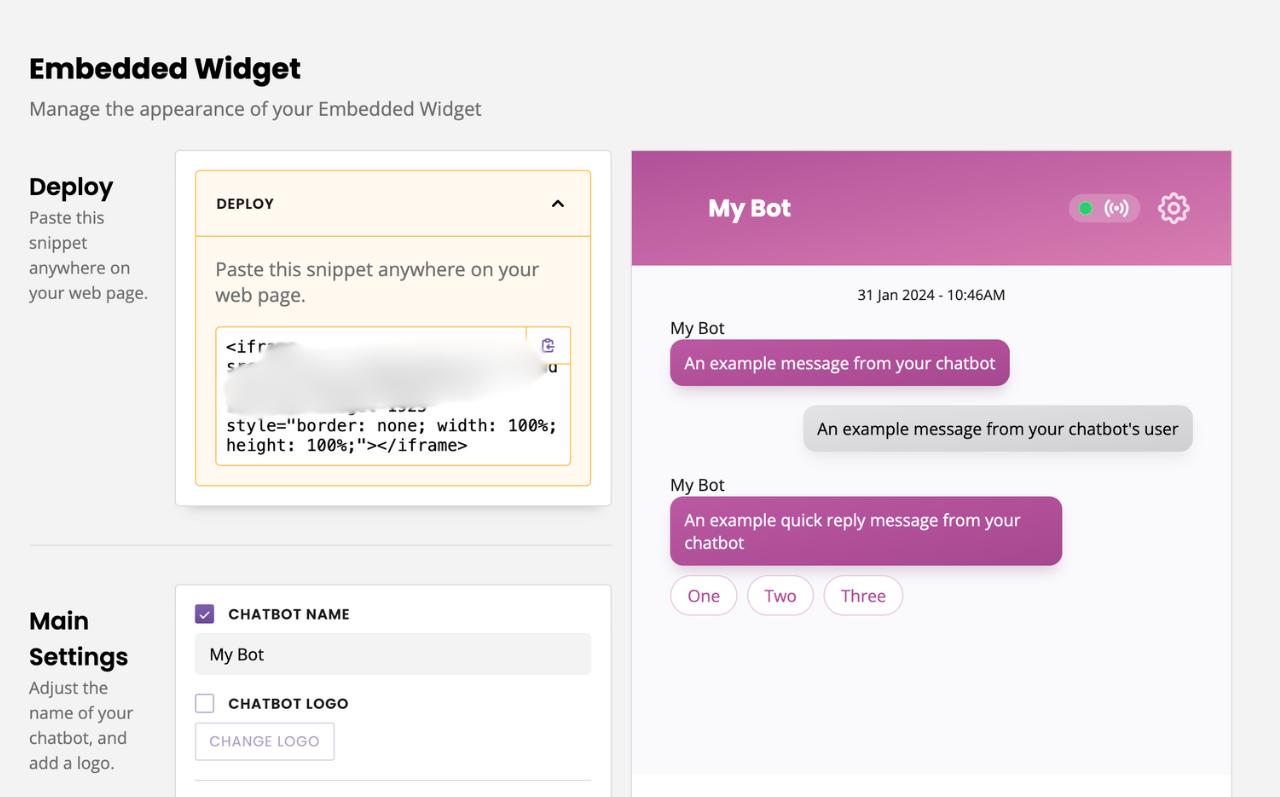
From the Channels page, click on the Embedded's Options button.
At the top of that page, you will find your embedded chatbot's code snippet.
You will notice the code snippet is wrapped into an iframe. This is the key element of the snippet. It allows you to place this iframe anywhere on your page and make the chatbot fit the available space.
Copy the entire snippet into your clipboard.
Step 3: Paste your snippet into your website
If you are uncomfortable or unable to make these changes yourself, involve your web team.
Open your preferred web page editor.
Find the page on which you would like to display your embedded chatbot.
Find the exact place on that page where you would like to display your embedded chatbot.
Paste the entire code snippet in this specific section.
Save and publish your changes; you're done!
Head over to your website and notice the embedded chatbot appear on your page.
Browser and screen compatibility
The Embedded widget is built to work best with the latest versions of the following browsers:
Google Chrome
Microsoft Edge
Firefox
Safari
The minimum screen size required to display the Converse widget properly is 320px. The ideal screen size is over 500px.