
Connect your chatbot to Amazon Alexa
Last updated: 15 June 2023
You can connect your chatbot Alexa to create an Amazon Alexa Skill.
Step 1: Create an account on Amazon Developer Services
Go to https://developer.amazon.com.
If you already have an account, click on Sign in in the top right. If you don’t have an account, click Create your Amazon Developer account.
Step 2: Sign in to the Alexa Developer console
Armed with your Amazon Developer account, go to https://developer.amazon.com/alexa/console/ask and sign in.
Step 3: Create your skill
Before you build your chatbot inside your platform, you need to create a Skill in Alexa. A Skill is essentially a chatbot, it’s the word Amazon give to their chatbot applications.
Go to https://developer.amazon.com/alexa/console/ask and click Create skill.
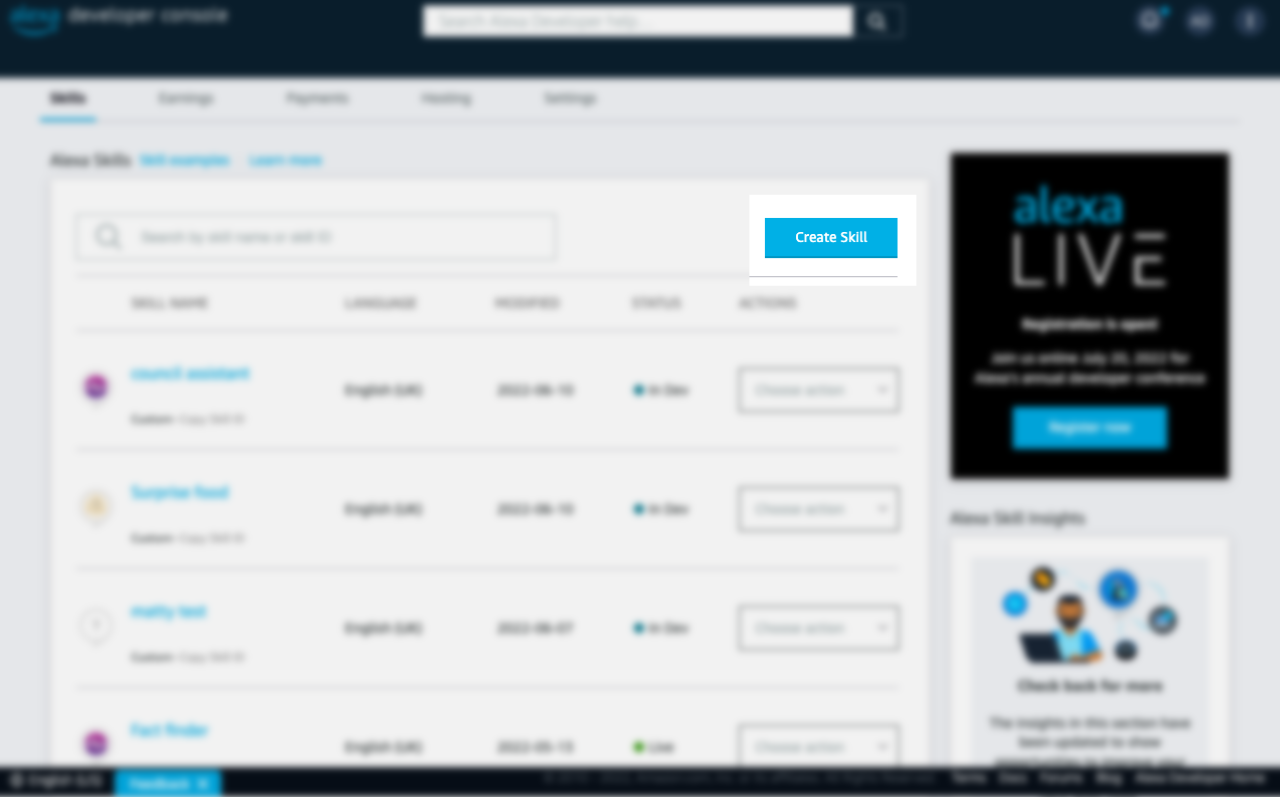
Give your skill a name.
In the model section, select Custom skill and Provision your own.
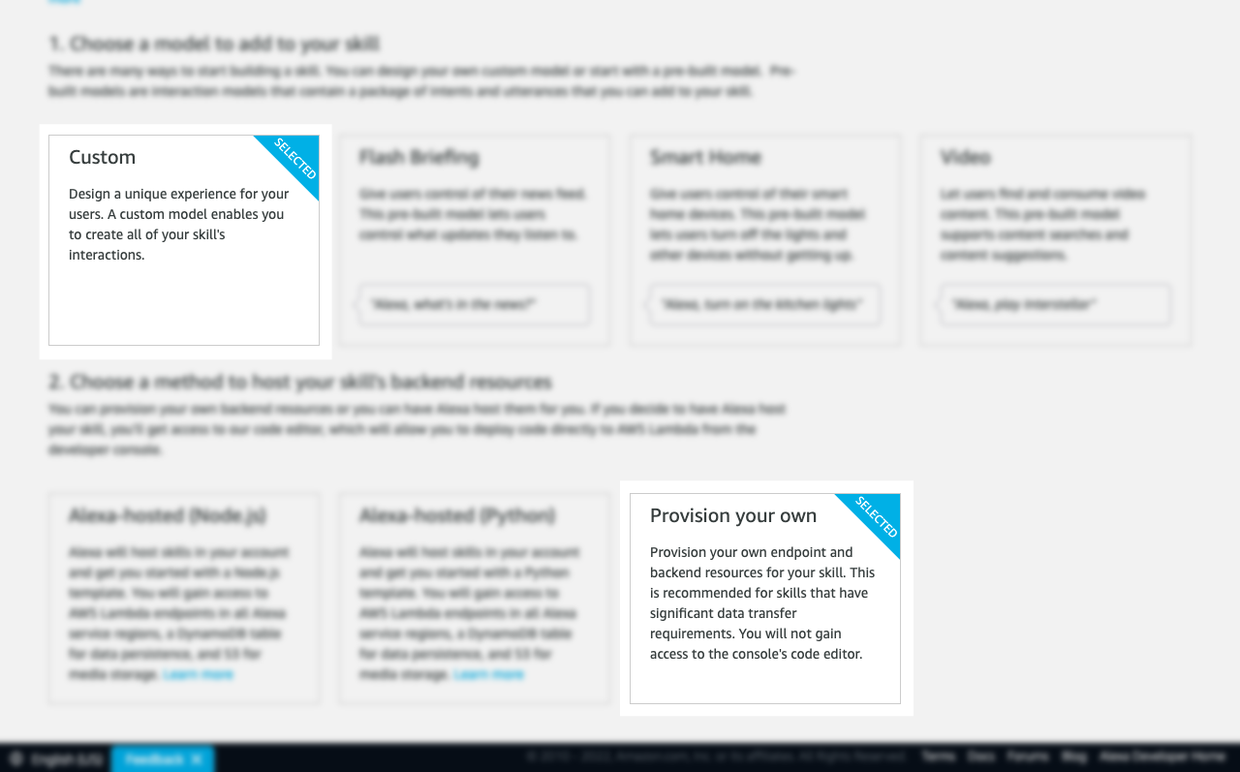
Click Create skill.
In the template section, select Start from scratch. Click
Almost there!
Step 4: Create your skill model
Alexa will give your skill a default model (the engine that powers your skill). That’s very nice of them, but because we’re going to create our own chatbot inside our platform, we’ll need slight modifications to that model.
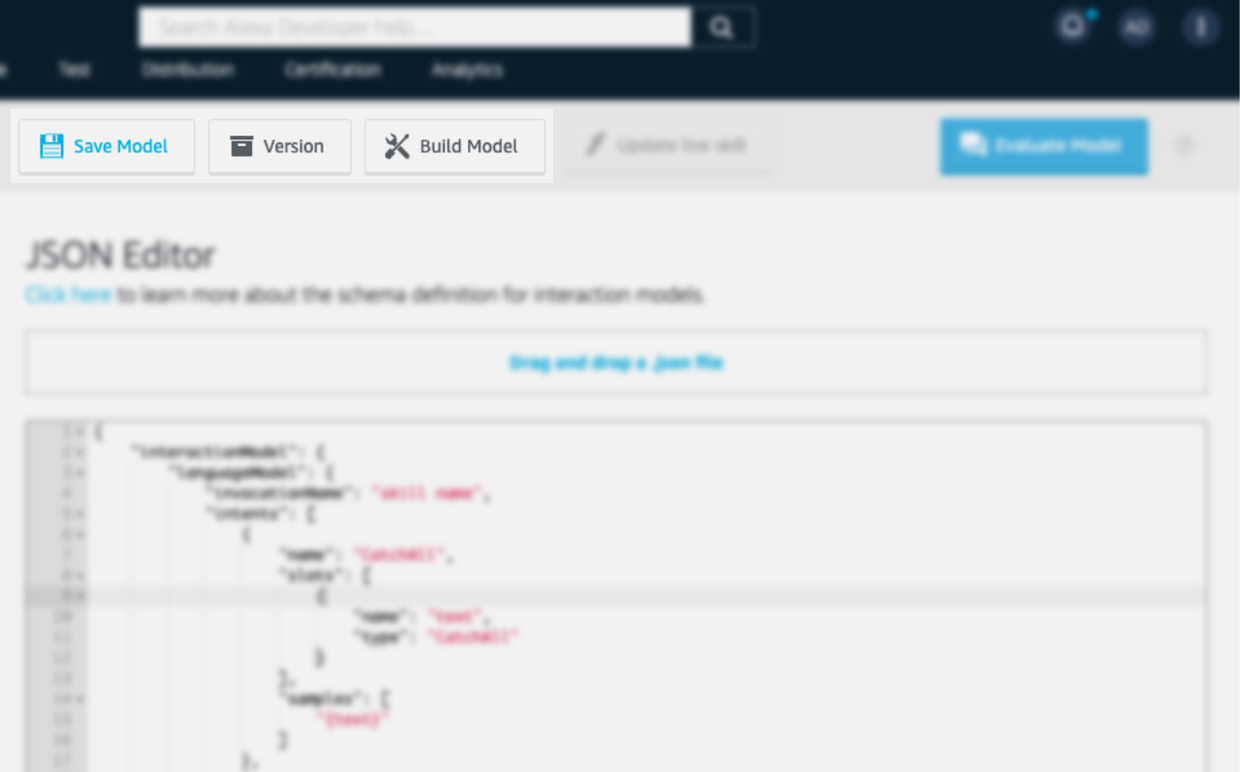
Go to Interaction Model → JSON Editor.
Delete everything that’s in the code box and replace it with:
{
    "interactionModel": {
        "languageModel": {
            "invocationName": "skill name",
            "intents": [
                {
                    "name": "CatchAll",
                    "slots": [
                        {
                            "name": "text",
                            "type": "CatchAll"
                        }
                    ],
                    "samples": [
                        "{text}"
                    ]
                },
                {
                    "name": "AMAZON.StopIntent",
                    "samples": []
                },
                {
                    "name": "AMAZON.HelpIntent",
                    "samples": []
                }
            ],
            "types": [
                {
                    "name": "CatchAll",
                    "values": [
                        {
                            "name": {
                                "value": "This is a placeholder. Do not change this or the name of the CatchAll Intent."
                            }
                        }
                    ]
                }
            ]
        }
    }
}
Don’t forgot to change skill name with your desired skill name.
Once the code has been copied in, click Save model then Build model.
Phew, that’s done!
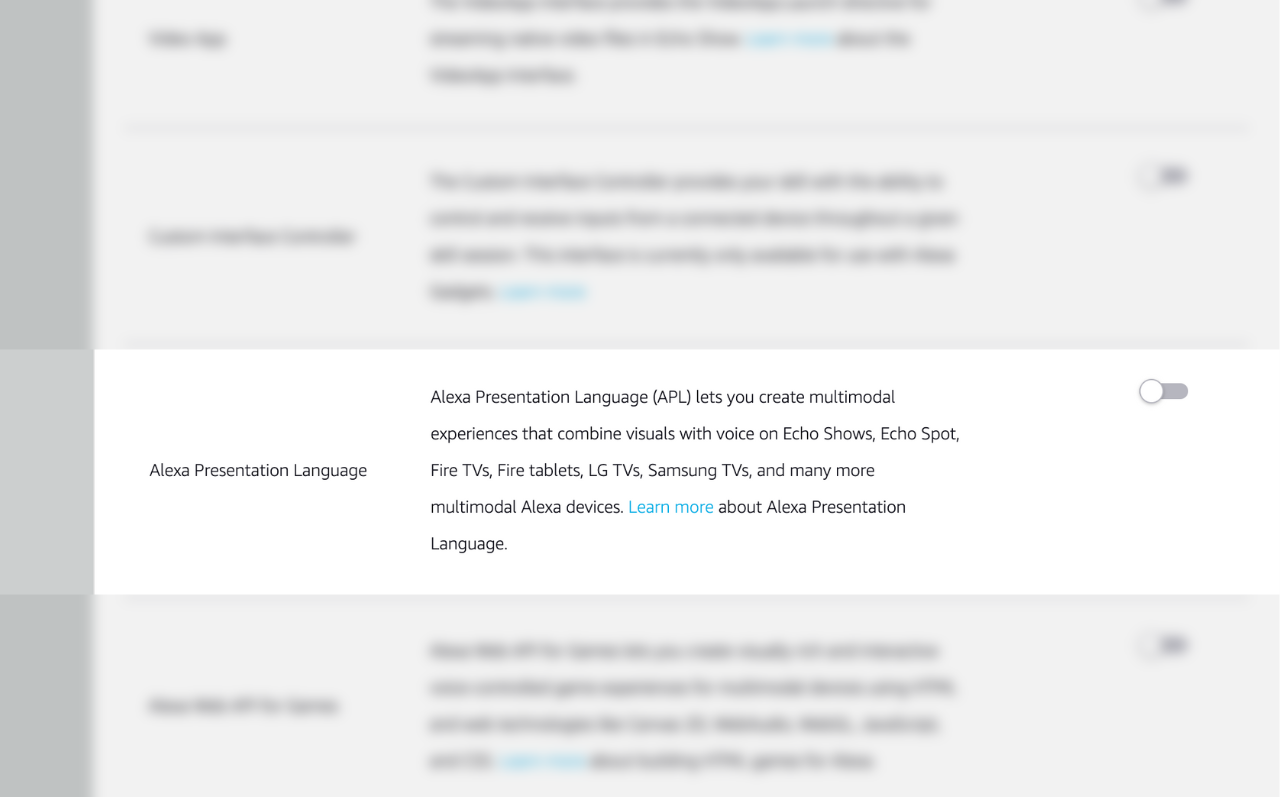
Step 5: Enable Alexa Presentation Language
Alexa Presentation Language, or APL, enhances the Alexa experience for users with a screen device (e.g. Alexa Show, Fire TV, etc.).
While enabling APL is optional, we recommend doing so. Once turned on, your messages will automatically display a more visual experience to the user. For example, carousels, quick replies, actions (and more) will display on their screen. Users will also be able to tap the buttons on their screen instead of talking back to Alexa.
To turn APL on, go to Build → Interfaces. Scroll down to Alexa Presentation Language and flick it on.
Step 6: Connect your chatbot to Alexa
Now that your skill is created, you can connect it to your platform.
Go to Engage → Channels. Find Alexa and click Options.
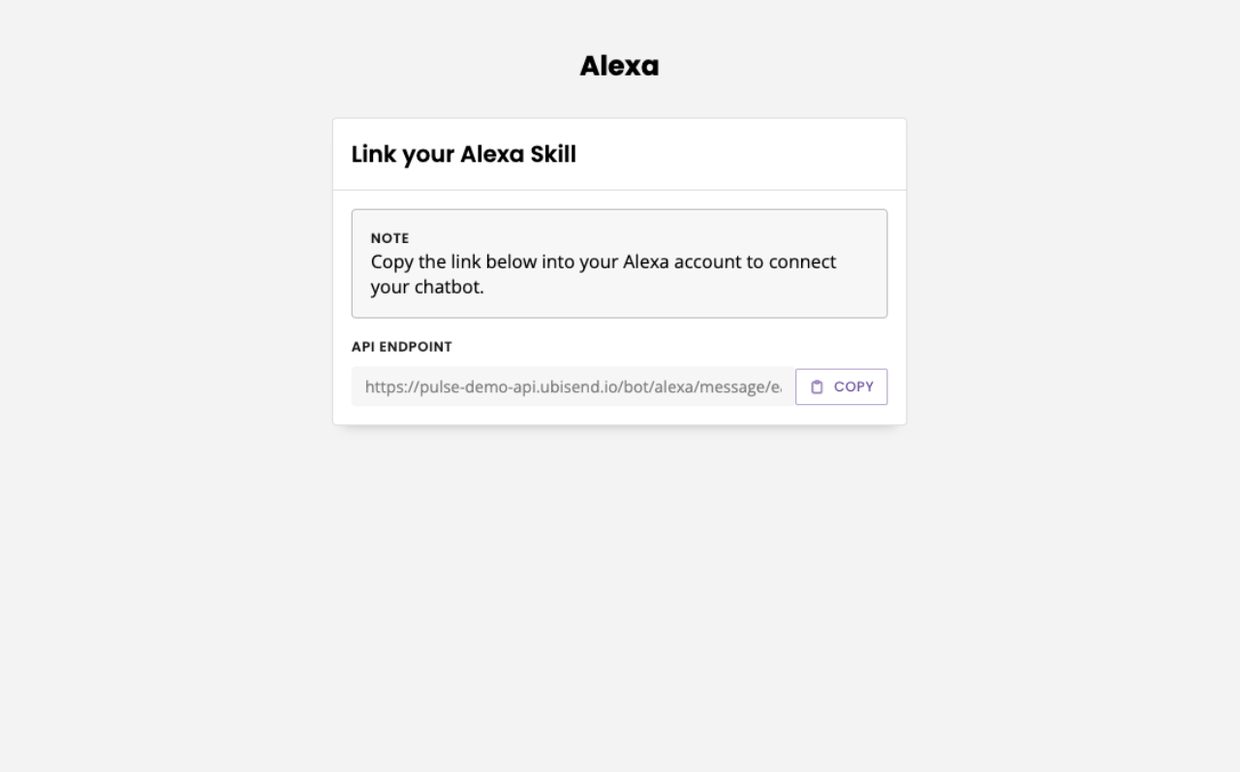
Copy the API end point.
Head back to your Alexa console (https://developer.amazon.com/alexa/console/ask) and go to the Endpoint section.
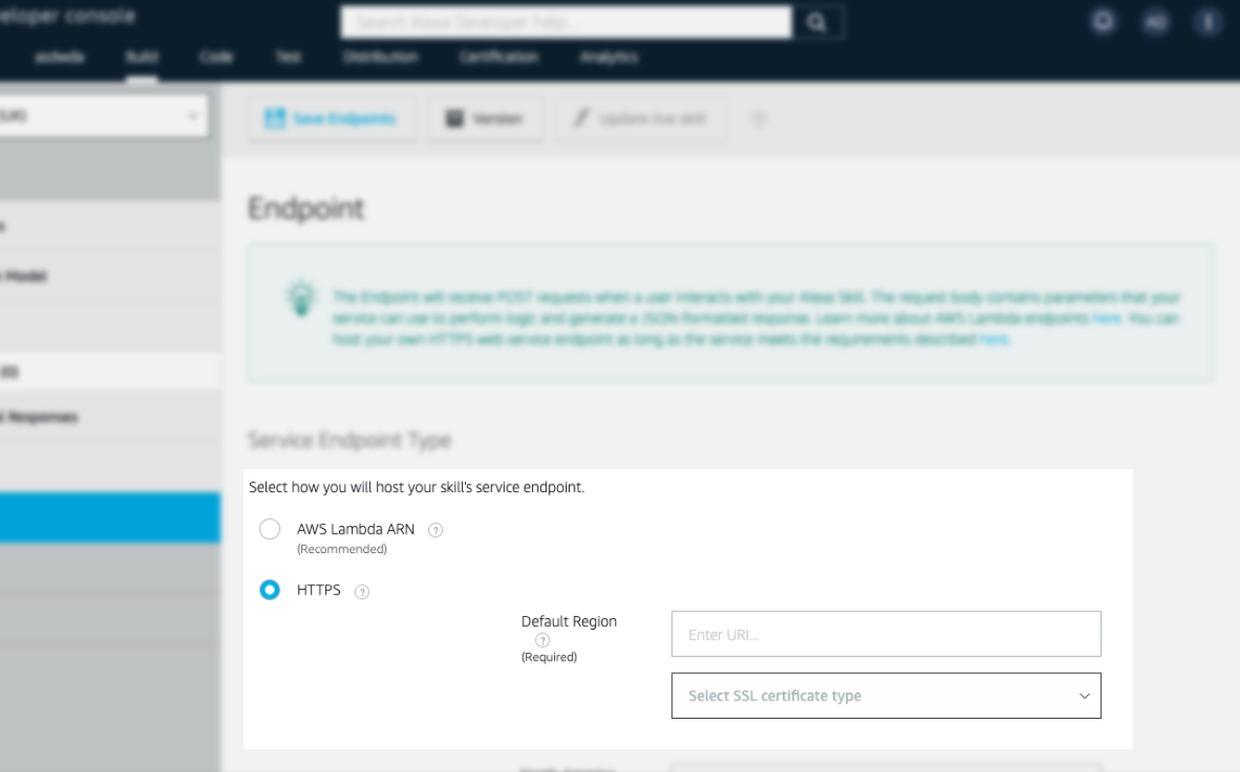
Click on HTTPS service endpoint type.
Paste your API endpoint from the platform into the Default Region field.
In the dropdown, select My development endpoint is a sub-domain of a domain that has a wildcard certificate from a certificate authority.
Step 7: Create the required conversations
Alexa have strict rules when it comes to publishing chatbots. Before you build anything else, you will have to build the following three conversations:
Launch conversation – this conversation triggers your skill when a user mentions its name (e.g.
Alexa, open [skill name]).Help conversation – this conversation helps your users when they don’t know how to use your skill.
Stop conversation – this conversation immediately stops the communication between the user and Alexa and closes the skill (e.g.
Alexa, stop).
Without these three conversations, your skill will not get approved for publishing.
Head over to your chatbot platform and Builder.
Create a new conversation. We’ll start with the Launch conversation.
As a trigger, set up When Variable {{alexa.is_launch_request}} is true.

Hit Save.
Edit the first message and set up your welcome message. This conversation will trigger every time a user opens your skill.
Easy, right? Now follow the same process to create the other two conversations using these variables:
For the
Helpconversation, use{{alexa.is_help_request}}.For the
Stopconversation, use{{alexa.is_stop_request}}.
Step 8: Set up your skill for testing
As you start building your chatbot, you will want to test it sporadically. Alexa allow you to do this in two ways: through the browser or through your Alexa app/device.
First, we need to finish the skill’s set up.
Go to https://developer.amazon.com/alexa/console/ask and click Distribution.
Follow the form along and fill out all the relevant details about your skill, including logo, target audience, privacy policy and compliance documents.
When you’re done, Alexa will run your settings and let you know if you need to review any of it or if you’re good to go.
FAQs
My skill requires advanced permissions. How do I request the user to enable them?
If you required personal information from your users (e.g. full name, address, etc.) to be sent directly from their Alexa device, you will have to specify it during the Distribution phase.
These requests will automatically be sent to your users when they try to active the skill. If Amazon reject your skill on the basis that these permissions must manually be asked, you can use the Action called Request permissions on Alexa in the Builder.
Drop the action on the first step of your conversation and add the permissions you require. You can find Amazon’s list of permissions here. The most common are:
Requested information | Value to include in permissions |
|---|---|
Full name |
|
Given name (first name) |
|
Phone number |
|