Connect your chatbot to Microsoft Teams
Last updated: 17 September 2024
You may only connect one Teams Tenant ID per install. This means if your chatbot platform is on yyy.website.com and has four accounts, you will only be able to create a Teams integration on one of these four accounts. It also means your Microsoft Teams account will only ever be able to deploy one chatbot.
You will need admin rights to your Teams' admin centre.
Step 1: Find your Microsoft Teams' Tenant ID
Before we start connecting your Microsoft Teams' channel, we need to collect a bit of information.
To retrieve your Tenant ID:
Navigate to Microsoft Teams in your internet browser.
Click the Teams icon in the left sidebar navigation menu.
Click the three dots on any team listed under your teams (the Tenant ID is global across all your teams).
Click Get link to team and then click the button to copy the link to your clipboard.
The link will look something like this: https://teams.microsoft_l_team_xxxxxxxxxxxxxxxxx_conversations?groupId=xxxxxxxx-xxxxxxxx-xxxxx-xxxxxxxxxxxx&tenantId=xxxxxxxx-xxxx-xxxx-xxxxx-xxxxxxxxxxxxxxxxx
Step 2: Connect your Microsoft Teams
Go to Engage → Channels.
Find Microsoft Teams and click Manage.
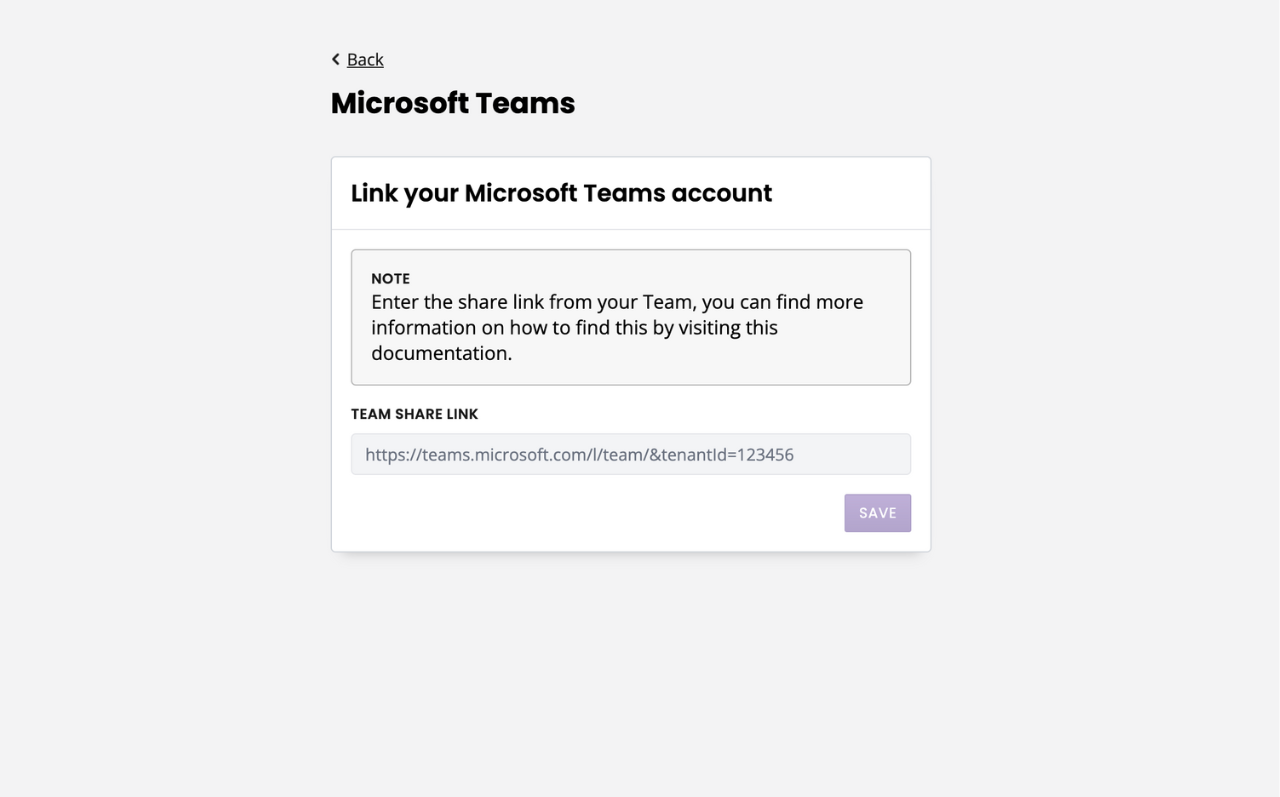
Under Team share link, paste your link and click Save.

Click Save.
Step 3: Configure your Teams app
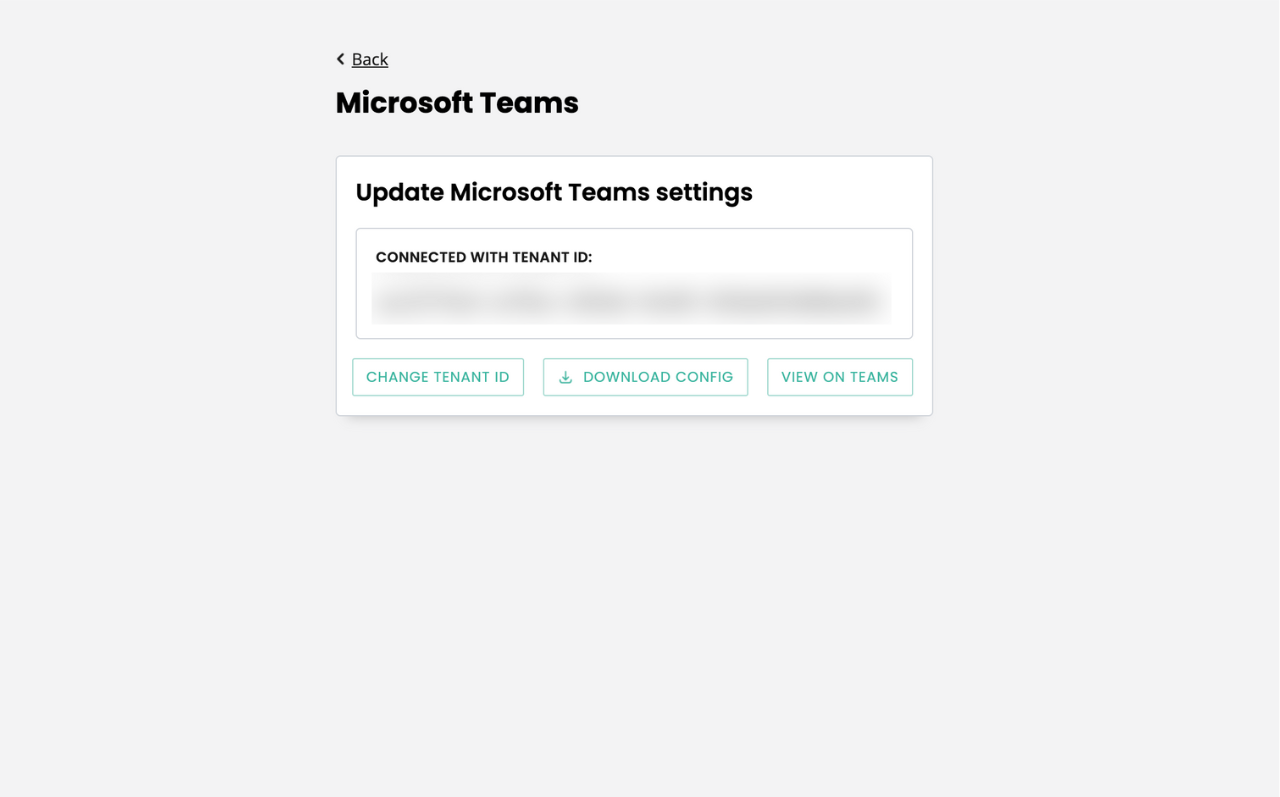
Once you’ve clicked Save, three new buttons should appear.

Click Download config. A ZIP file will download on your computer.
The ZIP file contains four files:
color.png
outline.png
manifest.example.json
manifest.json
You can change color.png and outline.png to suit your brand. You can also edit the following values in the manifest.json file to suit your brand:
Value 1 → Your company name
Value 2 → Your website URL
Value 3 → Your privacy policy URL
Value 4 → Your terms & conditions URL
Value 5 → A short name for your app
Value 6 → A longer name for your app
Value 7 → A short description of your app
Value 8 → A longer description of your app
If you’d like to use default values, you can use the values under manifest.example.json.
Step 4: Compress the files
Once you’ve updated your data, select the three files (color.png, outline.png, and manifest.json) and compress them together into a ZIP file.
Do not compress the folder!
Step 5: Upload your app to Teams
Access the Teams admin centre and go to Teams apps → Manage apps.
The next step depends on the screen you see:
Select Upload new app, select Upload, and select the zip file you’ve created.
Select Actions → Upload new app, and select the zip file you’ve created.
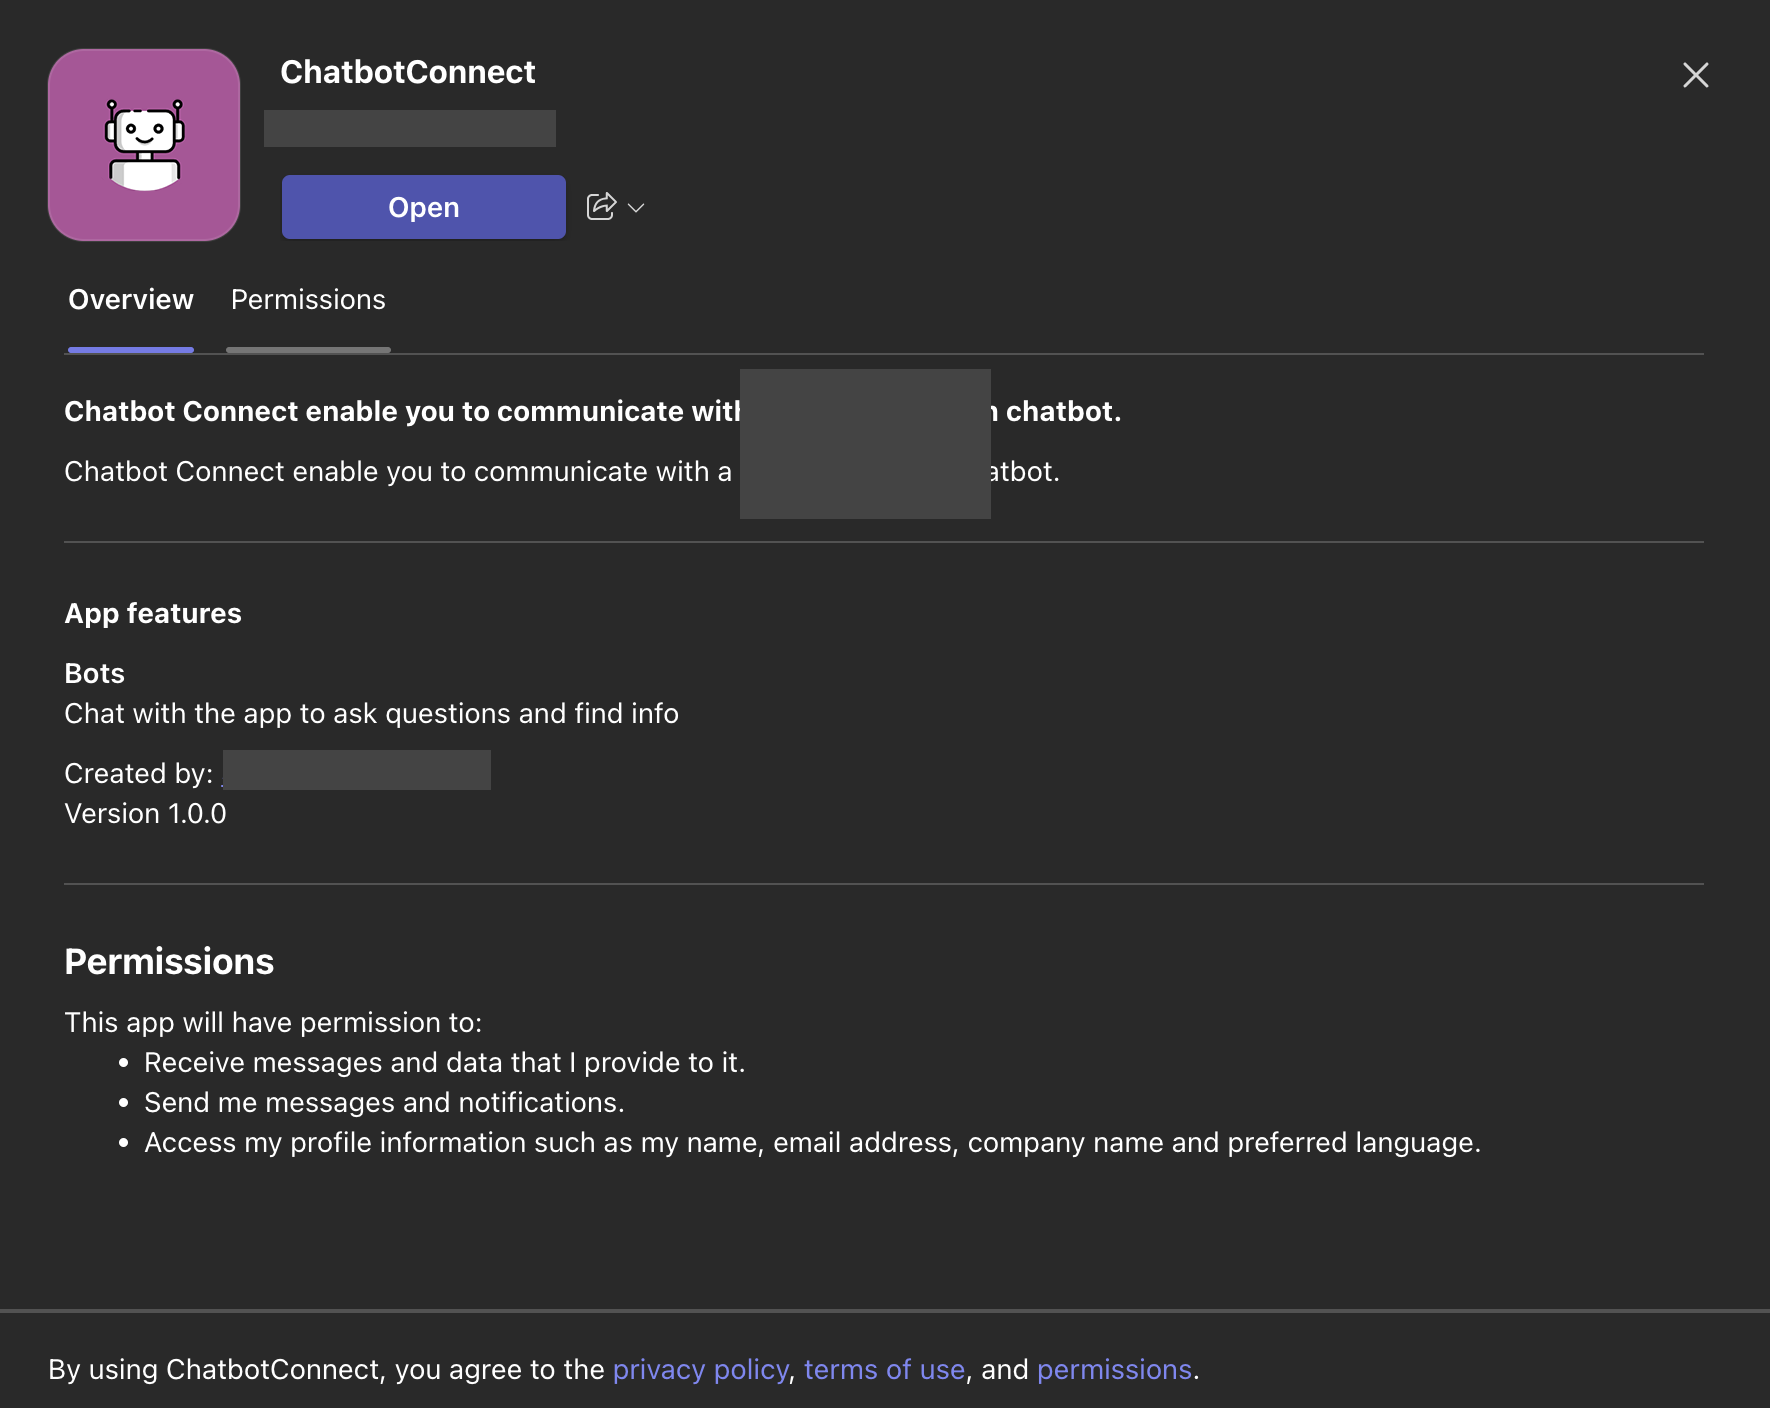
You app should look like this:

Step 6: Talk to your chatbot
To talk to the chat, each user on your Teams Tenant will have to go to Apps → Built for your org. From there, they can find your new app (by default ChatbotConnect) and click Add.
This will create a new conversation between the user and the chatbot.