
Create a new account
Last updated: 05 November 2023
Within your platform, you have the possibility of creating multiple accounts. Each new account is a brand new version of the platform.
This is what makes our chatbot platform more than ‘just’ a platform – it’s an infrastructure for all your chatbot needs. Each new account can be a different chatbot handling different processes at your company (e.g. HR, customer service, IT, etc.).
Only Owners have the permissions required to create new accounts.
Step 1: Head over to your owner portal
In the bottom left of your screen, click the Owner button:

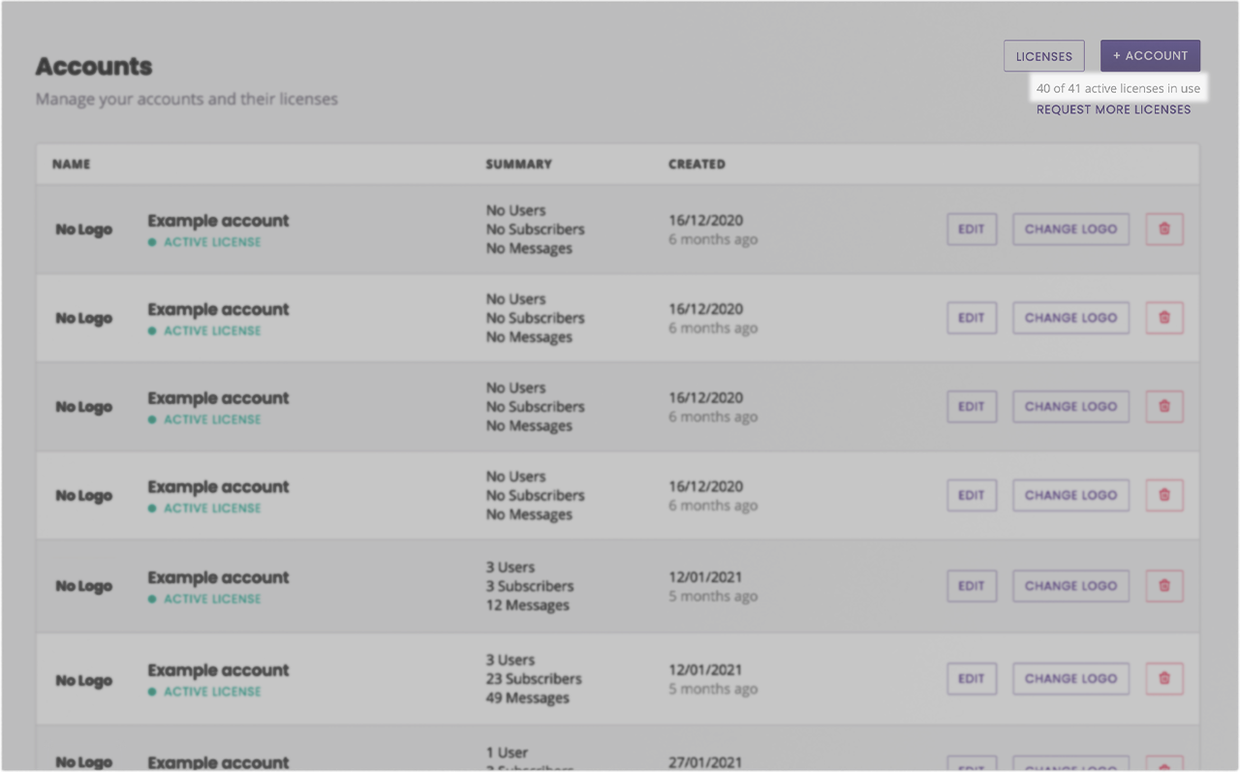
Within your owner portal, you can manage accounts and their associated licenses.
Step 2: Create a new account
Go to Accounts.
In the top right, click + New account.
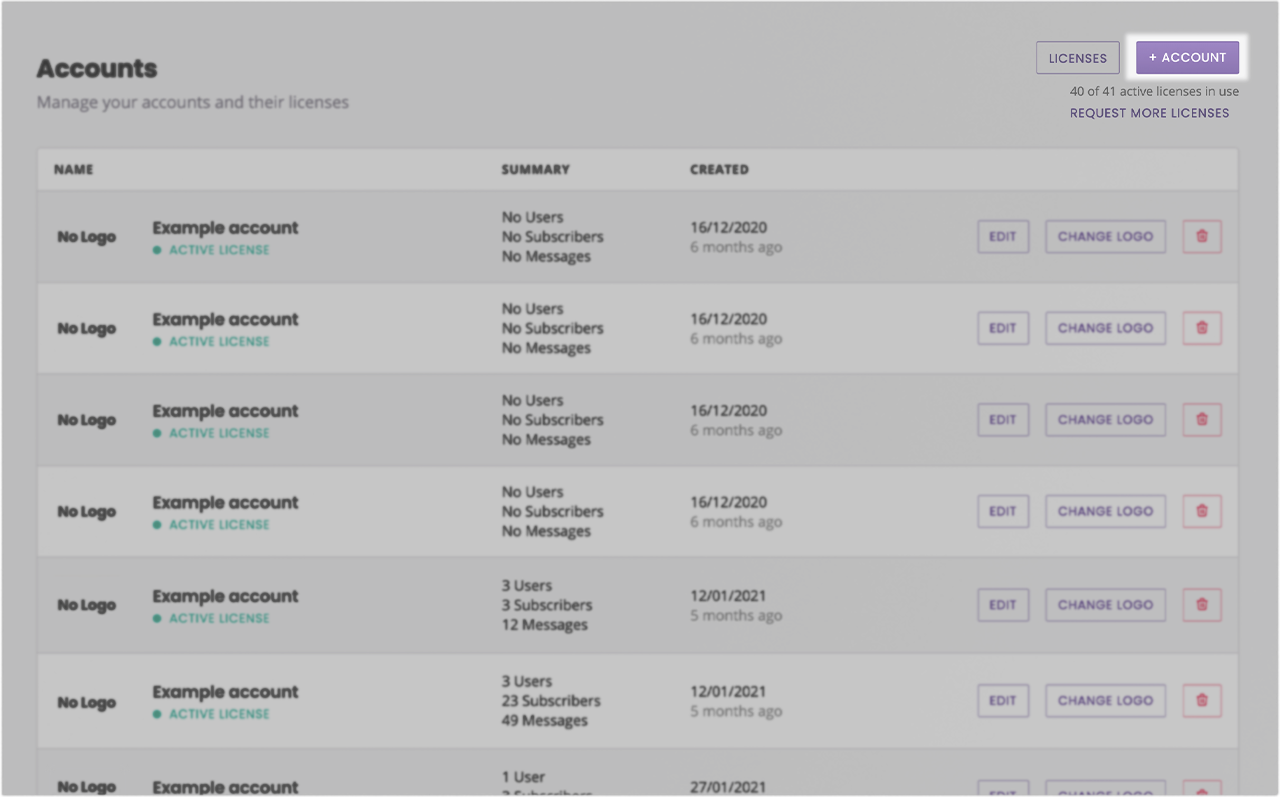
Fill out the slide-in form with the information associated to the new account. You only need:
An account name
An email address associated to the account
A default language
Any additional information below is optional.
Hit Create account.
Step 3: Activate the new account
When you first create a new account, it will not have any active license attached. While you can log into the account, create conversations, and generally set up your chatbot, an account needs an active license to be functional.
Your chatbot will only start responding (outside of the demo area) when an active, paid-for license is associated to the account.
To activate your new account, ensure you have an available license:
If you do not, click Request more licenses to contact your account manager.
If you do, head over to Licenses.
In your list of licenses, find the license with Not in use under the Account column.
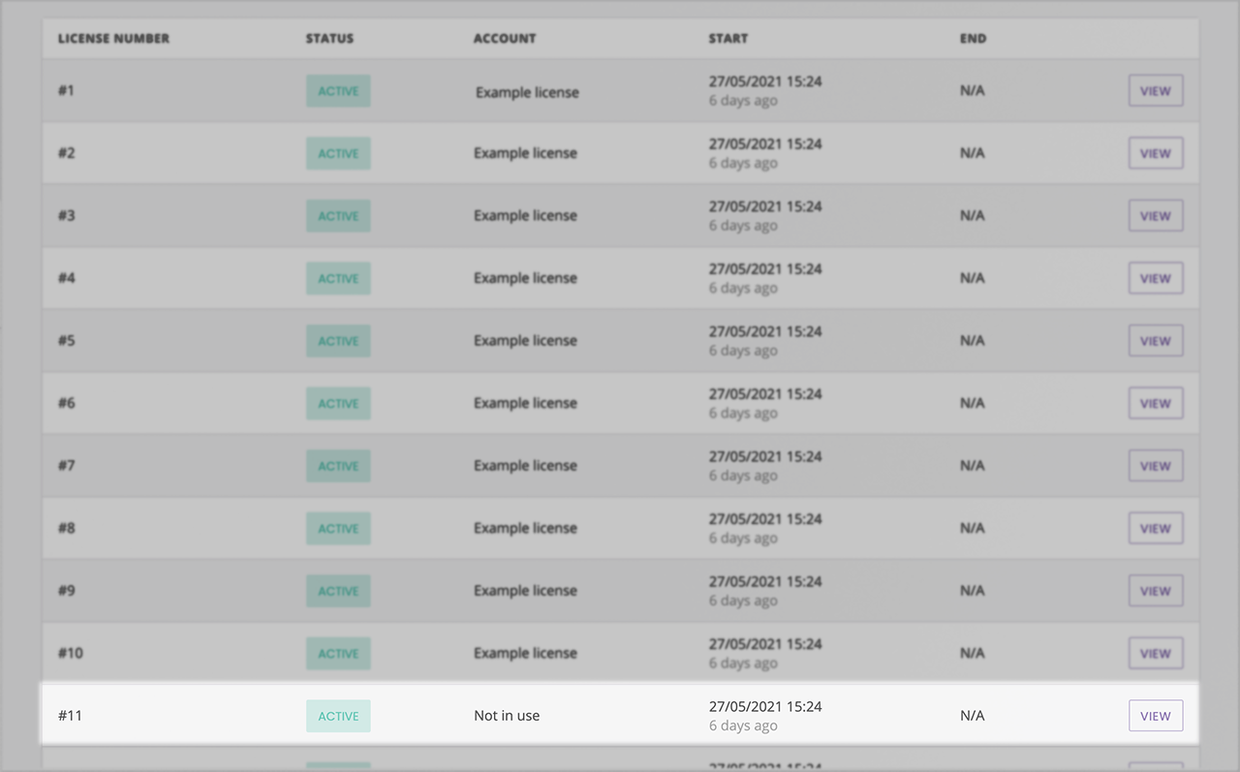
Click on View.
In the slide-in panel, use the drop-down under Attached account to find your new account. Select it and hit Save.