
Create a notification
Last updated: 05 December 2023
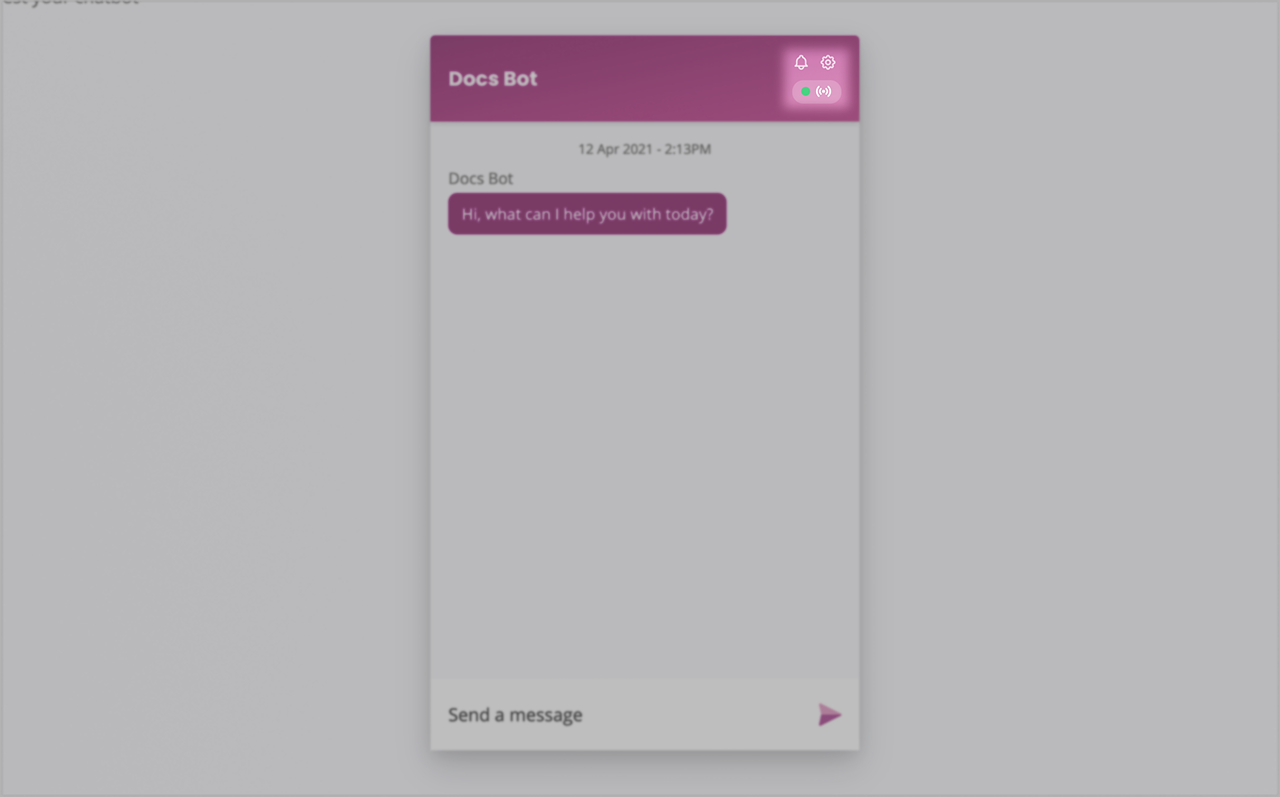
Notifications appear in the top right corner of your chat's window. They are persistent and non-intrusive, allowing you to notify your chatbot users without a push notification.
Notifications only work with the following messaging channels: converse, embedded, full page.
To prevent inaccurate tracking, notifications will only appear on a live chatbot, not inside your demo area.
Step 1: Create a new notification
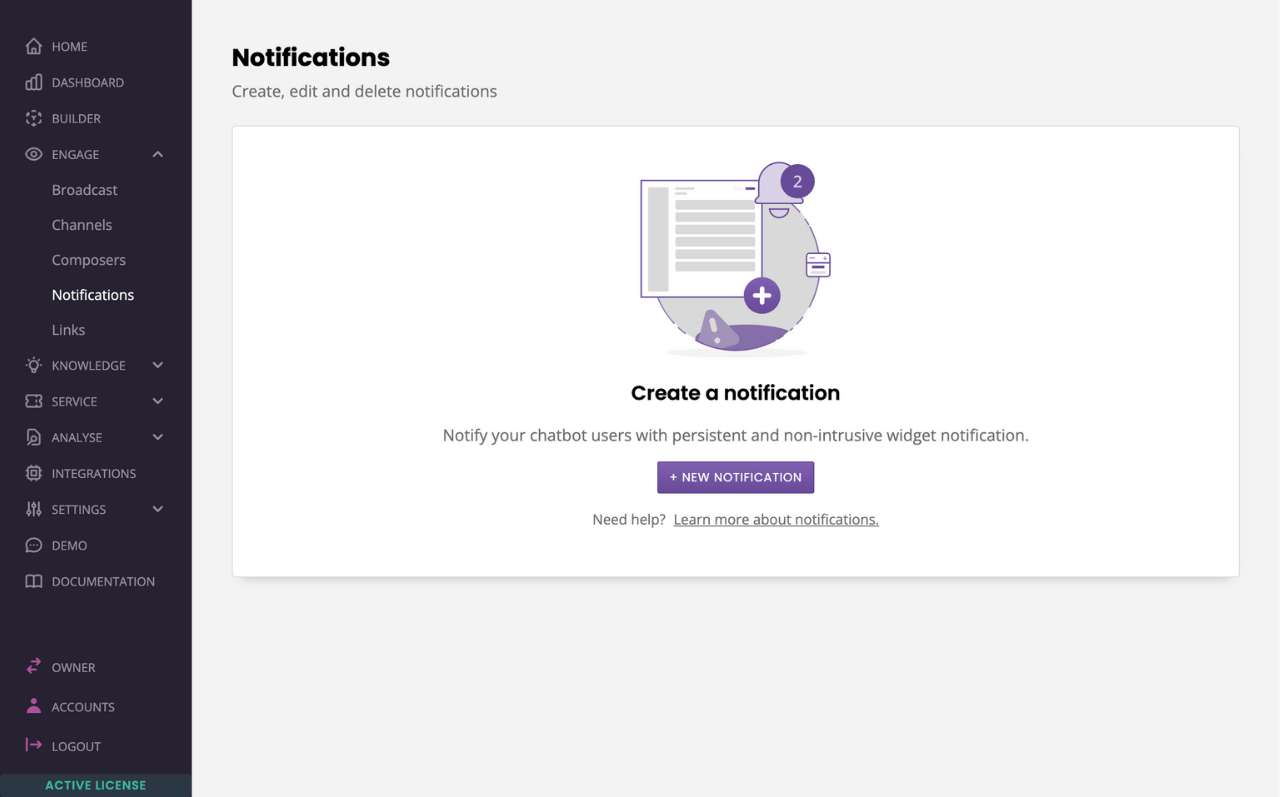
To create a new notification, head to Engage → Notifications.
Click + New notification in the top right corner.
Under Notification, write your copy. This short text will appear when your chatbot users click the bell icon on their chat window.
(Optional) Under Link, add a link to a valid web address. Clicking the notification will take the user to the link you set up. Make sure you start your link with https://.
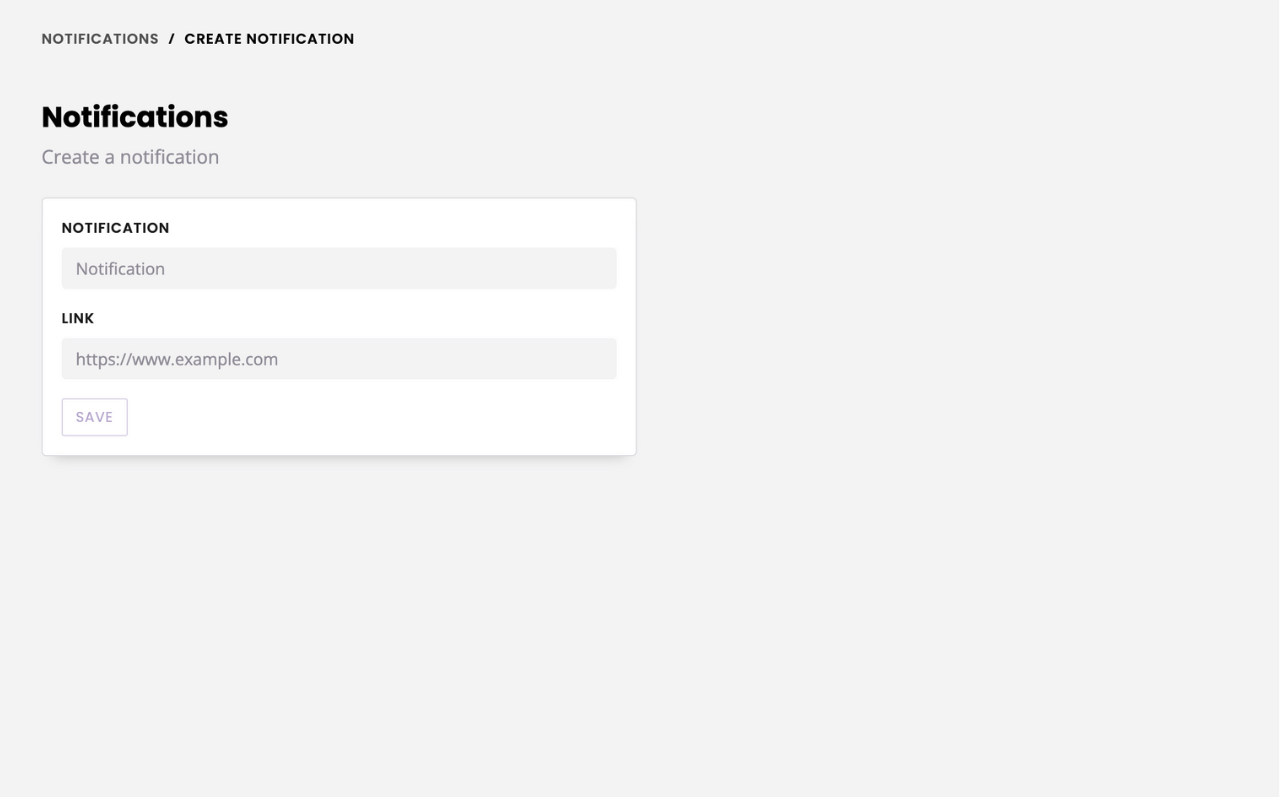
When you're done, hit Save.
Step 2: View your notification in your live chatbot
Your notification is immediately live and visible across your channels.
A pulsating dot will appear above the bell icon. When hovered over, the dot will turn into a number representing the number of new notifications.
Step 3: Edit or delete existing notifications
To edit or delete existing notifications, go to Engage → Notifications.
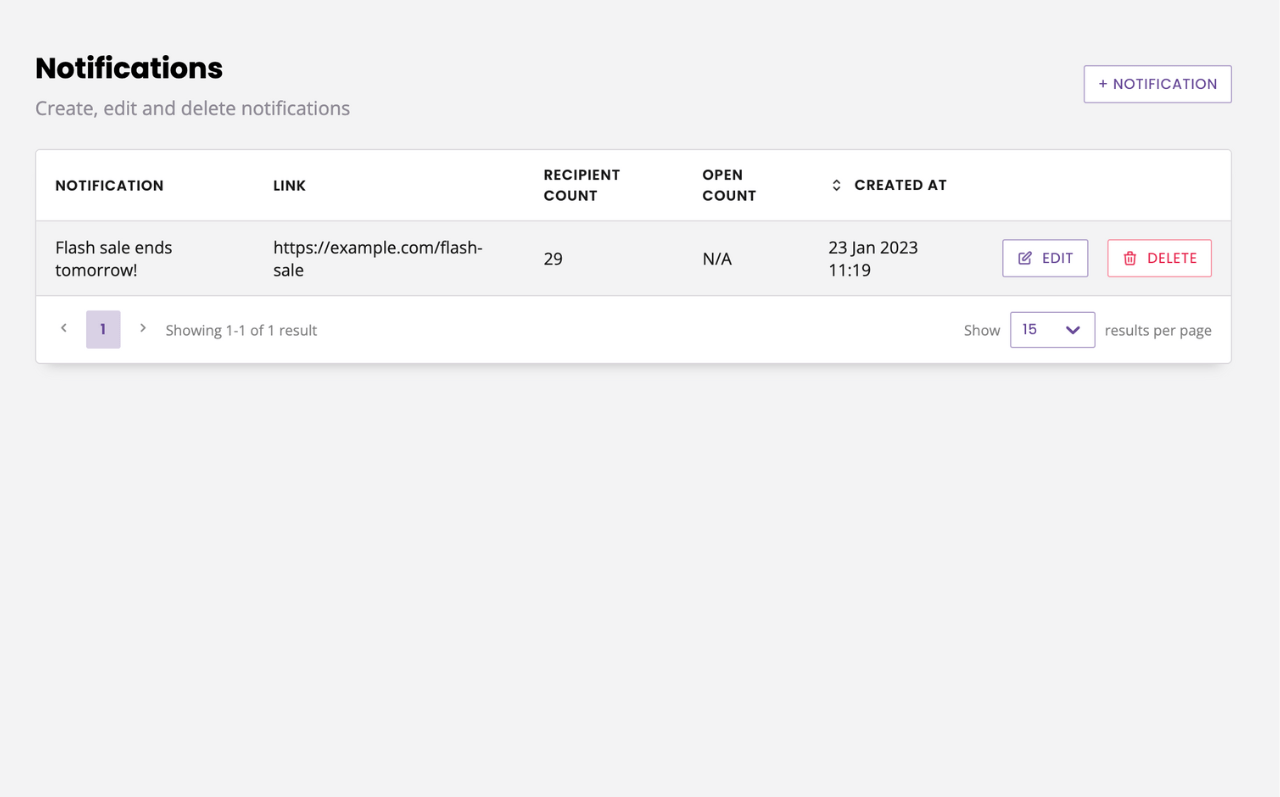
Hitting the Delete button will immediately remove the notification from your channels.
Hitting the Edit button allows you to tweak your copy and link. When you're done, hit Save. Changes are live immediately.
What happens if I have multiple notifications?
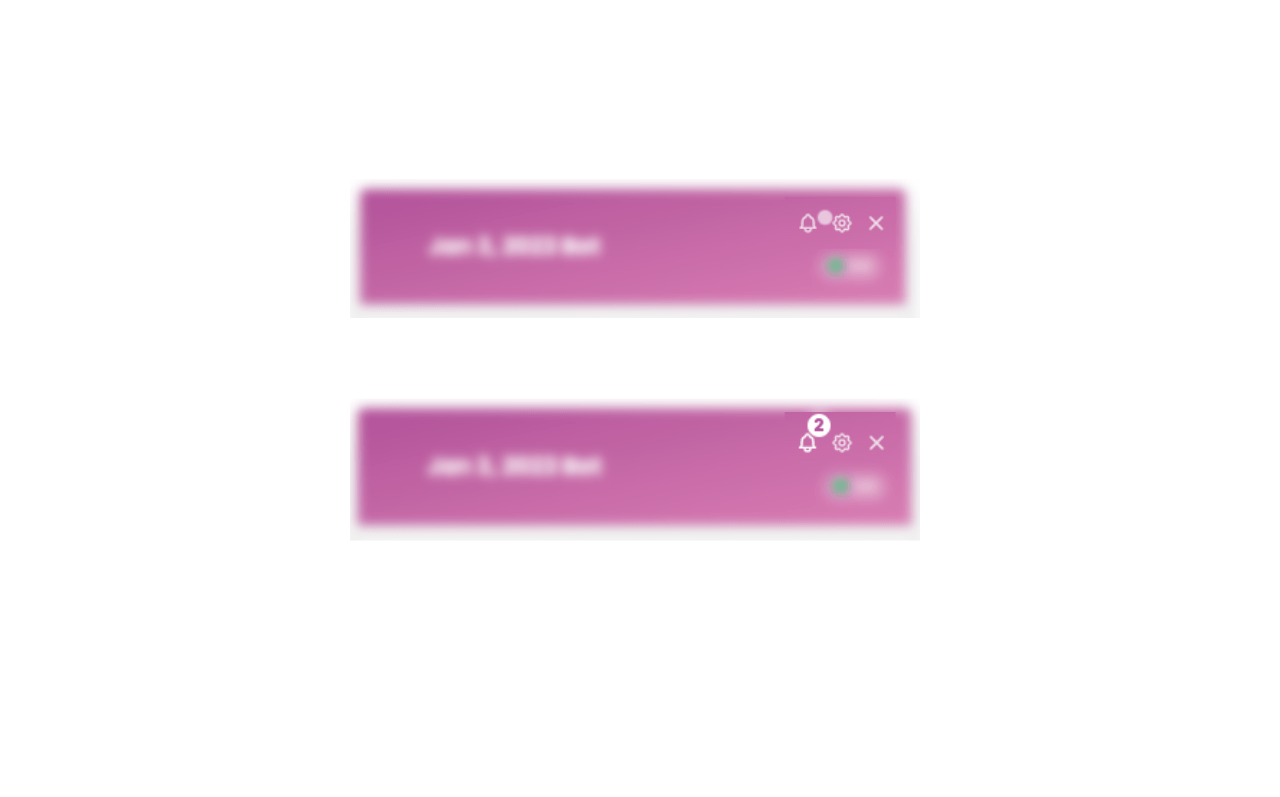
You can create as many notifications as you need. Multiple notifications will stack one below the other in your chat window.