
Create an email notification
Last updated: 05 December 2023
Create and receive automated email notifications as users reach certain steps in the conversation.
Email notifications are often used to capture user information from a conversation (e.g. the name, email address, etc.) and send it all to a relevant member of your team (e.g. your sales staff).
Step 1: Create a new email
Go to Settings → Emails.
Click + New email in the top right.
Step 2: Compose an email
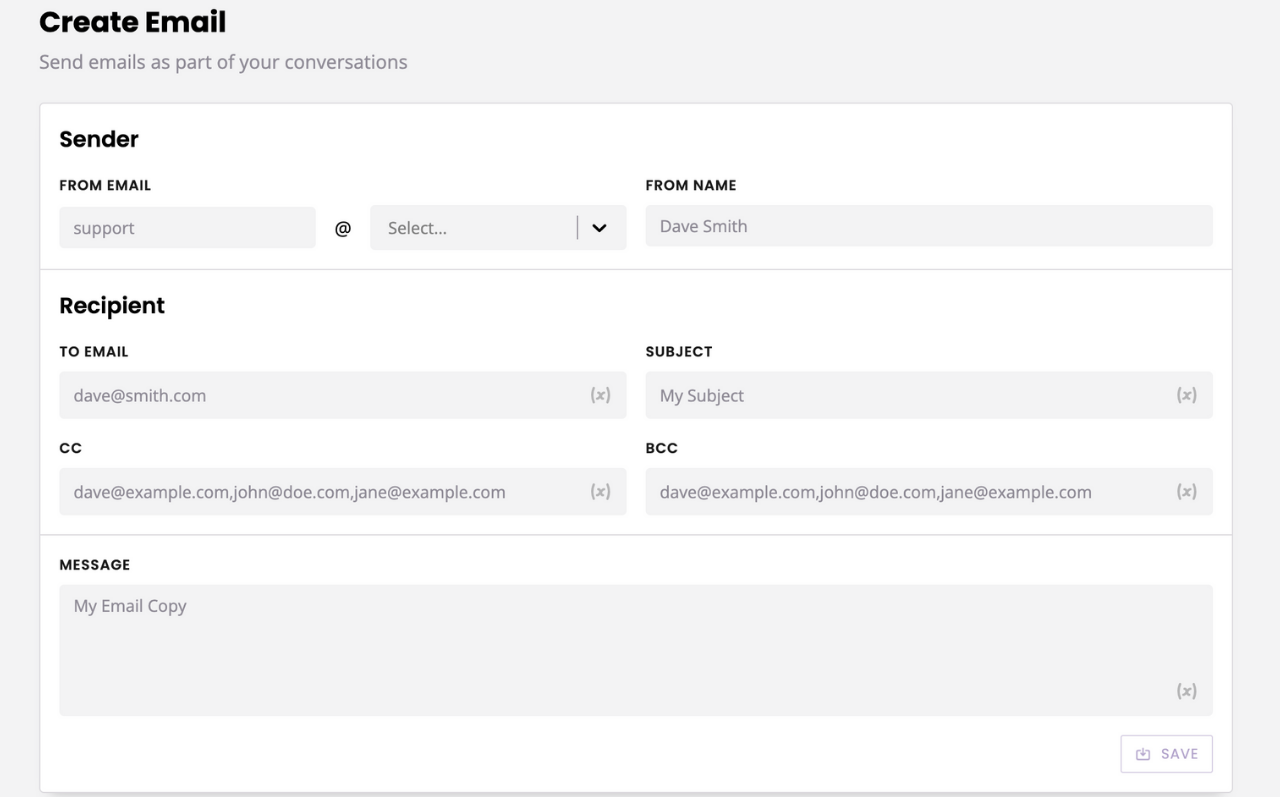
You will be familiar with most, if not all, of the fields on this page.
From email: the email address the chatbot will use to send this email, e.g. chatbot@mycompany.com.
From name: the name this email will appear to come from, e.g. The Chatbot.
To email: the email’s recipient email address(es). Multiple email addresses need to be comma separated. May contain variables.
Subject: the email’s subject line. May contain variables.
CC: the email’s CC’d recipient email address(es). Multiple email addresses need to be comma separated. May contain variables.
BCC: the email’s BCC’d recipient email address(es). Multiple email addresses need to be comma separated. May contain variables.
Message: the content of the email. May contain variables.
A strict ‘From email’ rule
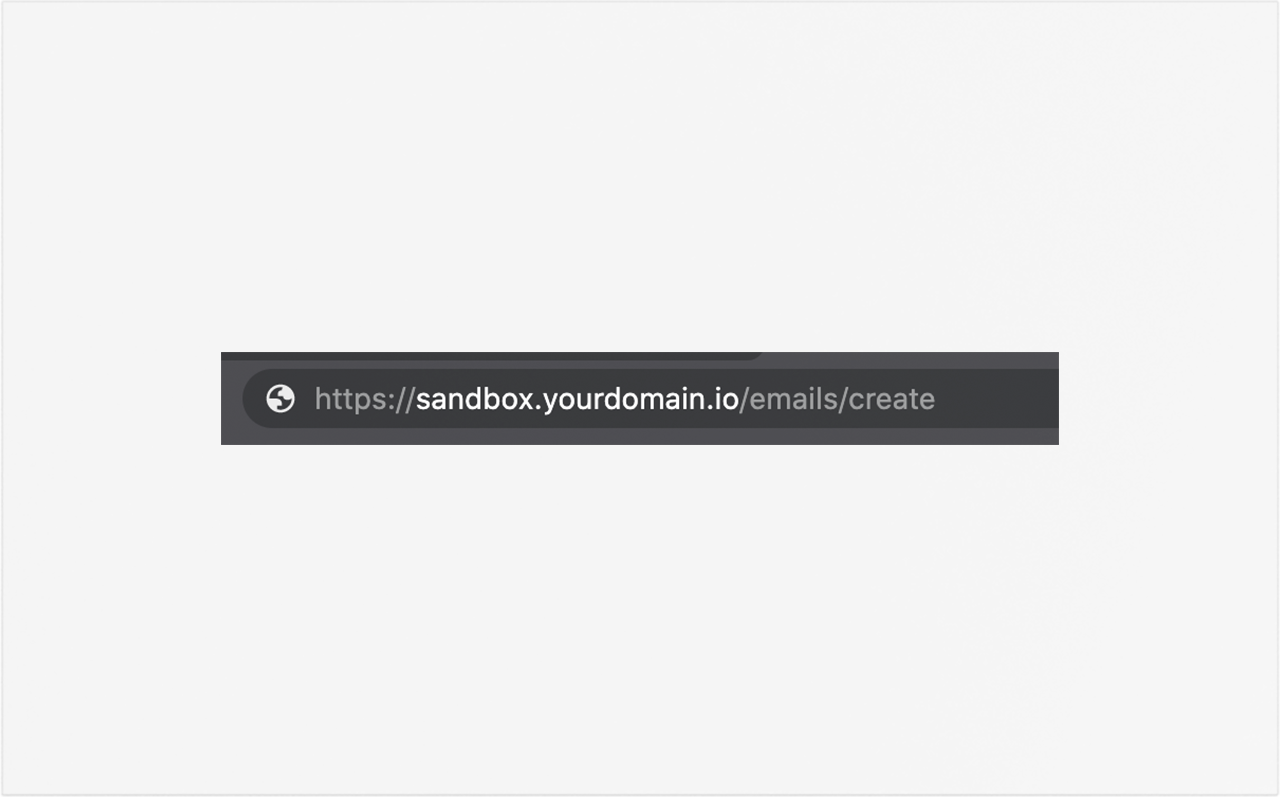
You will notice your From: email address is limited to a specific domain. This domain matches the domain your chatbot platform is hosted on. For example, if your chatbot platform is hosted on app.example.com, your From email will be @example.com.
Your chatbot's domain can be found in the search bar of your internet browser.
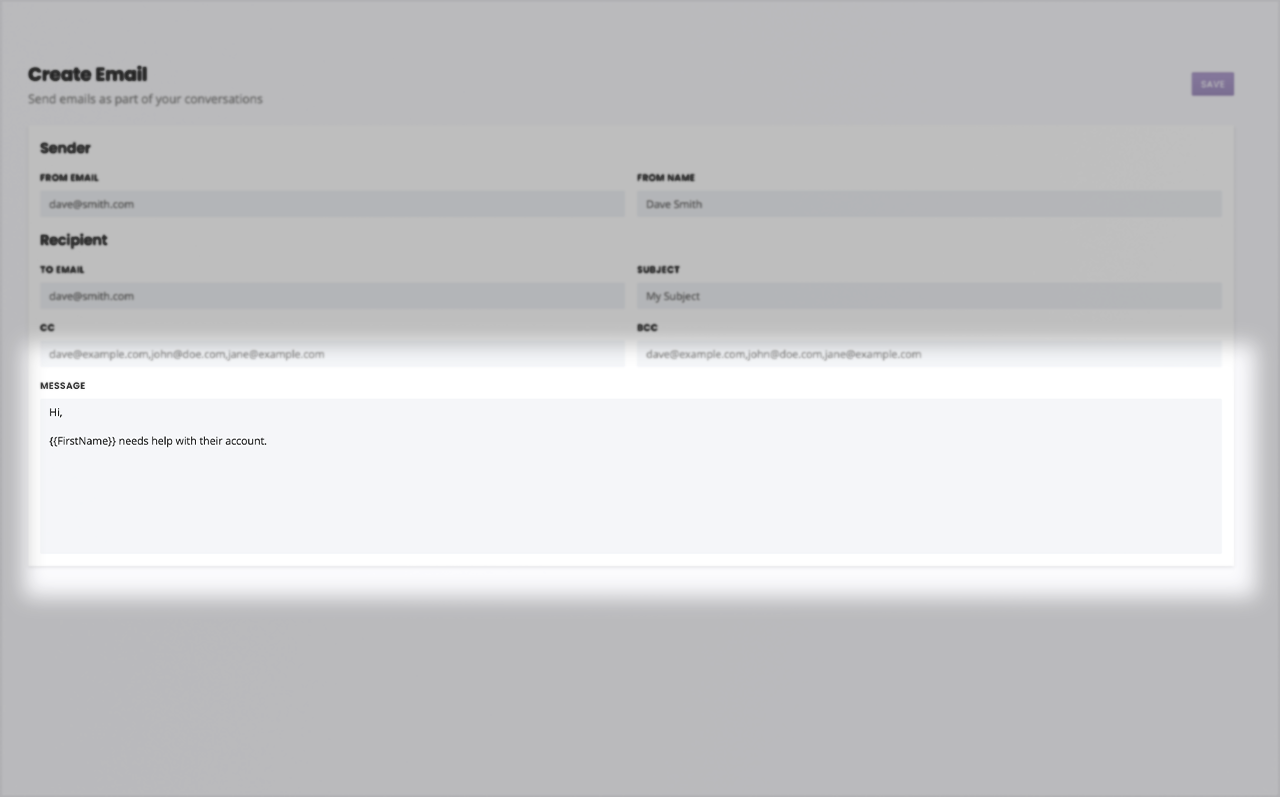
Step 3: Write the content of your email
Your email content may include custom variables.
To include a variable, simply start typing {{ (or click the (x) button) and pick the variable you need from the pop-up.
Step 4: Set up the email automation
Go to Builder.
Find the conversation you’d like to tie your email notification to and click View.
Open the Block bank. Click, drag, and drop an Email block onto the step.
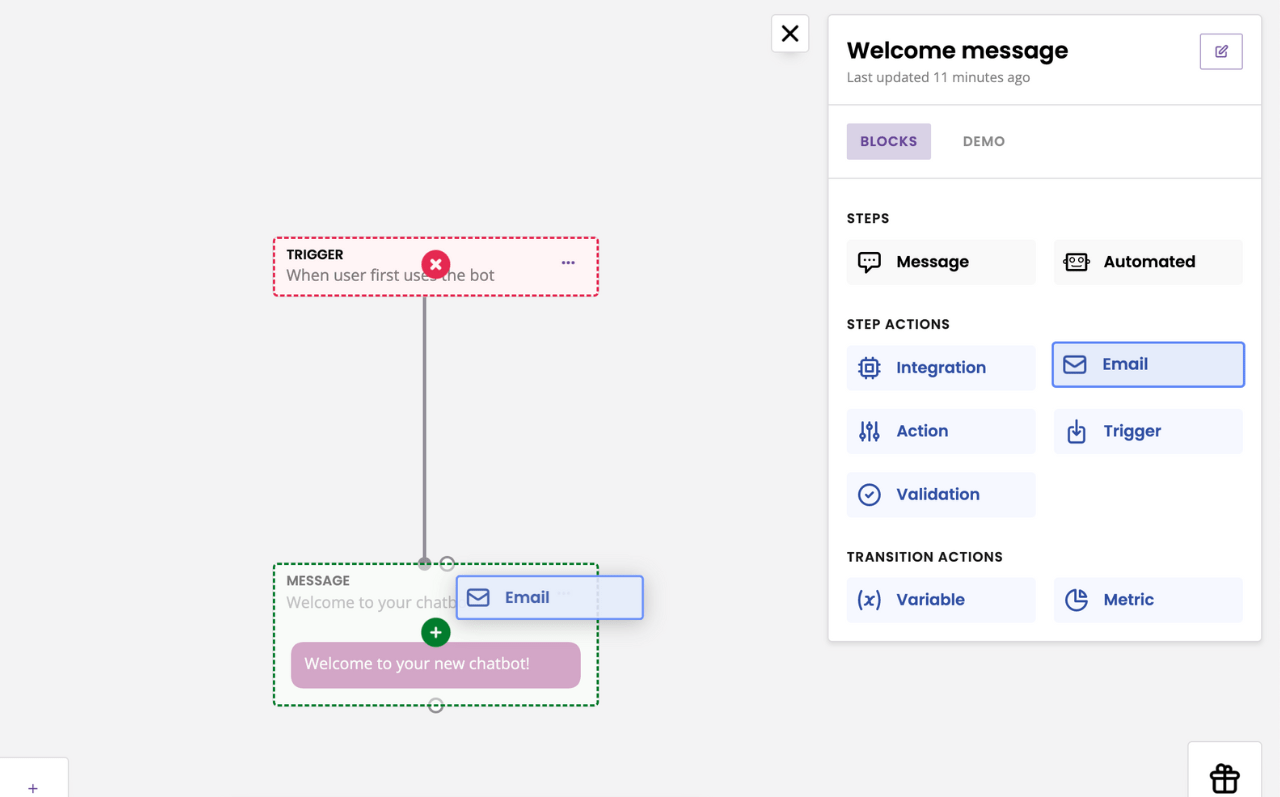
Select your email from the dropdown.
Hit Save.
Whenever a user reaches that step, your email notification will automatically send.