Create and capture variables
Last updated: 04 December 2023
Variables allow you to capture data as your workflows execute. For example, variables help you:
Capture a user's name and use it to personalise the conversation (e.g. 'Hello
{{custom.get.firstname}}').Capture user data and send it to an external integration (e.g. creating a lead in your CMS by capturing their
{{custom.get.email}}).Capture an order number and verify a purchase before moving the user forward in the conversation.
And many more use cases.
Step 1: Create a variable
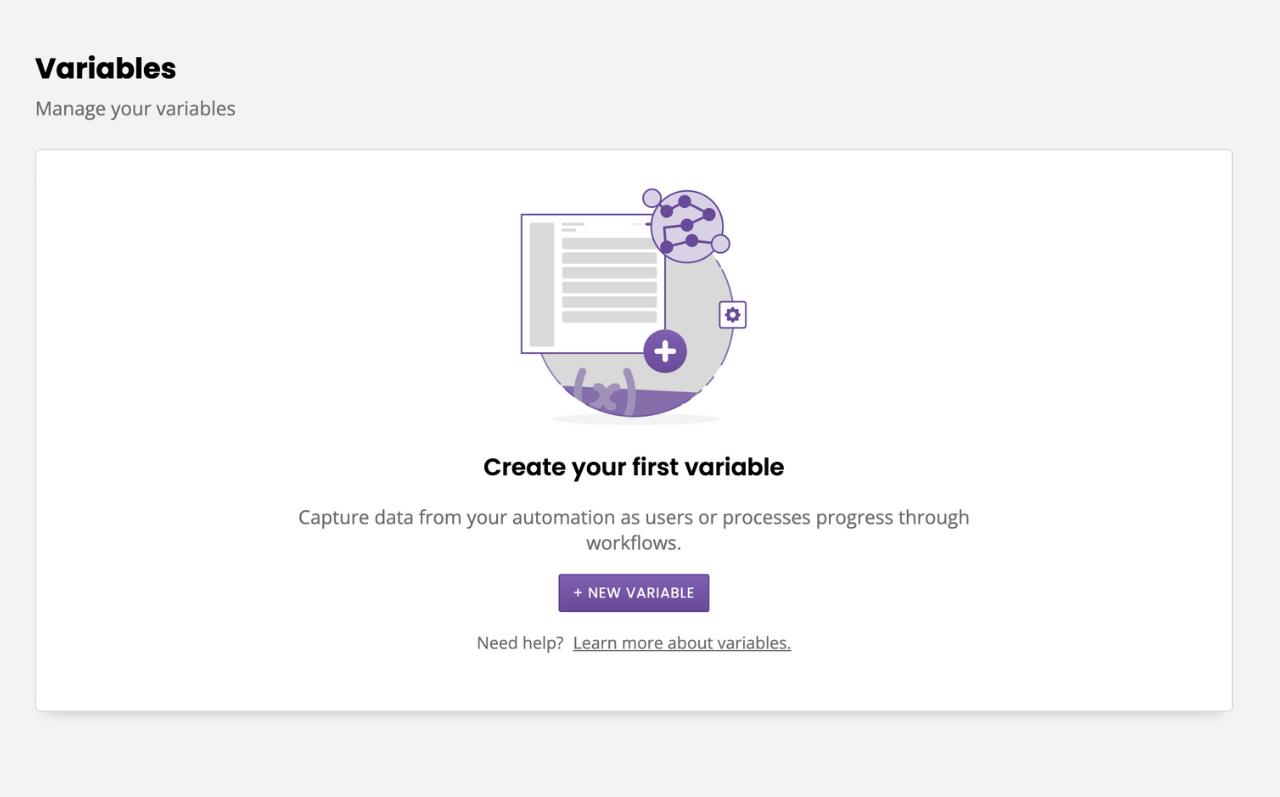
Go to Settings → Variables. Click + New variable.

Give your variable a name. As an example, let's go with firstname. If you would like, you can also give your variable a default value. This is optional.
Variable names must be either one word (e.g. emailaddress) or use underscores (e.g. email_address).
Your chatbot will revert to the default value if it hasn't captured anything from the user. In this example, you could put 'friend' as a default value for firstname. The default value gets overwritten as soon as the chatbot captures a new value for this variable.
Hit Save.
Step 2: Capture data into a variable
To capture data into the variable, we must now tie it to a specific conversation step.
Head to Builder.
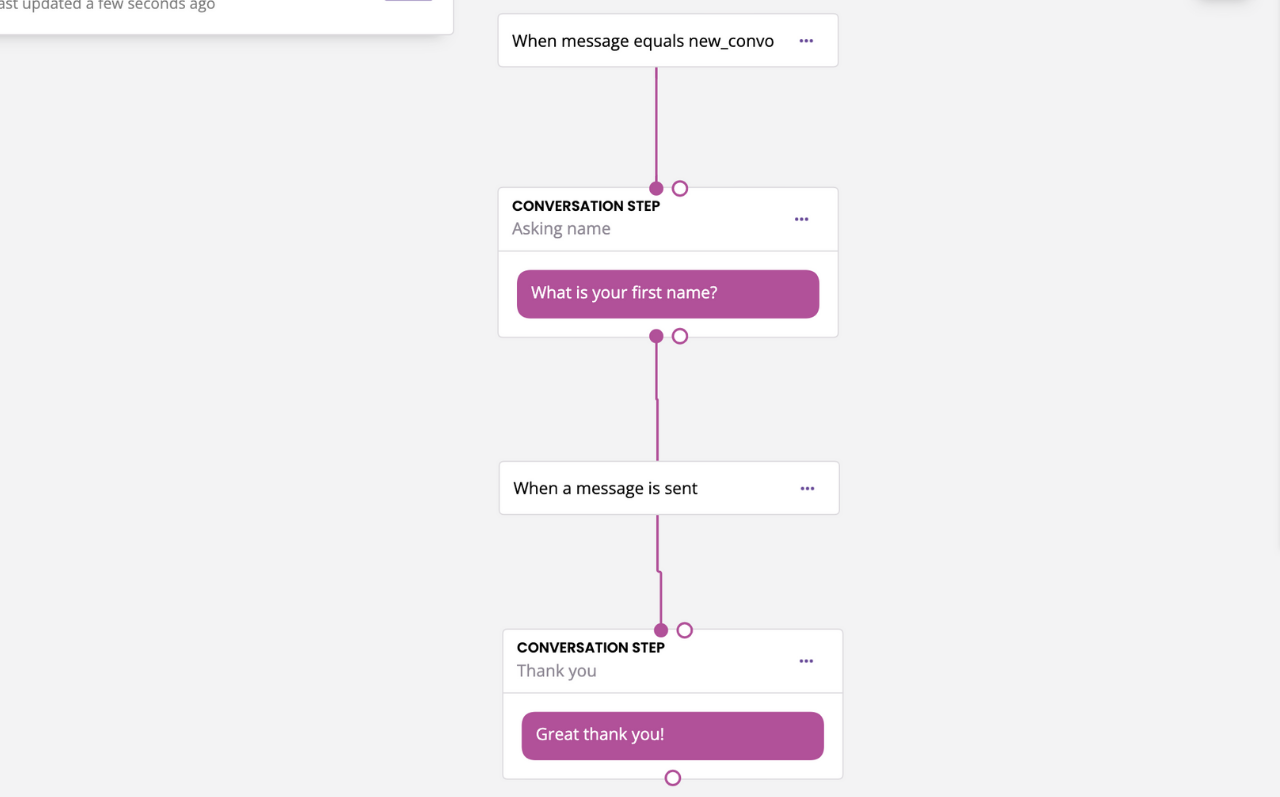
If you don't have one yet, create a new workflow. For now, let's assume you already have this simple workflow built:

The first step of the conversation asks for the user's first name. We will save whatever they respond (i.e. their name) into a variable.
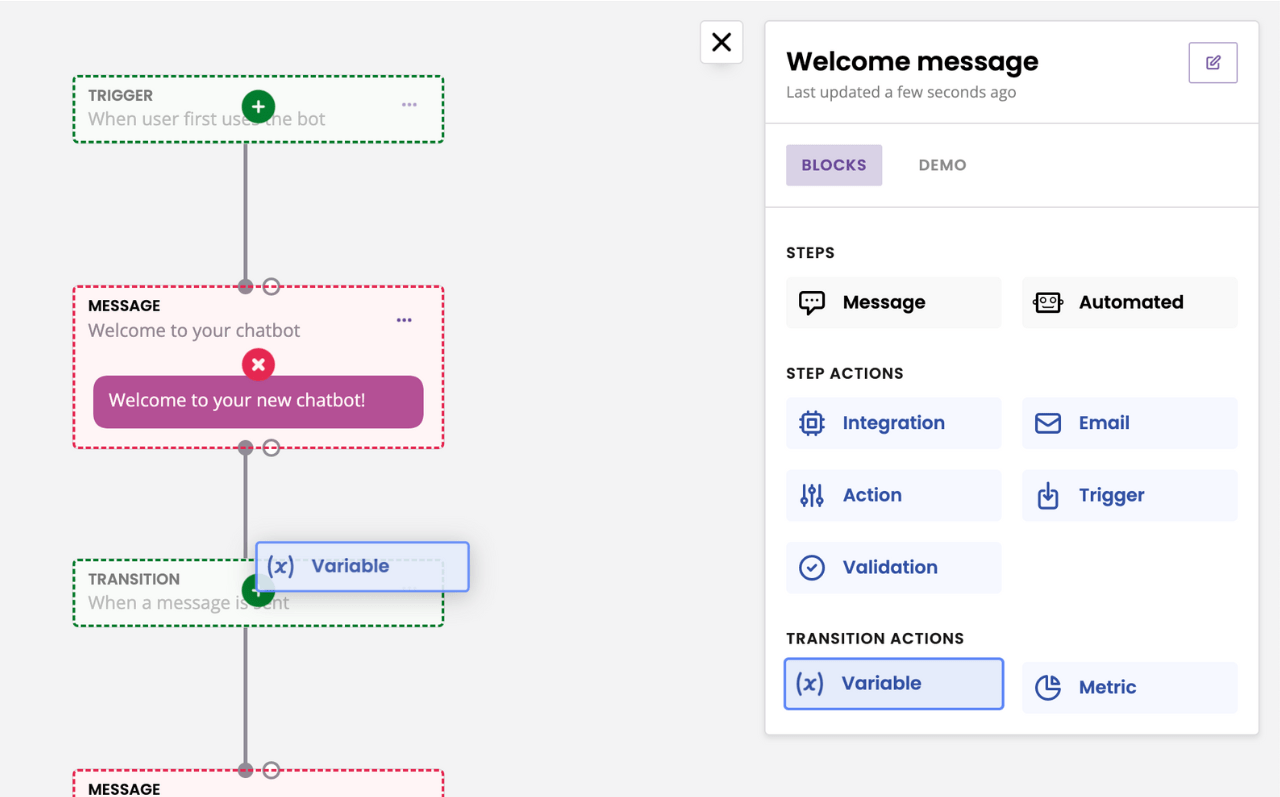
Open the Block bank. Click and drag the Variable block into the transition between both messages.

In the modal, select your variable (e.g. firstname).
Hit Save.
Step 3: Use your variables in conversations or integrations
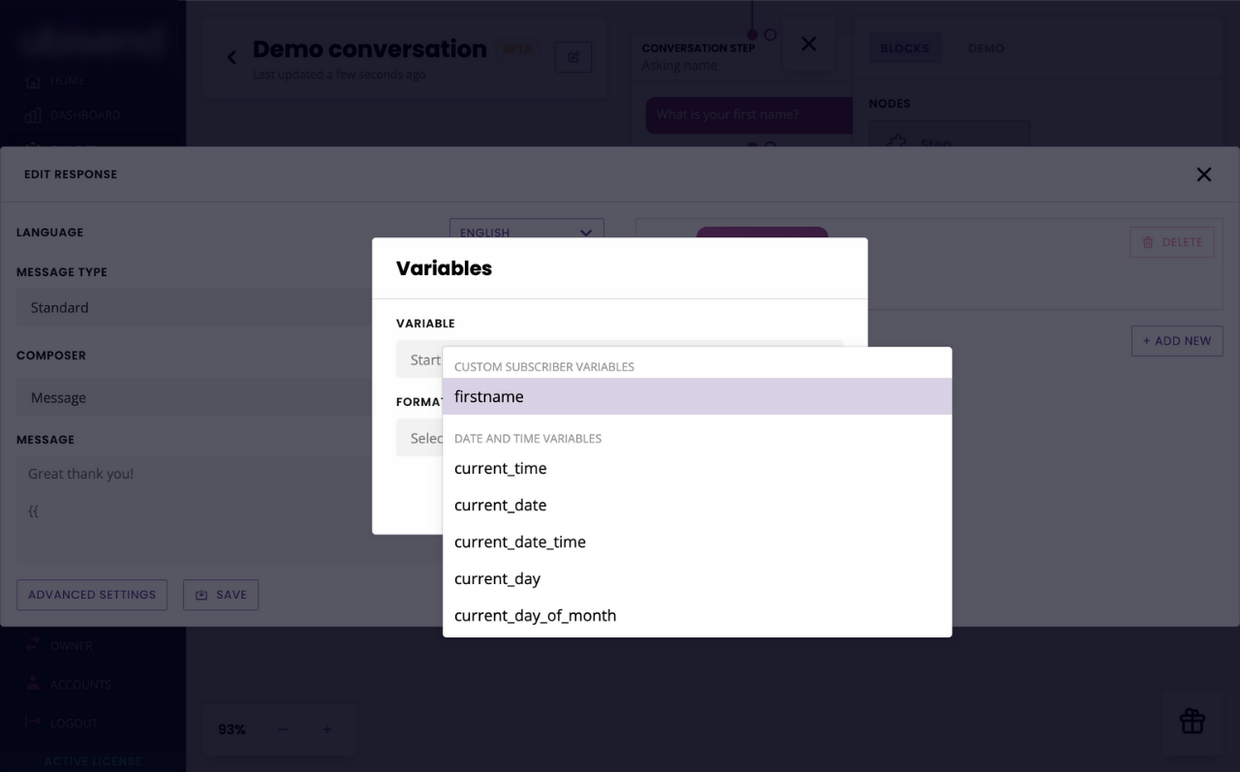
To use your variable in conversations, start typing {{ within your message copy. The following popup will appear:

Select your variable from the dropdown and click Choose.