
Design your embedded chatbot
Last updated: 17 March 2023
Embedded chatbots sit within the content of a page, such as within a blog post or underneath a product.
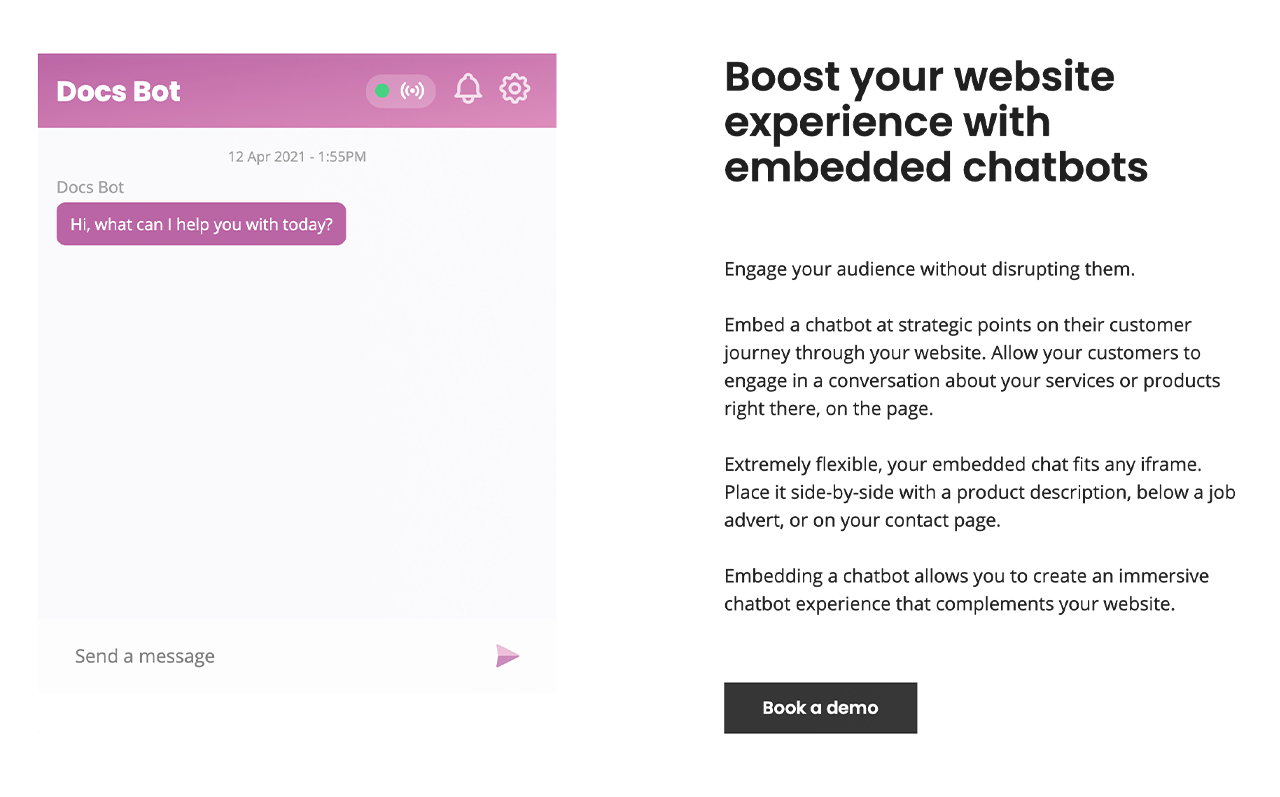
They're a great way to bring static content to life and boost engagement.
Go to Engage → Channels. In the list of channels, find Embedded and click Options.
Each settings area enables you to customise different elements of your embedded chatbot. You can choose from preset colours or use hex codes to match your brand's identity exactly.
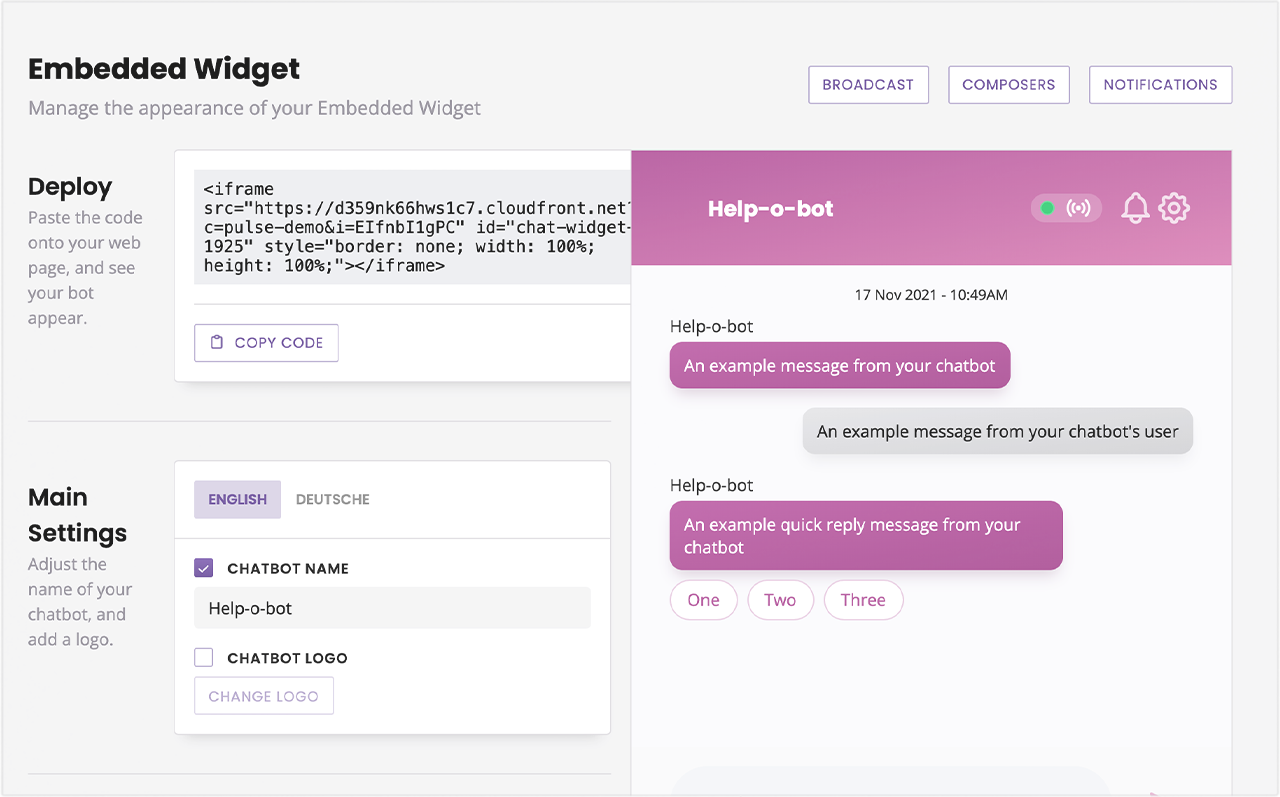
Changes you make to your embedded chatbot will only go live when you hit Save.
Step 1: Add a logo and name your chatbot
Within the Main settings area, you can change your chatbot’s logo and name. You can also choose whether you would like your chatbot to display its logo and name to your users by turning these on or off.
Step 2: Add your brand colours
You can customise every element of the colours and branding within your chat widget. You can choose from either the preset selection of colours or add hex codes to match your brand identity exactly.
Colour settings enable you to change the colour of the banner text as well as the banner’s background. Use different colours inside the gradients to spice things up. Would rather choose a block colour? Simply set both gradients to be the same colour.
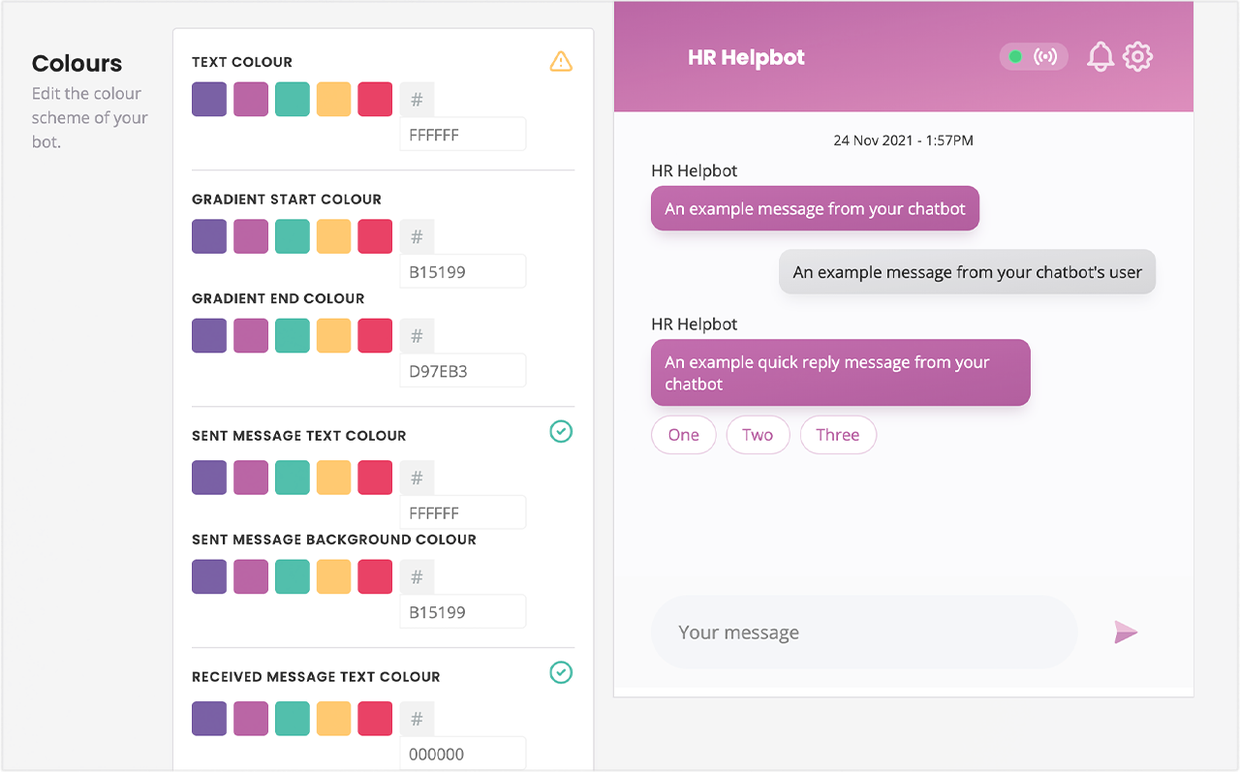
Message settings help you customise the font and background colours of your chat bubbles.
Step 3: Customise your font
Your chatbot supports most Google Fonts. Go to Google Fonts and select a few fonts, then copy and paste the Google source into the settings.
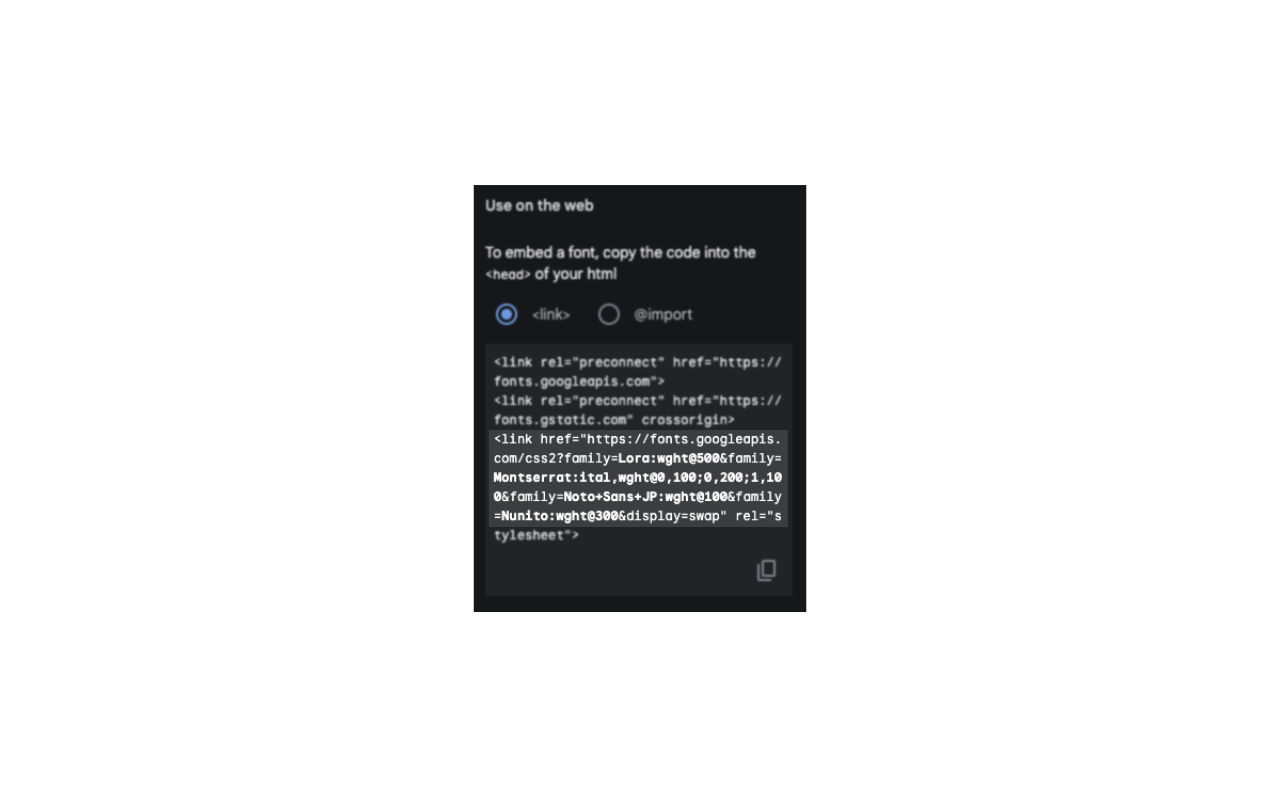
The Title Font and Bot Font drop-downs will automatically populate with the fonts you’ve chosen. Use the dropdown to select your font of choice.
Step 4: Add custom avatars and composers
Avatar settings allow you to add custom avatars. Turn avatars on or off, use our default avatars or upload your own. The chatbot avatar and human avatar differentiate between messages from your chatbot and messages from your live chat agents.
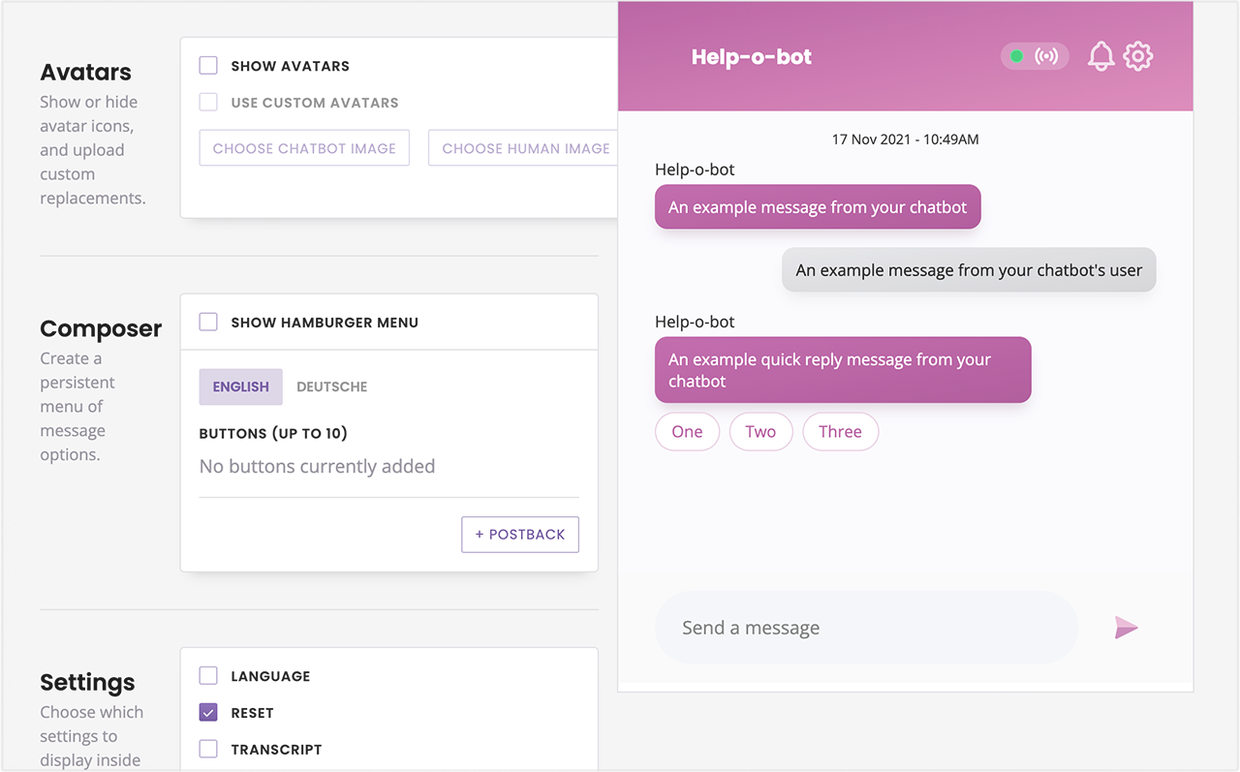
Composer settings allow you to add a hamburger menu to your chat widget with quick links or actions.
Settings page allow you to give or revoke the ability for chatbot users to:
Change their preferred language
Reset their chatbot conversation
Download their chat transcript
Export all data associated with them
Delete all data associated with them