
Design your full page chatbot
Last updated: 03 April 2024
Design your full page chatbot to perfectly match your brand identity by customising its colours and logo.
To get started, go to Engage → Channels. In the list of channels, find Full page and click Options.
The preview section on the right displays your changes in real-time.
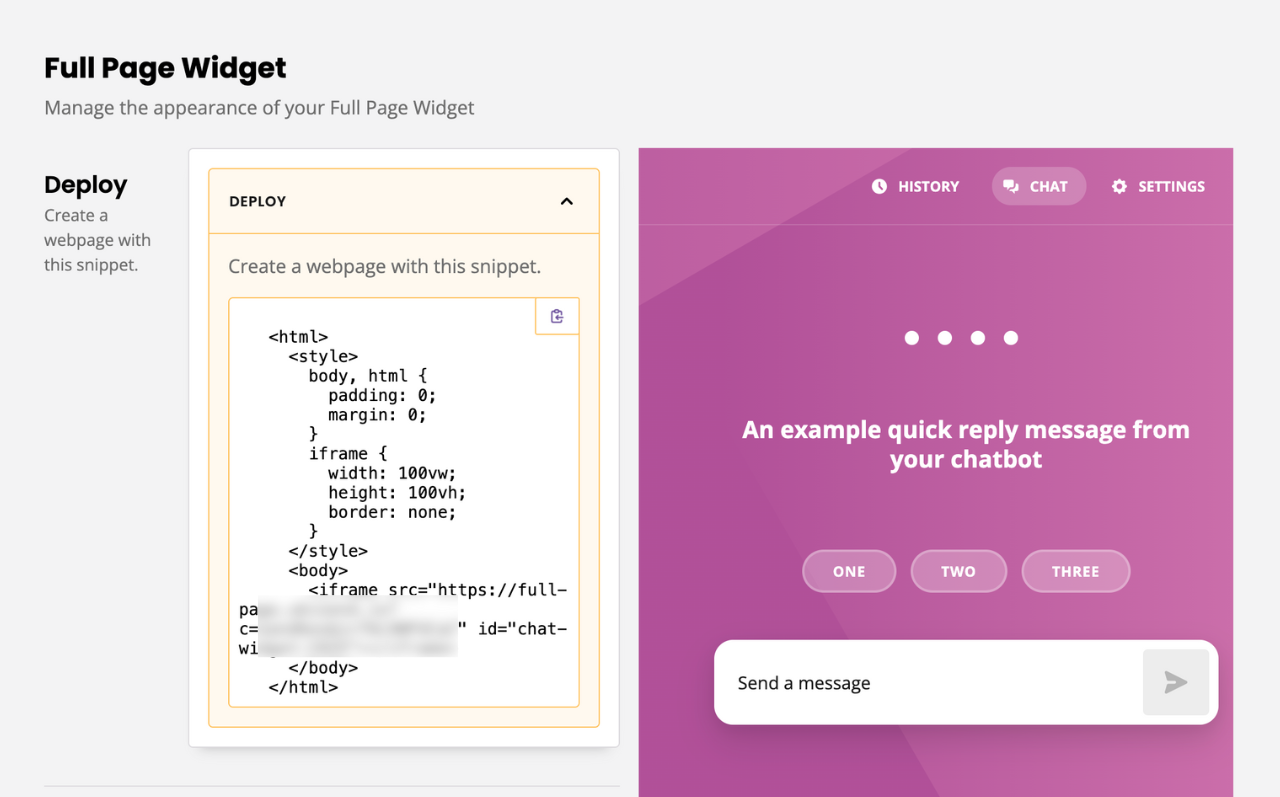
Any changes you make will only go live after you click Save.
Step 1: Add a name and a logo
Give your chatbot a name (optional) and logo (optional).
You can choose whether to show or hide your logo and name by using the toggle option.
If you want, you can also link your logo to a web page.
Step 2: Add your brand colours
You can also customise the colours of your full page chatbot in the Colour settings area. Choose from either the preset selection of colours or add hex codes to match your brand identity.
Change the background of the full page chatbot by editing the Gradient Start Colour and Gradient End Colour.
Use different colours to add a gradient effect to your background or simply select the same colour or hex code for both gradient options to have a block colour background.
Step 3: Customise your font
Your chatbot supports most Google Fonts. Go to Google Fonts and select a few fonts, then copy and paste the Google source into the settings.
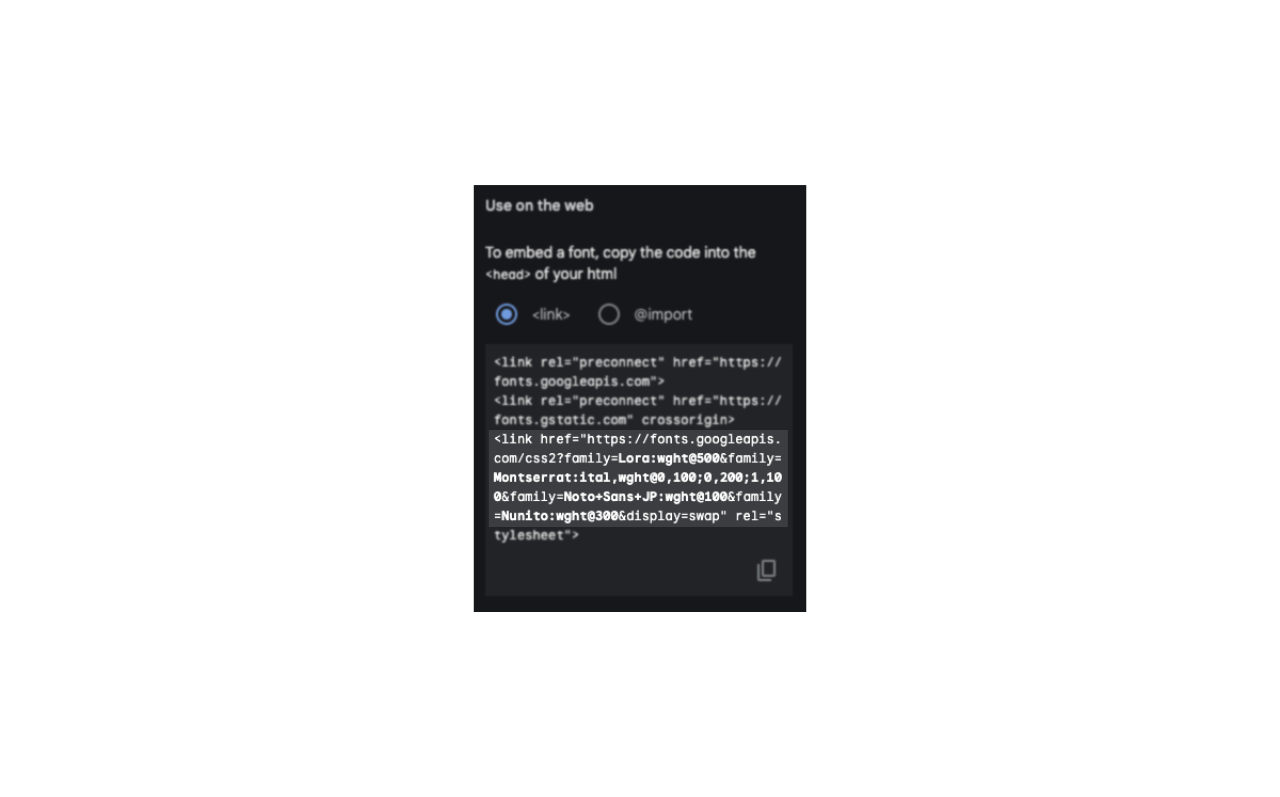
The Title Font and Bot Font drop-downs will automatically populate with the fonts you’ve chosen. Use the dropdown to select your font of choice.
Step 4: Organise your settings
Settings page allow you to give or revoke the ability for chatbot users to:
Change their preferred language
Reset their chatbot conversation
Download their chat transcript
Export all data associated with them
Delete all data associated with them