
Enable live chat
Last updated: 04 December 2023
Live chat is often an integral part of the conversational experience. Through your chatbot platform, you can enable live chat at specific days and times; or completely disable it.
Step 1: Enable live chat
To enable live chat, head to Service → Live chat.
In the top right of the screen, click Settings.
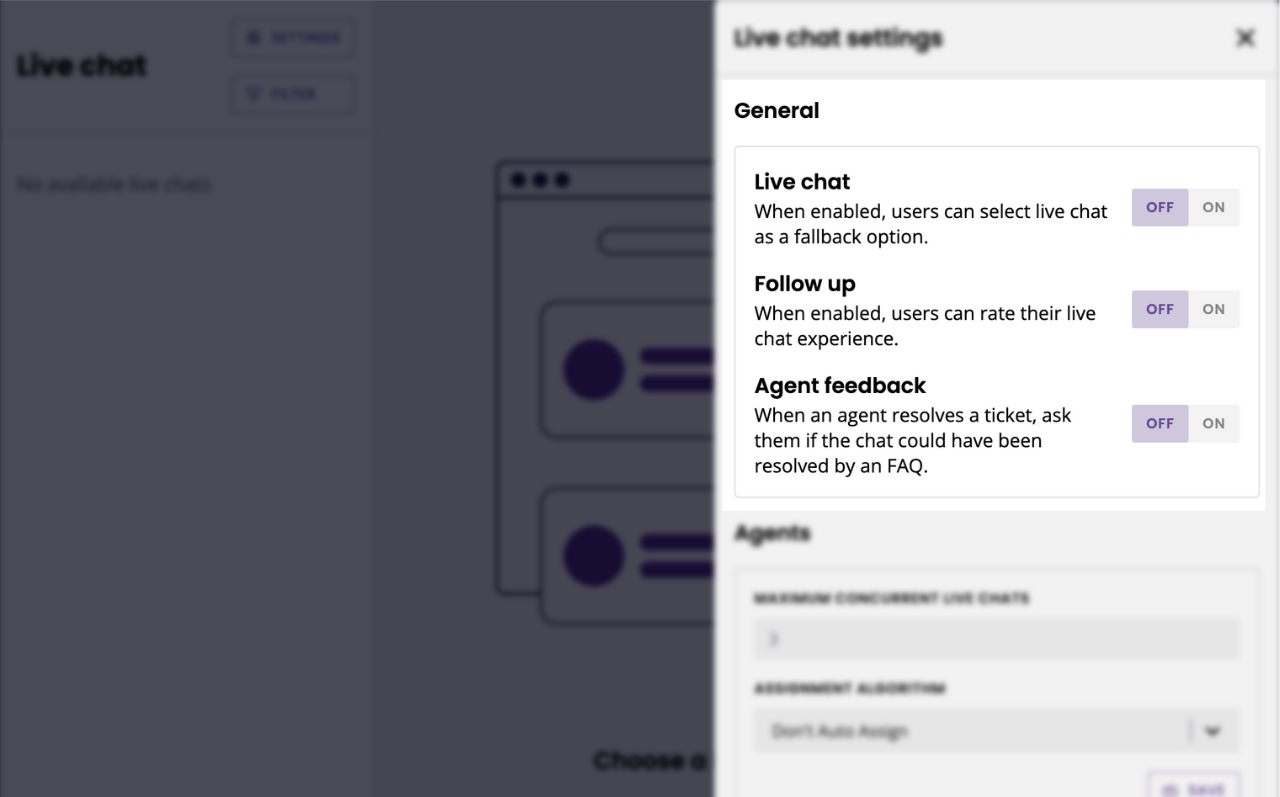
There are three general settings:
Live chat: enable or disable live chat.
Follow up: when enabled, your chatbot will automatically ask for a user's feedback after a live chat interaction with one of your agents. Perfect to track your team's performance.
Agent feedback: when enabled, every time a live chat agent closes a ticket they will be asked if this enquiry should be turned into an FAQ.
Step 2: Set up working hours
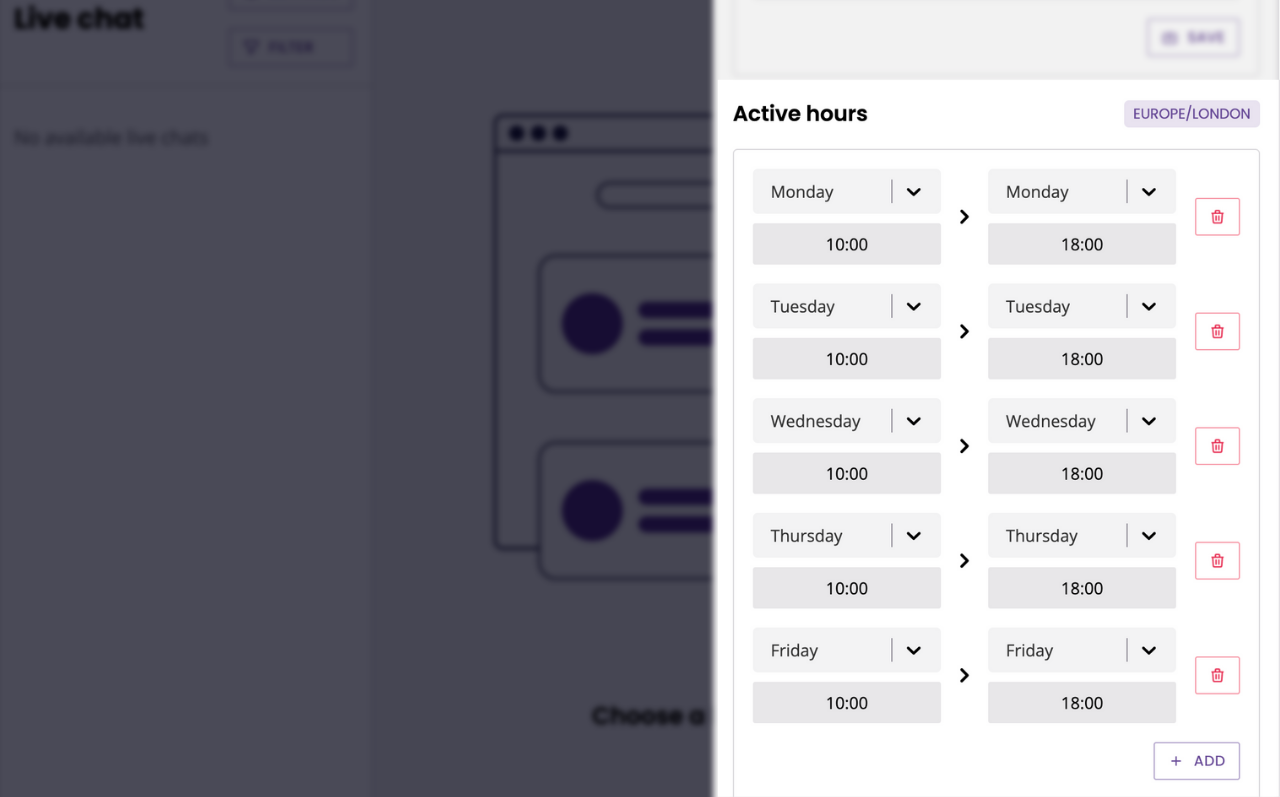
Once you have enabled live chat, scroll down to Active hours. Enter the hours during which your team is active.
These hours apply to your account as a whole and do not represent individual agent working hours (see step 3). They dictate live chat availability as a whole and are what the Live chat is available conditional uses to make a decision.
Step 3: Set up individual agent working hours
Each agent must set their working hours individually.
To do so, an agent must log into the platform and go to Service → Ticketing.
In the right panel, they must enter their working hours.
These hours impact whether an agent is available to be forwarded a ticket. Live chat tickets raised outside of their working hours may still be visible to an agent.
What happens when an agent doesn’t have any working hours set
Live chat tickets will still get raised. The agent may still see the tickets in the queue and pick them up. Other agents will not be able to forward those tickets to them.
What happens when live chat is disabled (or out of hours)?
If live chat is disabled, your chatbot will revert to the simple human fallback feature. This feature, by default, takes information from the user and sends an email to your platform owner.
Do I need to enter days when I’m not working?
No. If you are not working Saturdays for example, you don’t need to add a Saturday row.