
Enable OAuth 2.0 login
Last updated: 20 May 2024
Your chatbot platform supports two types of login:
Simple email and password
OAuth 2.0
This doc will help you set up an OAuth 2.0 login.
This setting is only accessible at the owner level. If you are not an owner of your platform, please contact your account manager.
Step 1: Go to your owner area
Once logged into the platform, click the Owner button at the bottom left of the page.
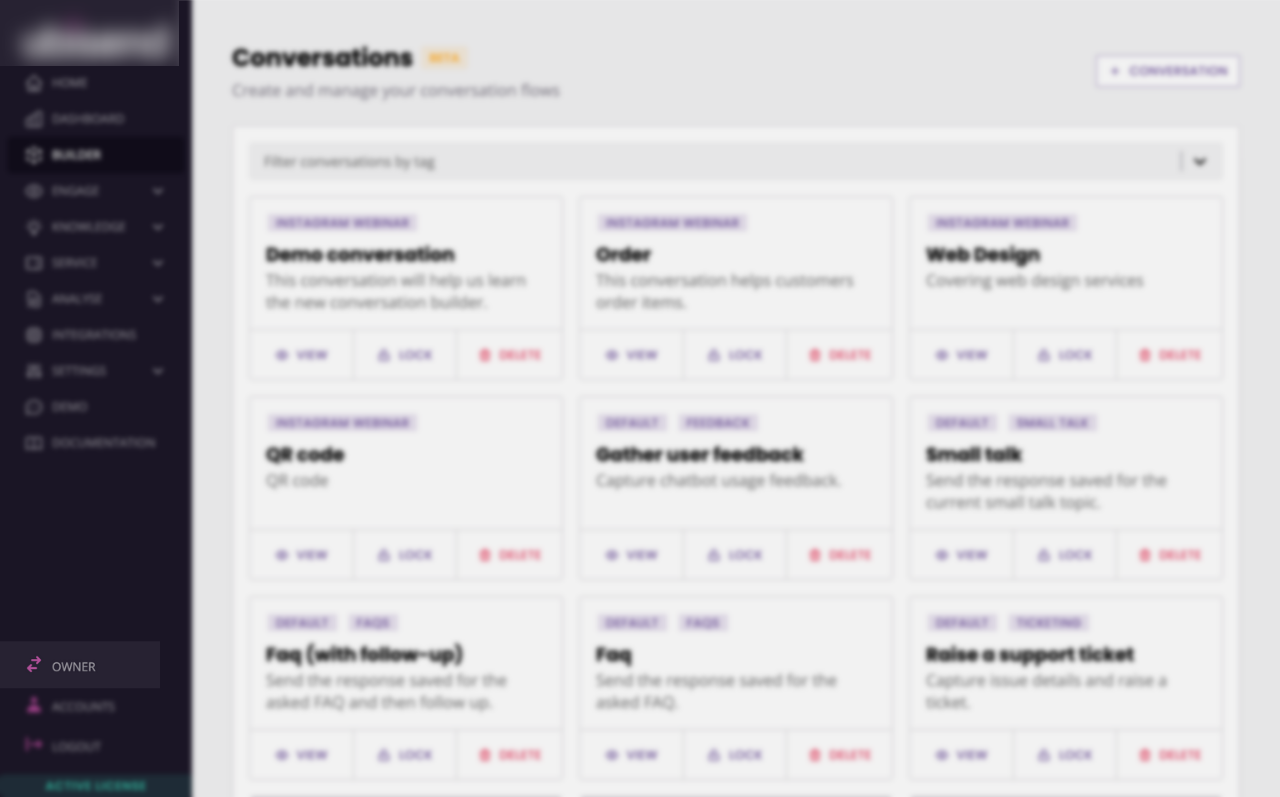
This should bring you to the owner area.
Step 2: Enable OAuth 2.0
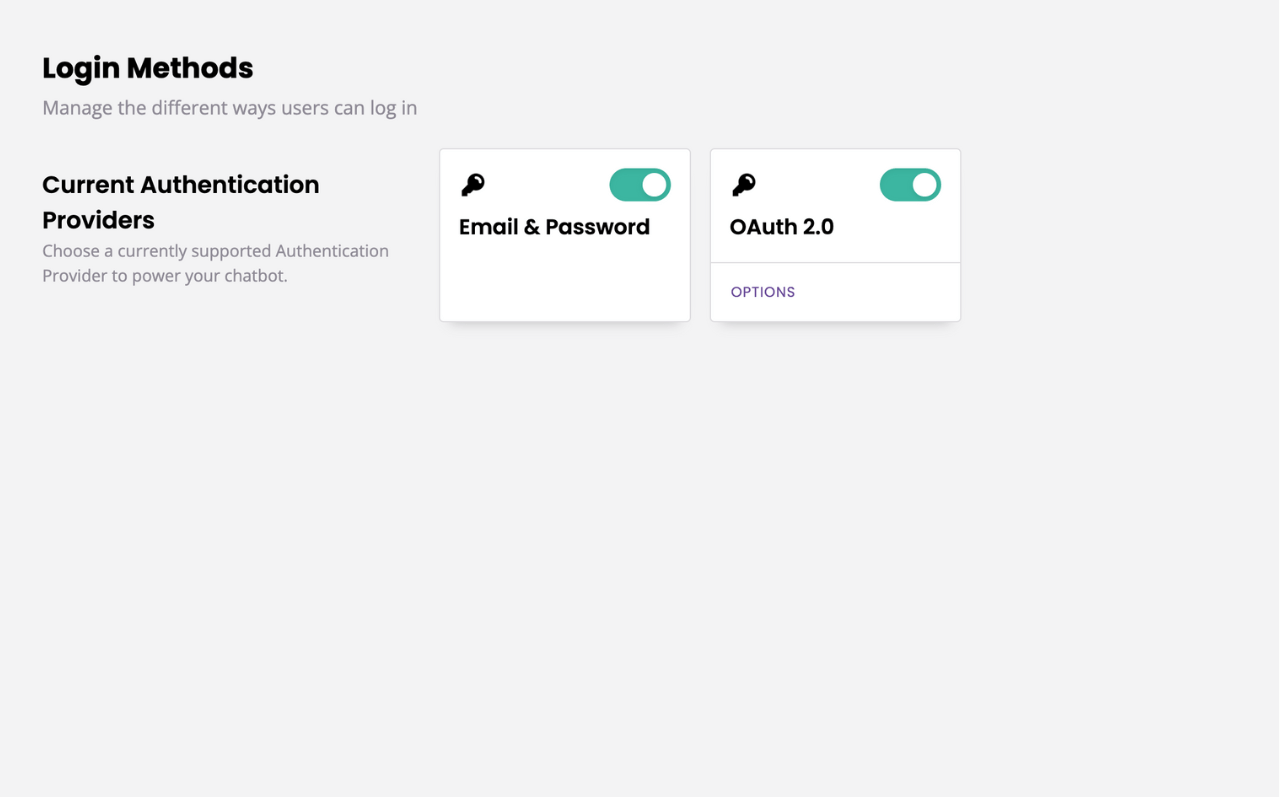
Go to Login methods.
Enable OAuth 2.0 by clicking the grey toggle at the top of the block.
Step 3: Configure your OAuth 2.0 settings
In the OAuth 2.0 block, click Options.
The settings on this page allow you to set up any OAuth 2.0 service using the Authorization Code grant type. The fields are:
Name: Give your OAuth 2.0 a name. This name will appear inside the button allowing users to log in on your login page. For example, if you entered Google, this is what the button would look like:

Auth URL: Enter your authentication URL. This is the URL of the authentication service of your choosing. A user will be redirected here to authenticate.
Client ID: All OAuth 2.0 authentication services will require you to create a client ID. The process to create and/or find this client ID will vary from provider to provider.
Client secret: Enter the secret key associated with your client ID.
State (Optional): The authentication service returns the unmodified value of state back to the application and can be used to persist data during the authentication request.
Scopes (Optional): Scopes tell your authentication service which permissions the authenticated user requires. If the user does not have access to these permissions, it will cause the authentication to fail.
Parameters (Optional): List the parameters the authentication needs to send along with the request.
Step 4: Create the authentication integration
To finalise the OAuth 2.0 setup, you need to create an integration to the provider you wish to connect with (e.g. Google, Microsoft, Facebook, etc.). This will involve creating one or two integrations. Integrations are used at this stage as the method of obtaining the access token varies between providers and integrations provide the flexibility to build the requests in any way necessary. Below is a summary of the requests which may be required.
Access Token (required)
After the user has authenticated with the authentication service, they are redirected back to the application with a code. In order to determine whether or not the user is valid and to obtain more information about the user, the application must make a request to exchange the code for an access token. Typically, you will need access to the code provided by the authentication service when redirected back to the platform when building the integration. This can be accessed using the {{code}} variable.
User details (optional)
A user may have successfully authenticated with the provider, but that doesn’t mean they should be able to access the platform. First, a unique piece of information such as their email address or employee identification number (which is entered when inviting a new user) may need to be checked verified. To get this information, it is likely a request to another endpoint is needed. Typically, the access token obtained above will be needed and can be accessed using the {{access_token}} variable.
The response to this request is used later in the setup when configuring the identifier.
In order to create these integrations, leave the owner area and log in to any account on your platform.
If you’d rather, you may create a new account without an active license (therefore free).
Go to Integrations and click + New integration and create an integration and associated endpoints as needed for your given authentication provider.
Step 5: Call the integration inside the authentication settings
Now that we have created the integrations, we can use them inside the authentication settings to wrap up the setup.
Go back to the Owner → OAuth 2.0 → Options.
Scroll to the bottom. Under Auth token endpoint, use the dropdown to find your access token integration.
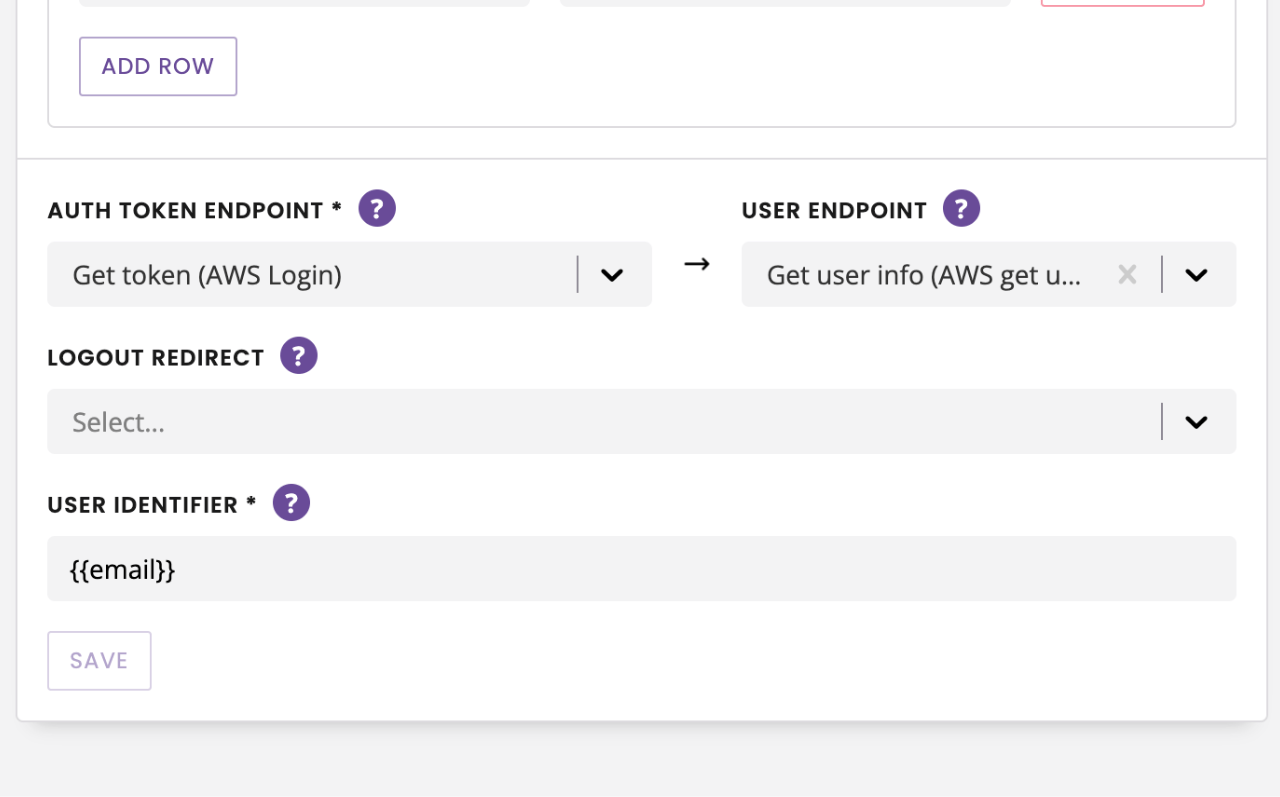
If your integration requires it, use the User endpoint dropdown to find user authentication integration.
If your integration requires it, use the Logout redirect dropdown to select an SSO invalidation integration.
Finally, configure the User identifier. When inviting a new user to the platform, you will have to provide an identifier for them. This may be an email address or employee ID or any other piece of information you are able to return from the user detail's endpoint (or access token endpoint in the event it returns sufficient information).
When a user attempts to log in, the user details endpoint is called. Any data on the response can be used to lookup a user by their identifier using the variable syntax used all around the platform. In a scenario where an email address is used as the identifier, and where the user detail endpoint returns a JSON response where the email address can be found using the email_address key, the identifier would need to be set to {{email_address}}.
When a user attempts to login, the platform will only allow them access should there be a corresponding user (or outstanding invitation) with the same email address.
Step 6: Save and test
All set? Hit Save at the bottom of the page.
To test your new login method, log out of the platform and head to your login page.
Your new login method should appear below the simple email and password (assuming you have not turned that off).