How to create an automated workflow without a single message
Last updated: 02 May 2023
Through message and automated steps, the builder allows you to create pure conversational automation, pure robotic automation, and a hybrid of the two.
More on message vs. automated steps.
In this tutorial, we will focus on pure automation. We will create a workflow that will automate several processes in a row without ever sending a single message.
Step 1: Create a webhook
To start, we will need a webhook.
Webhooks are the only way to trigger a workflow without accessing a chat interface, thus it is our only option if we want to create a pure automation.
Go to Integrations. In the webhook section, click Add webhook.
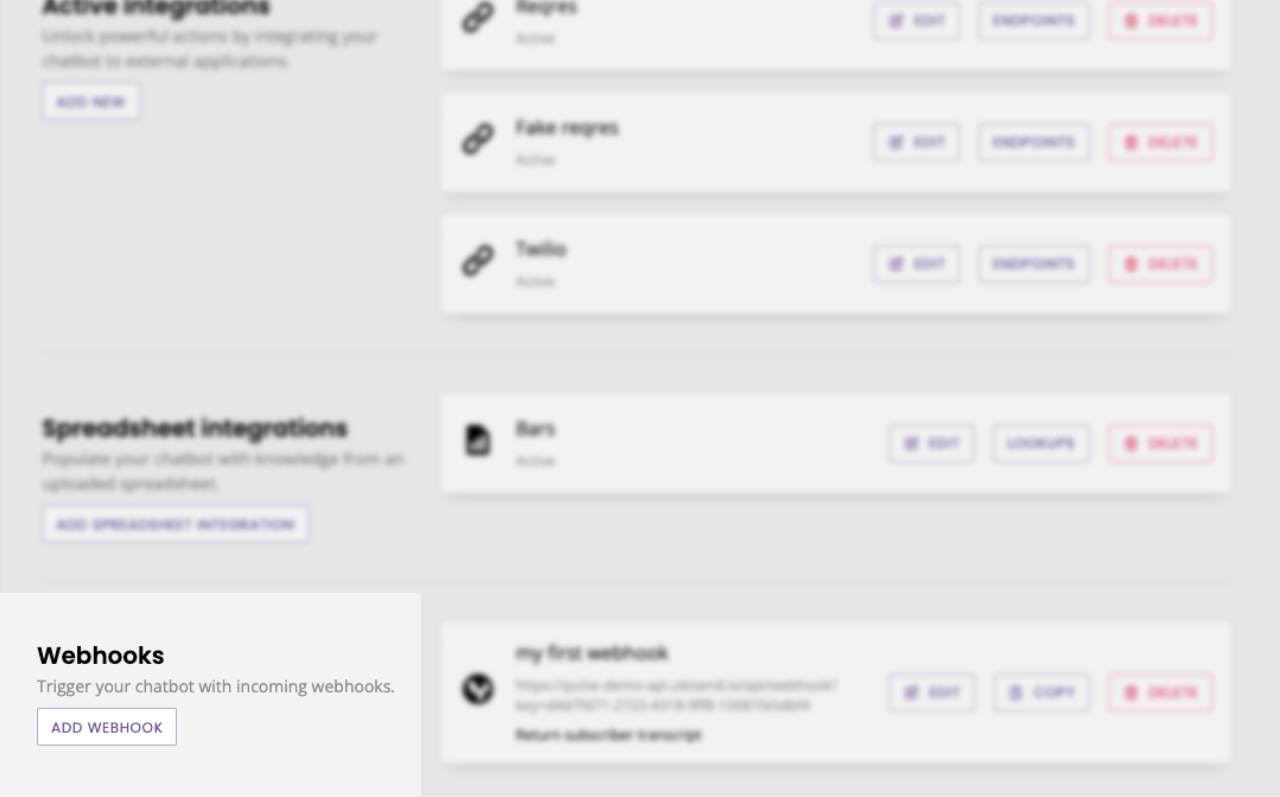
Give your webhook a name, a referring URL, and select No action.
Click Save.
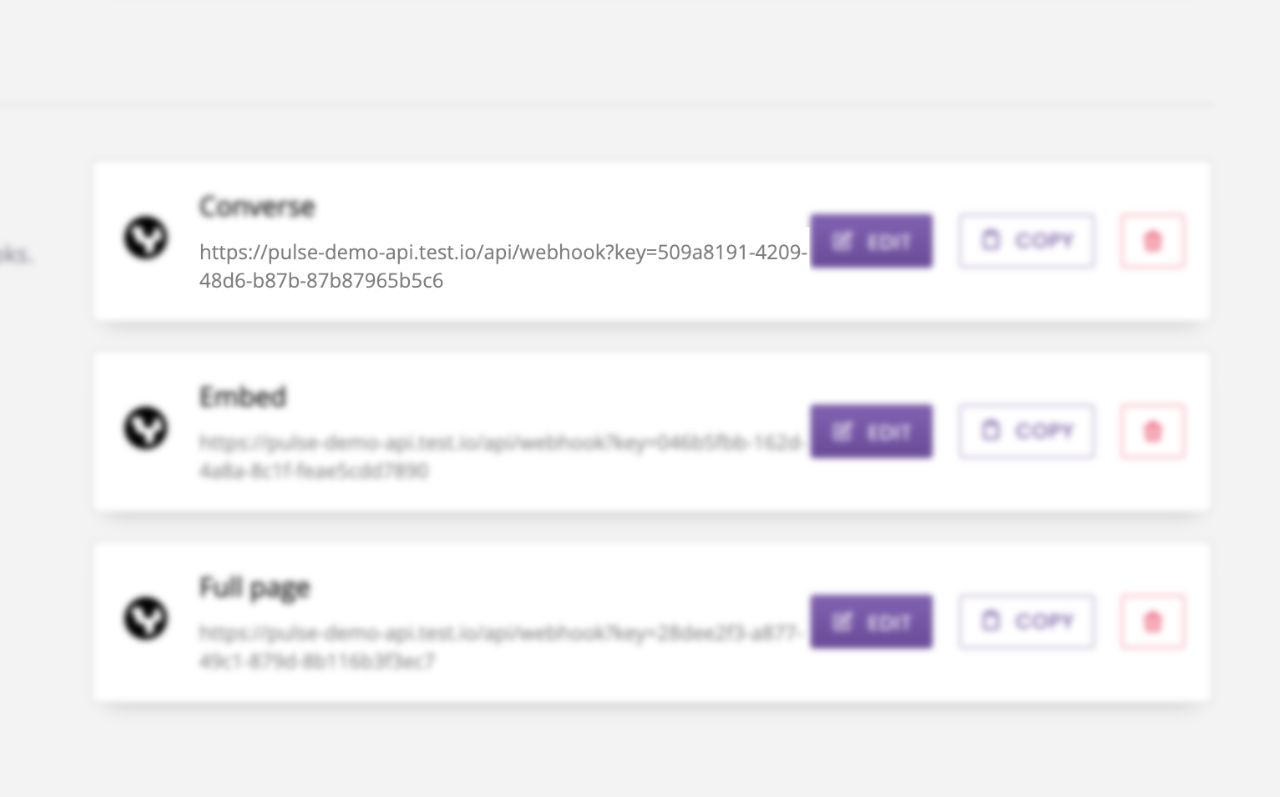
Take note of your webhook key:
Step 2: Create a conversation
Go to the Builder.
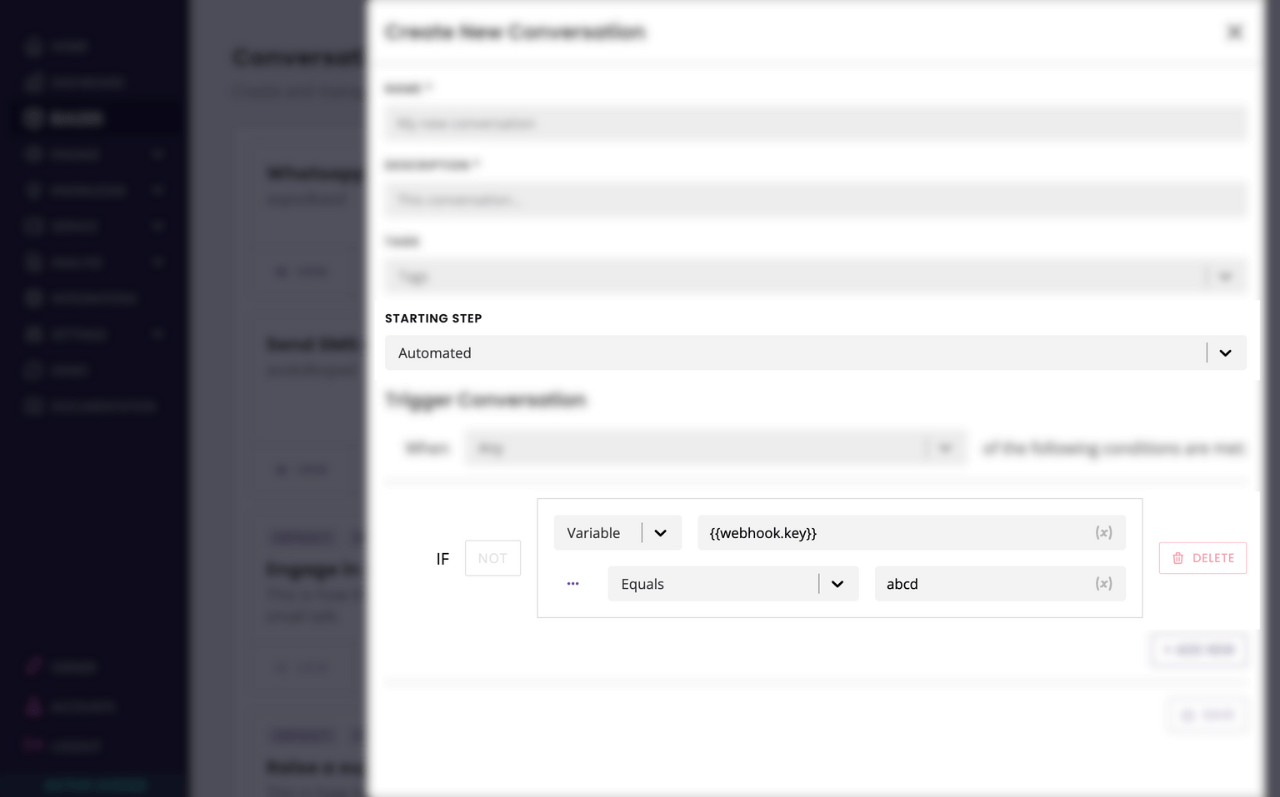
Create a new workflow. Give it a name and a description. Make sure to select Automated as the Starting step.
In the trigger, enter Variable {{webhook.key}} equals [your key].
Step 3: Add automated steps
Now that we’ve got our trigger and our first automated step, we can add as many new automated steps as our hearts desire.
Drag and drop an automated step from the block bank onto the canvas.
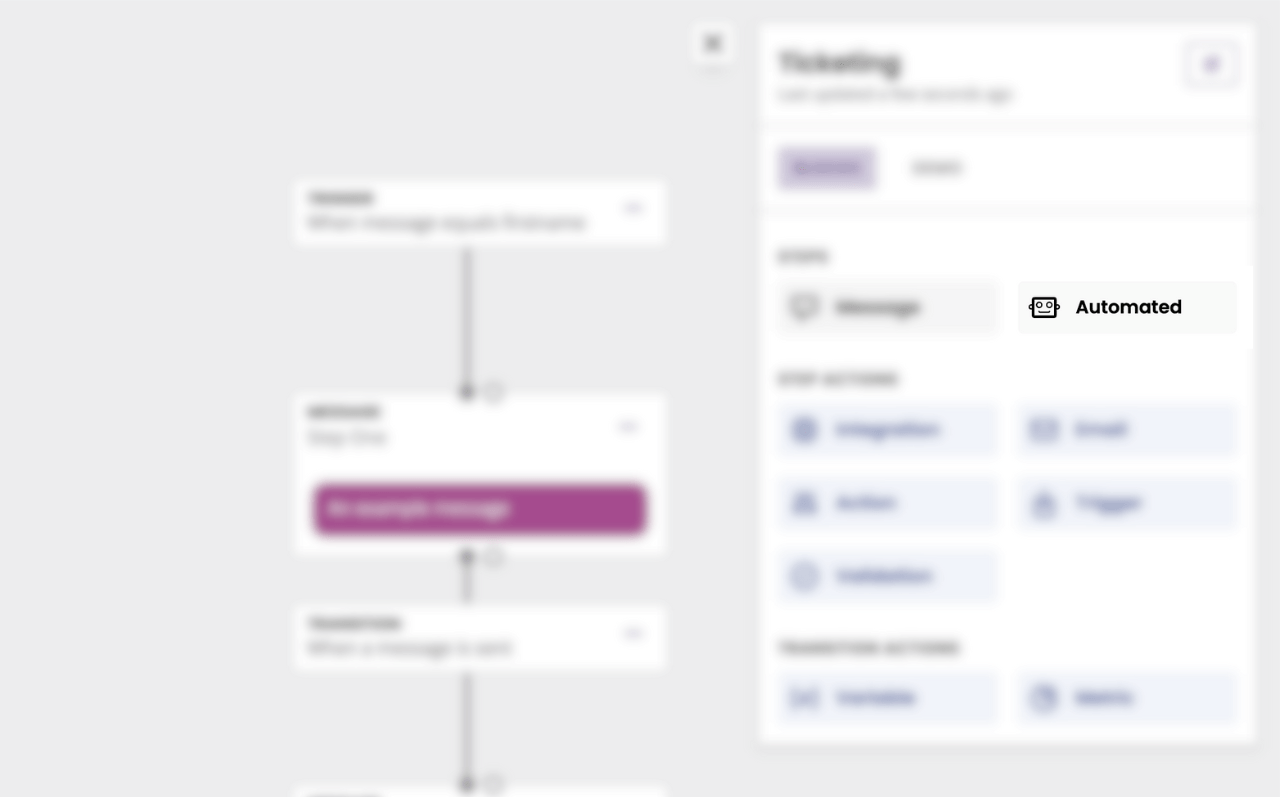
Connect existing step with the new one by connecting their dots.
In transition, select Previous step is complete.
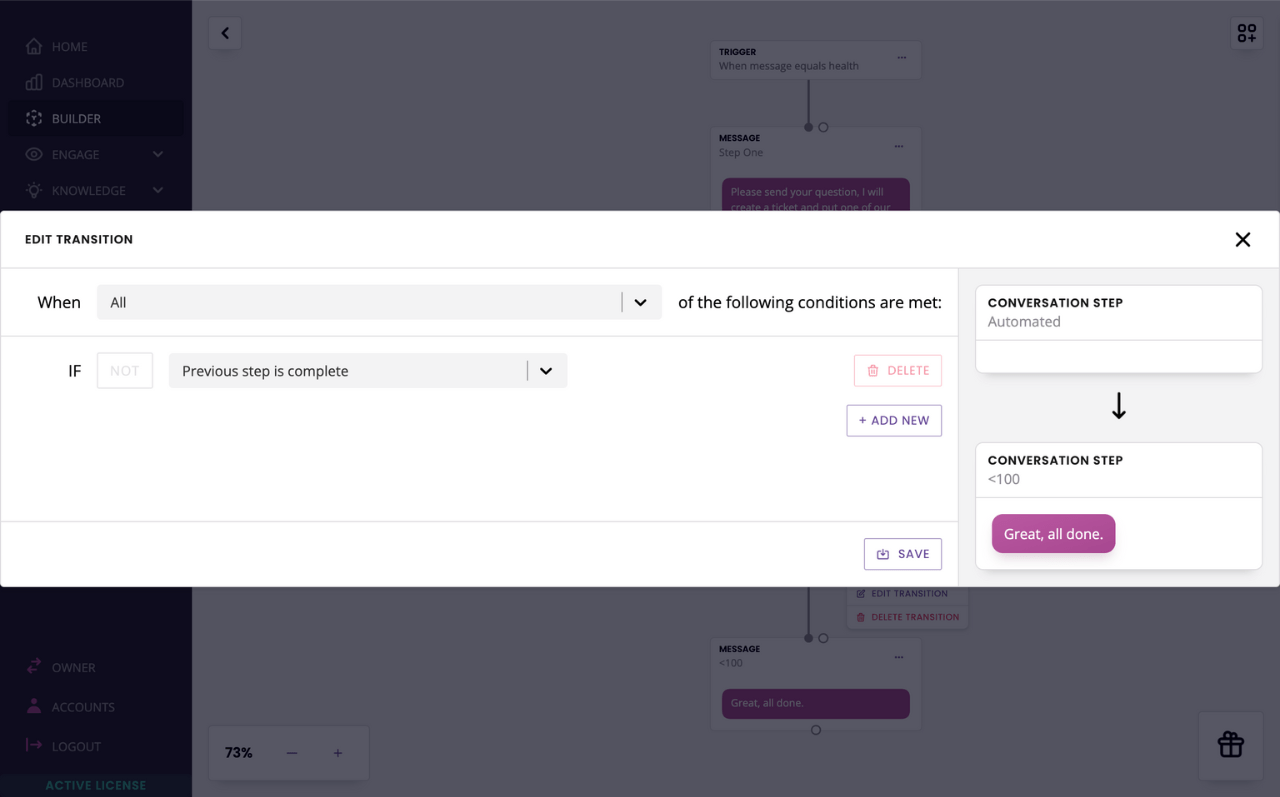
And continue until your automation is complete.
Step 4: Trigger the webhook
Finally, time to trigger your webhook!
Grab your webhook URL and append the following value: &channel_driver_name=Converse. Here’s an example in Postman:
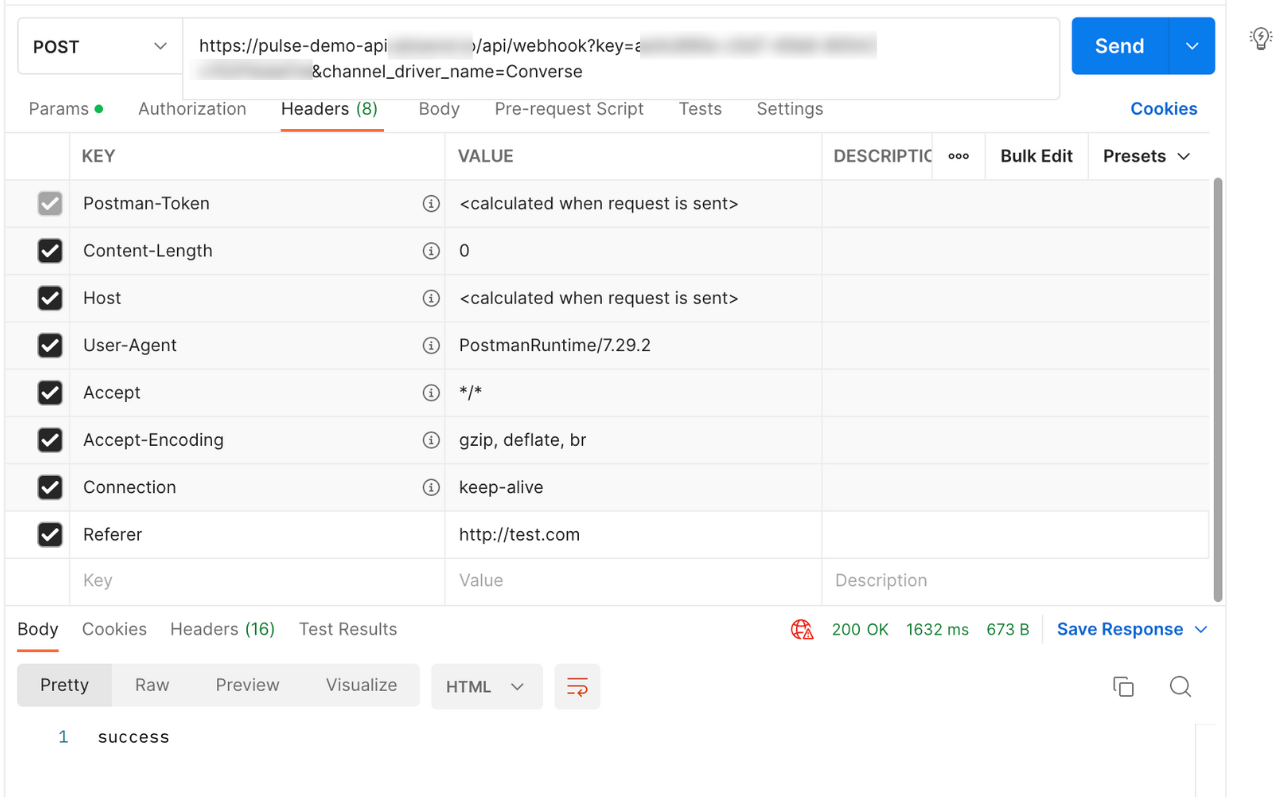
All done!