
How to use a spreadsheet lookup in transition
Last updated: 02 May 2023
There are plenty of use cases for spreadsheets in chatbots, from simply bringing content from a spreadsheet into your copy to creating a whole pricing matrix.
In this tutorial, we will use a spreadsheet lookup to transition the user down the right path of the conversation.
Use case
For this tutorial, let’s pretend we have a long spreadsheet of items and their associated prices
We want the chatbot to ask the user which item they’re interested in purchasing. Then, depending on the price of the item, we will send the user down two different paths.
For cheap items (e.g. less than £100), we will let them proceed with the purchase there and then.
For expensive items (e.g. more than £100), we will require them to speak to one of our sales persons.
Let’s get stuck in.
Step 1: Create a spreadsheet
The first thing we need is a spreadsheet. Remember, your spreadsheet must:
Be saved in .csv format
Have values starting from cell A1
Have column names
Here’s an example:

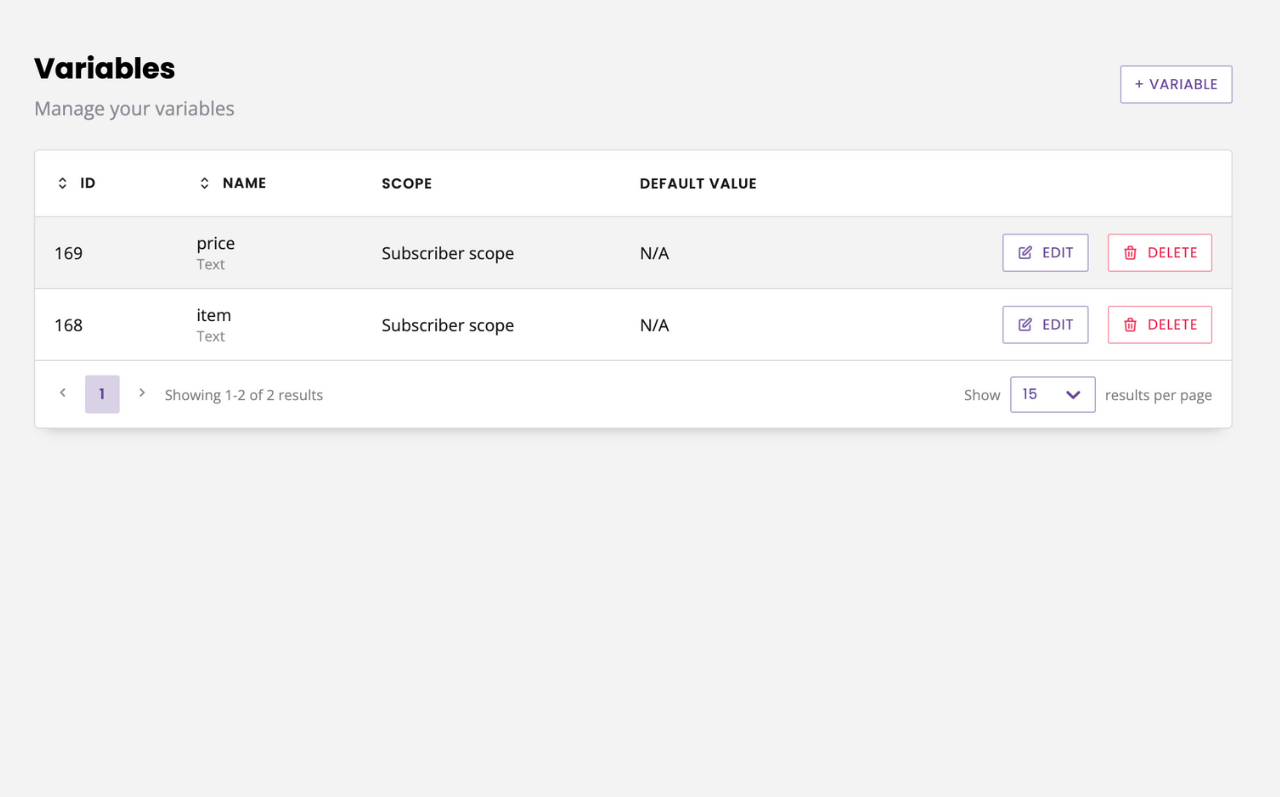
Step 2: Create variables
We will use two variables in this use case: one for the item, one for the price of the item.
Go to Settings → Variables. Click + Variable and create both variables (with default settings).
Step 3: Create the spreadsheet integration
Go to Integrations, click Add spreadsheet integration.
Give your integration a name (e.g. Item prices) and upload your CSV.
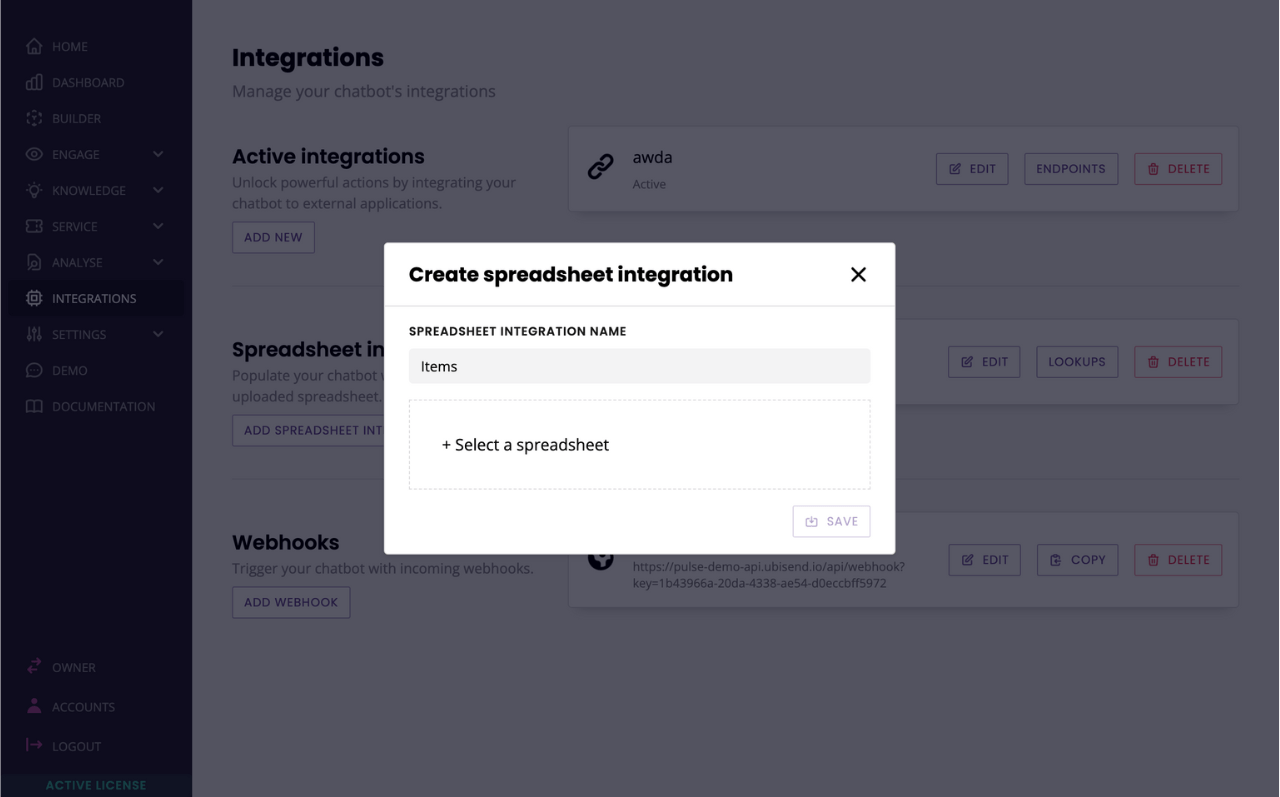
We will create a simple lookup: once a user enters an item, our lookup will find the corresponding price.
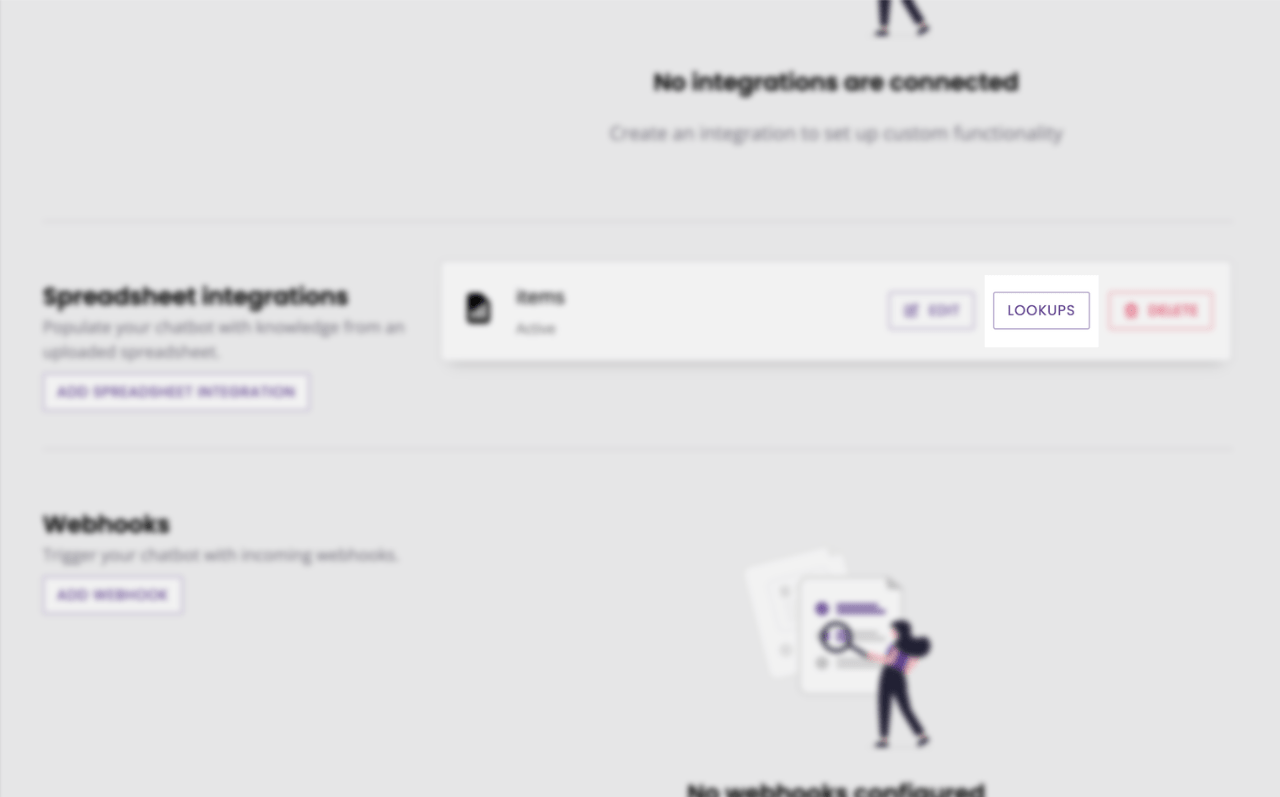
Once your spreadsheet is uploaded, click on Lookups.
Give your lookup a name and a description.
In the conditionals, select If item equals {{custom.get.item}} where:
itemis the name of the column our chatbot will look into to find the value entered by the user.{{custom.get.item}}is the corresponding variable we created.
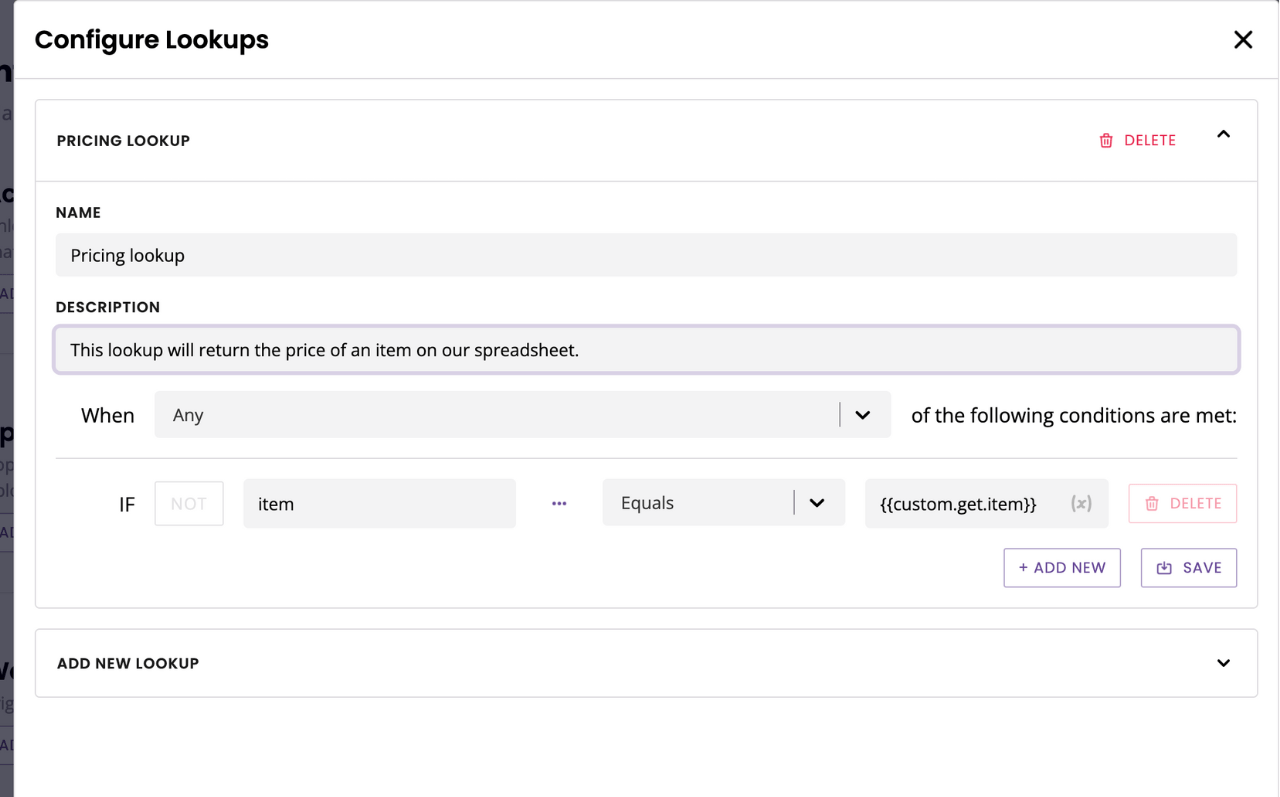
Click Save.
Step 4: Create the conversation
Go to the Builder.
Create a new conversation. Give it a name, a description, select Message as the starting step and pick a trigger of your choice.
Let’s build the conversation.
1. The ask
In the first step, we will ask the user which item they’re interested in purchasing from us.
Click on the first step’s three dots and click Edit response.
Write your copy (e.g. Which item are you interested in?).
Hit Save.
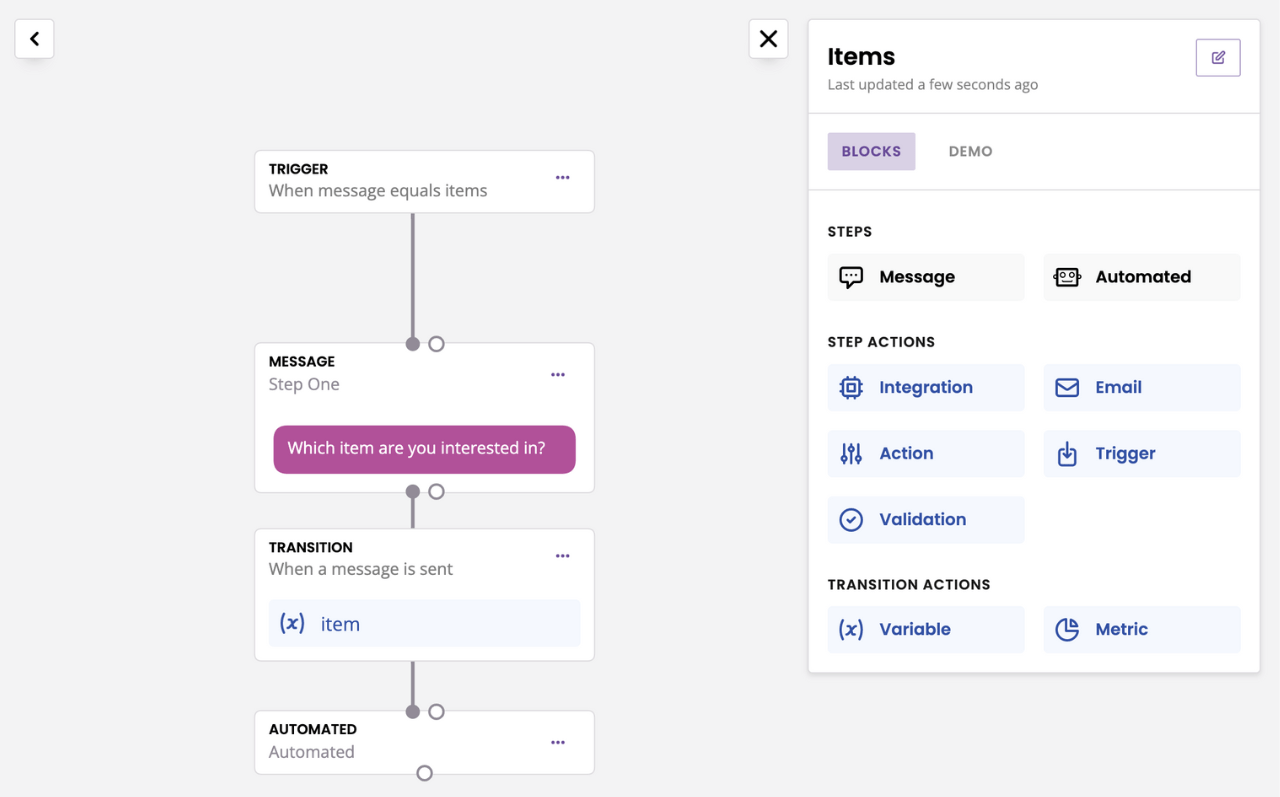
2. The automated step
From the block bank, drag and drop an Automated step.
Leave the automated step empty. We’re going to use this step to store the item the user has entered into a variable and trigger the branching.
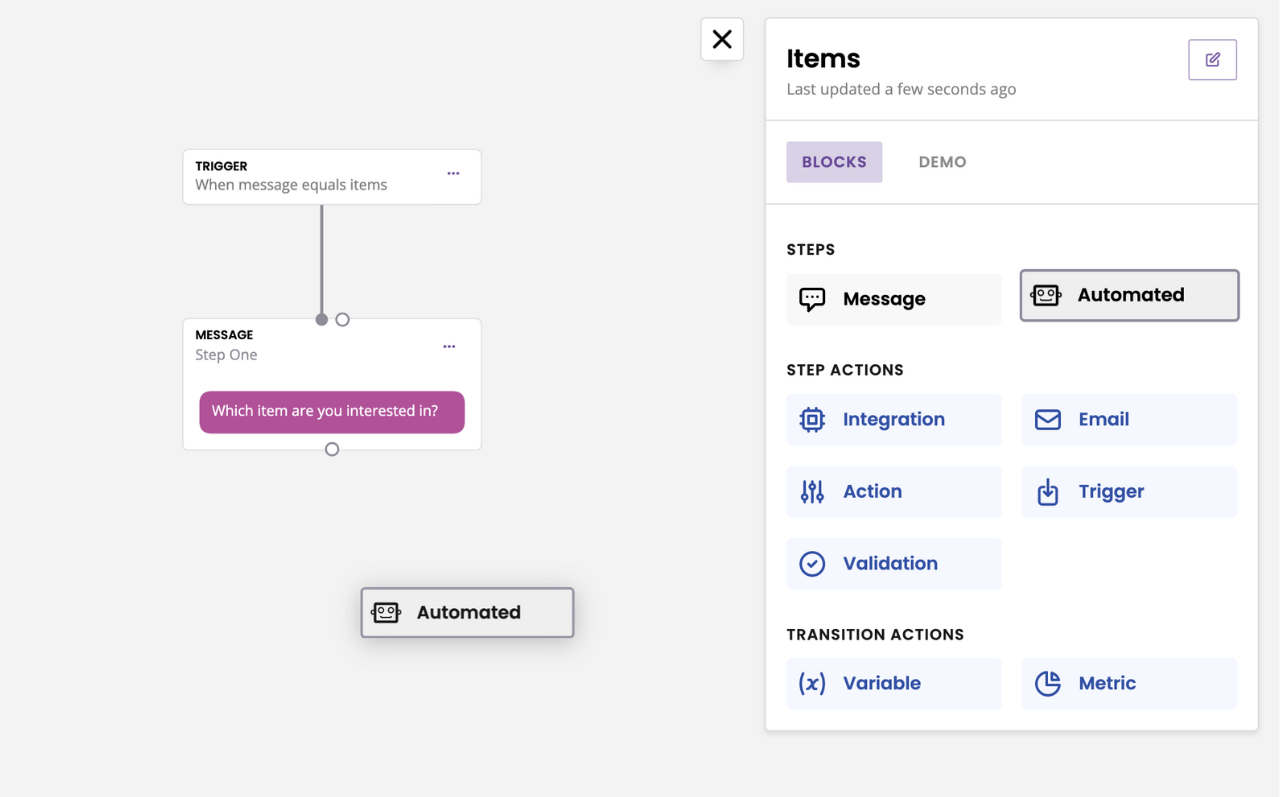
Drag and drop a message is sent transition between both steps.
3. The variable
In transition between the message and the automated step, drop your variable.
4. The branching
Under the automated step, add a new Message step.
We will start by creating the response the chatbot should answer when the user picks an item that is worth less than 100.
Write your copy (e.g. Sure, you can purchase a {{custom.get.item}} right here).
Click Save.
In transition, create the following rule:
Where:
itemsis the name of your spreadsheetPricing lookupis the name of your lookup0.priceis the first pricing result matching the item picked by the user100is the value we’ll compare the price toPrevious step is completeensures we only transition to the result after branching
Click Save.
Now that we have a response for when the price is lower than 100, we need another response for when the price is higher than 100.
From step two, drag and drop a new step. Enter your copy and click Save.
In transition, create almost exactly the same rule but select Is greater than instead of Is less than.
Click Save.
There you have it!
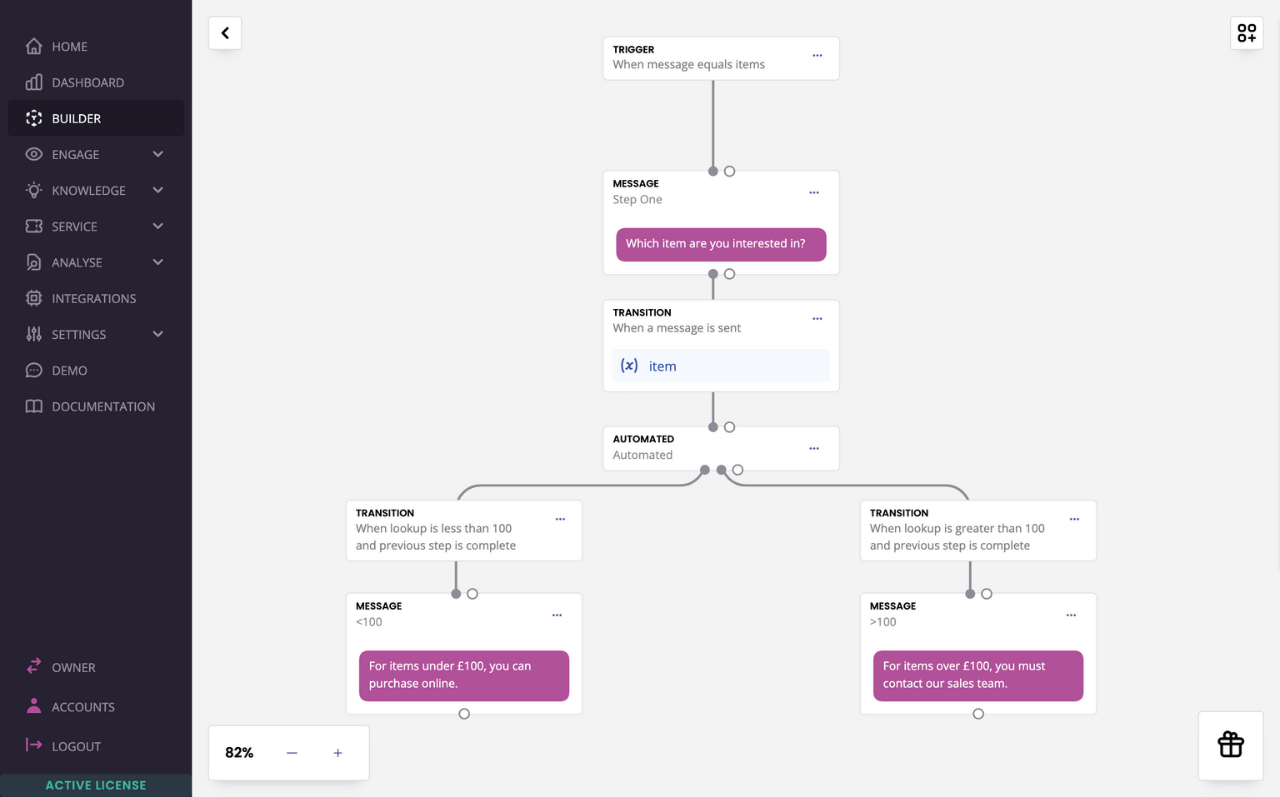
Your conversation will ask the user for an item. Store that item value in a variable. Use that variable to lookup the price of the item then, depending on the price, drive the user down the right path.