
Manage your file storages
Last updated: 16 May 2024
Your platform comes with a default file storage. By default, every file you upload to your platform is added to your default storage.
You may create additional storages. This may be useful to separate files or to import files from external storage facilities such as Amazon S3.
Step 1: Explore your file storage(s)
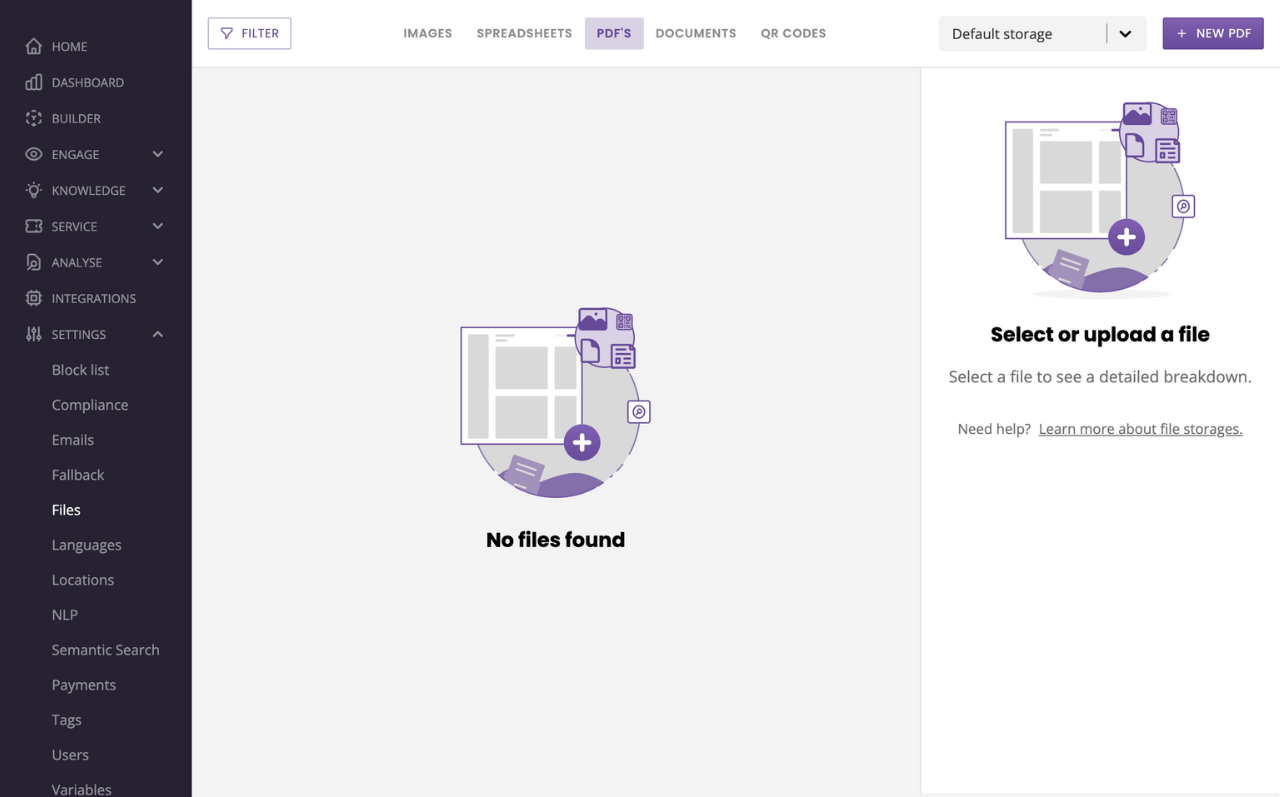
Go to Settings → Files.
The drop down at the top right of your screen shows you all the storages you currently have in your account. By default, you will only have one named Default storage.
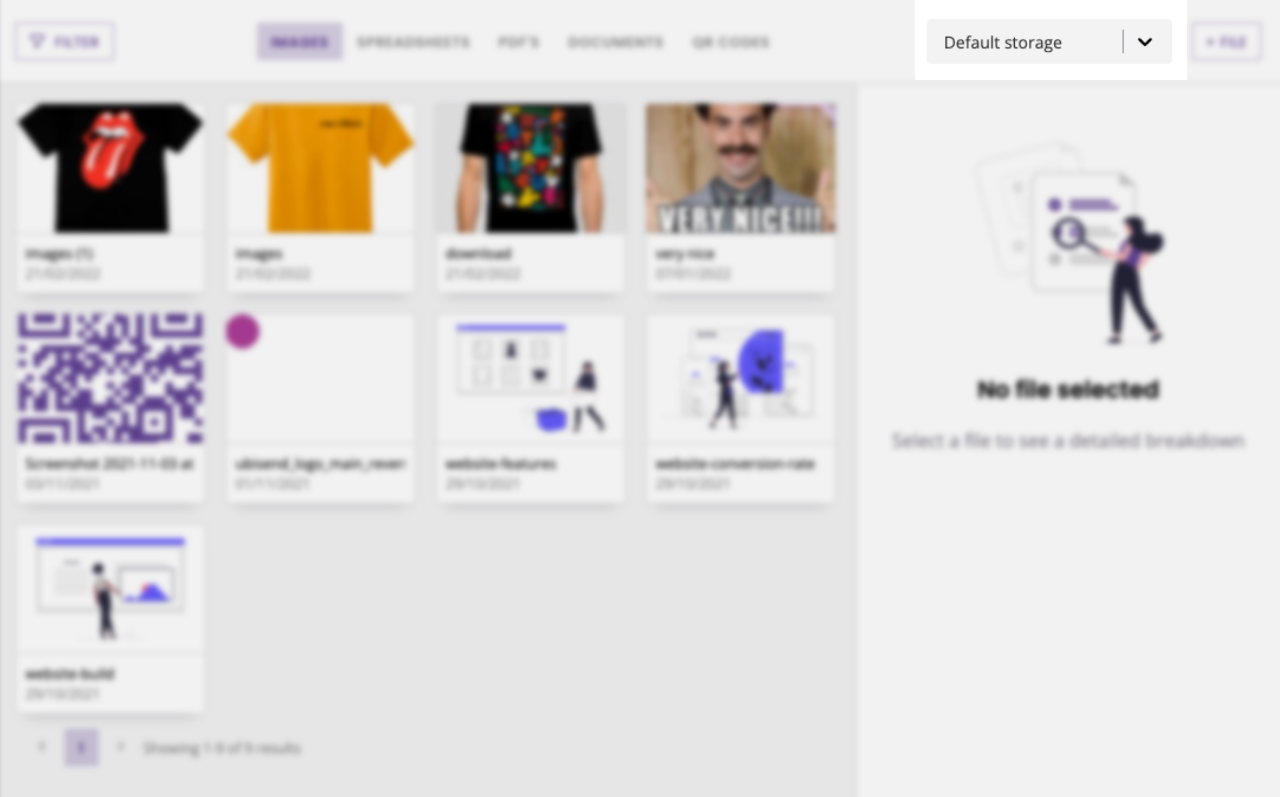
You may add as many storages as you need.
Step 2: Upload files
To upload files, make sure you select the file type in the top menu for example PDF.
Click + New PDF. Optionally, give your file a name, a description, and tags then click + Select a file.
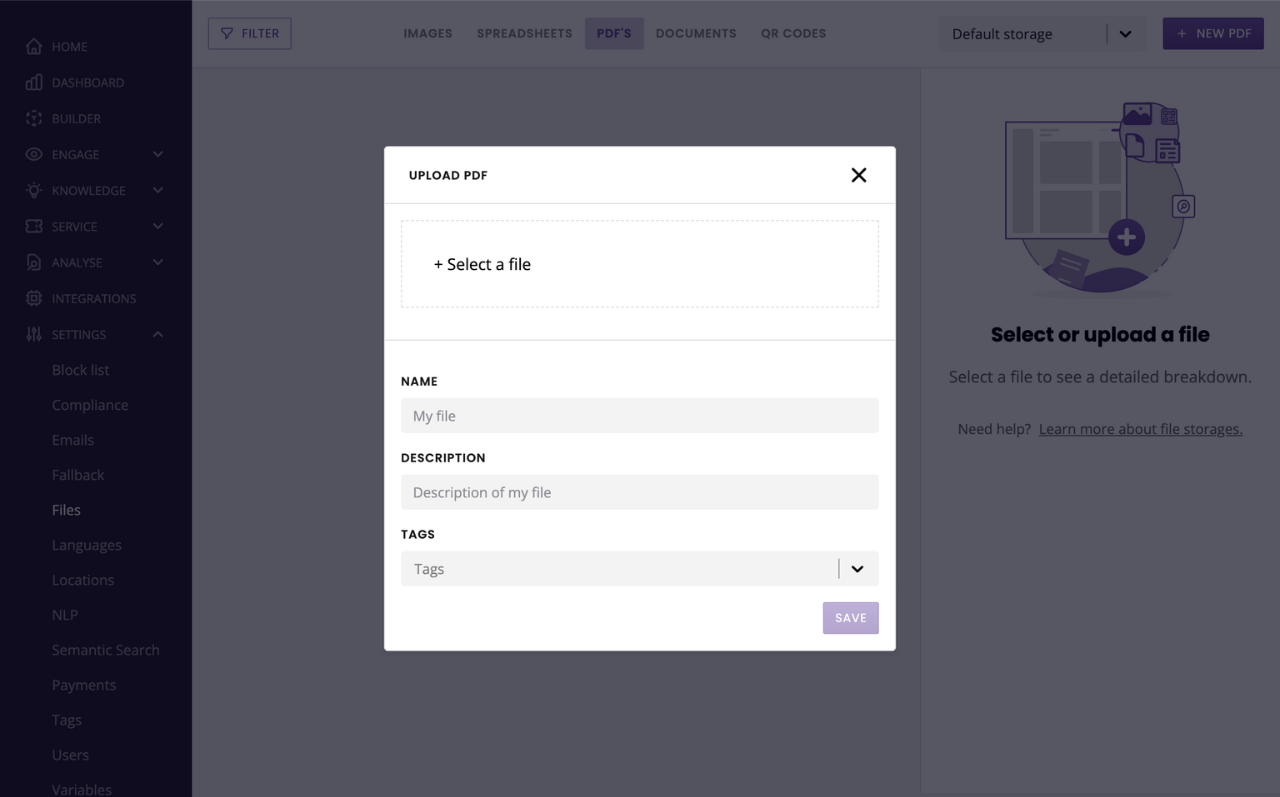
Choose a file from your folders and upload.
The platform only allows files up to 2MB. If your file is too big, consider using a compressing tool like Compress PNG or Shrink PDF.
Step 3: Manage your file storage(s)
To manage your storages, click the drop down menu in the top right then Manage file sources.
On this page, you see a list of all the storages you have created (including the default one).
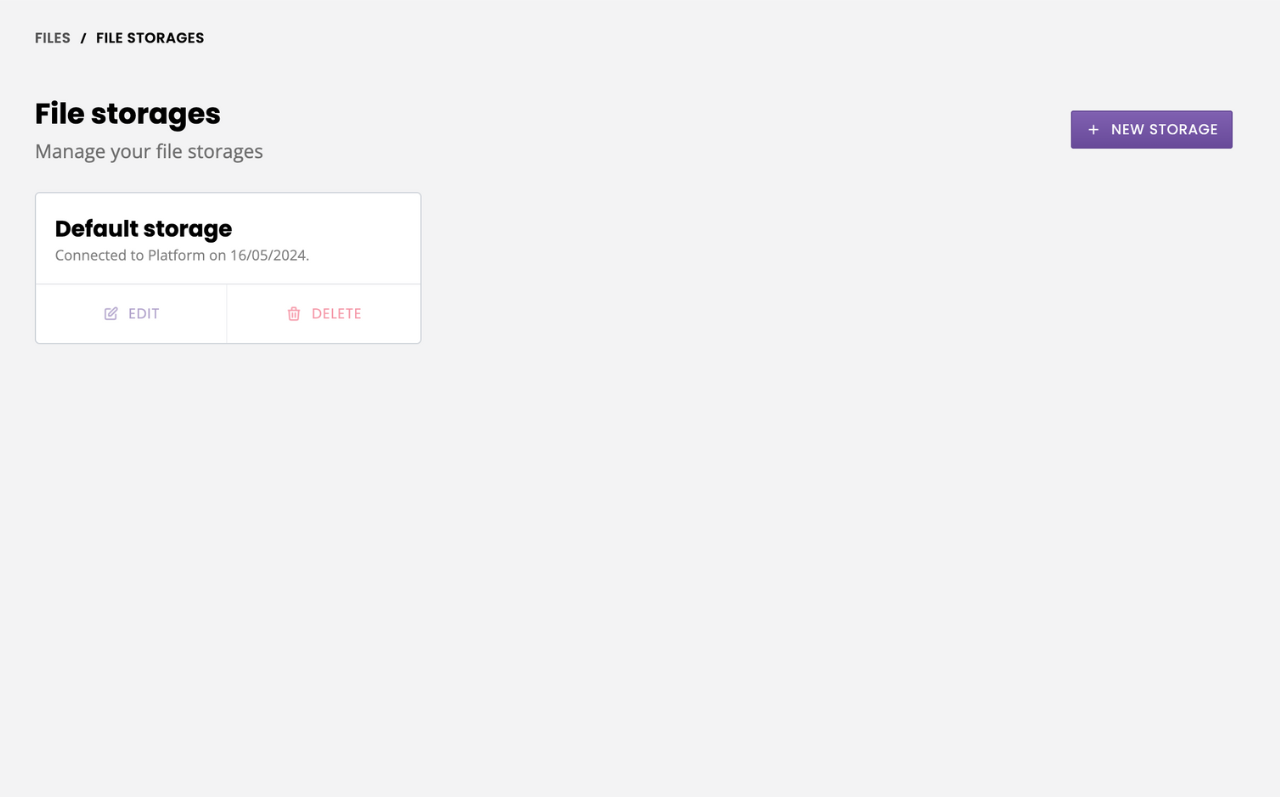
Each block shows you:
The storage’s name.
Which source the storage is connected to. This may be Amazon S3 or platform.
An edit button, allowing you to edit its name and source credentials.
A delete button, allowing you to permanently delete the storage.
You can also add a new storage by clicking + Source in the top right.
Step 4: Create a new platform storage
Creating a new platform storage is super simple.
In the top right, click + New storage.
Give your storage a name.
Under Source, pick Platform.
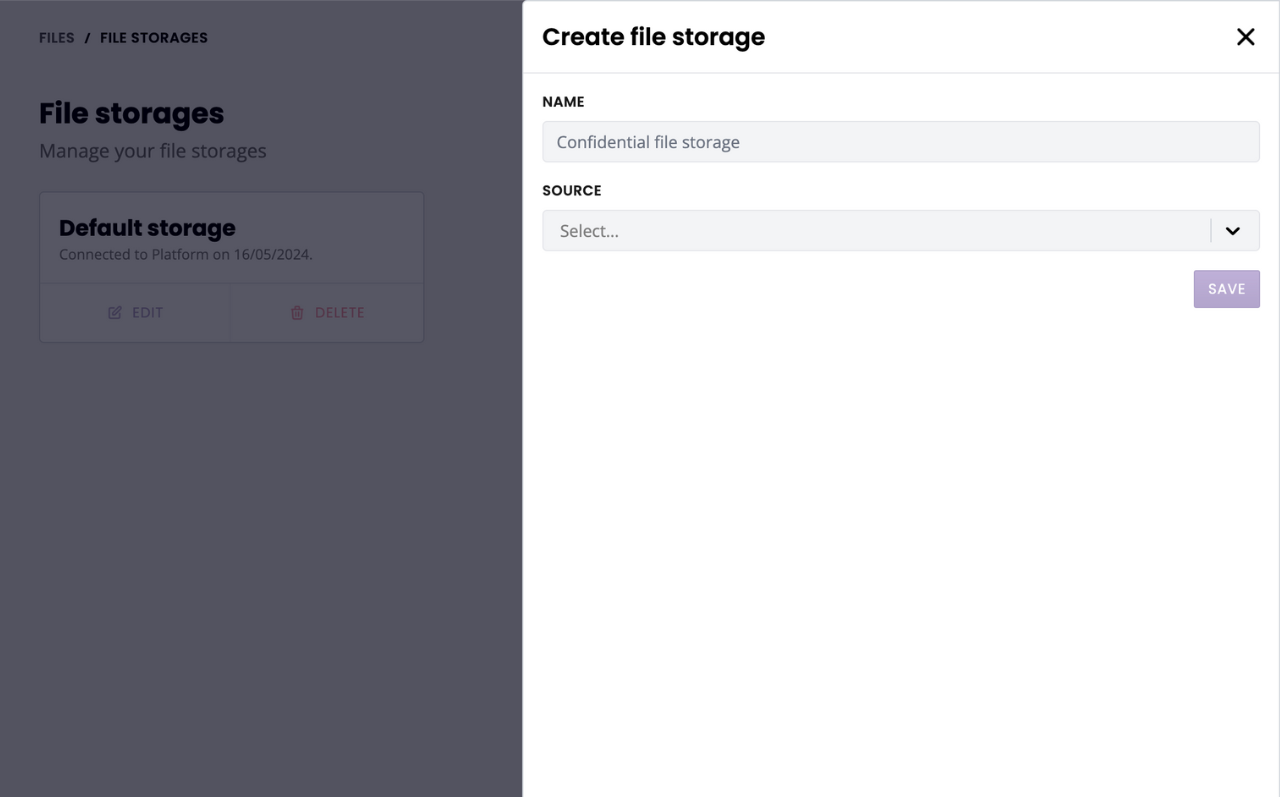
Hit Save – all done!
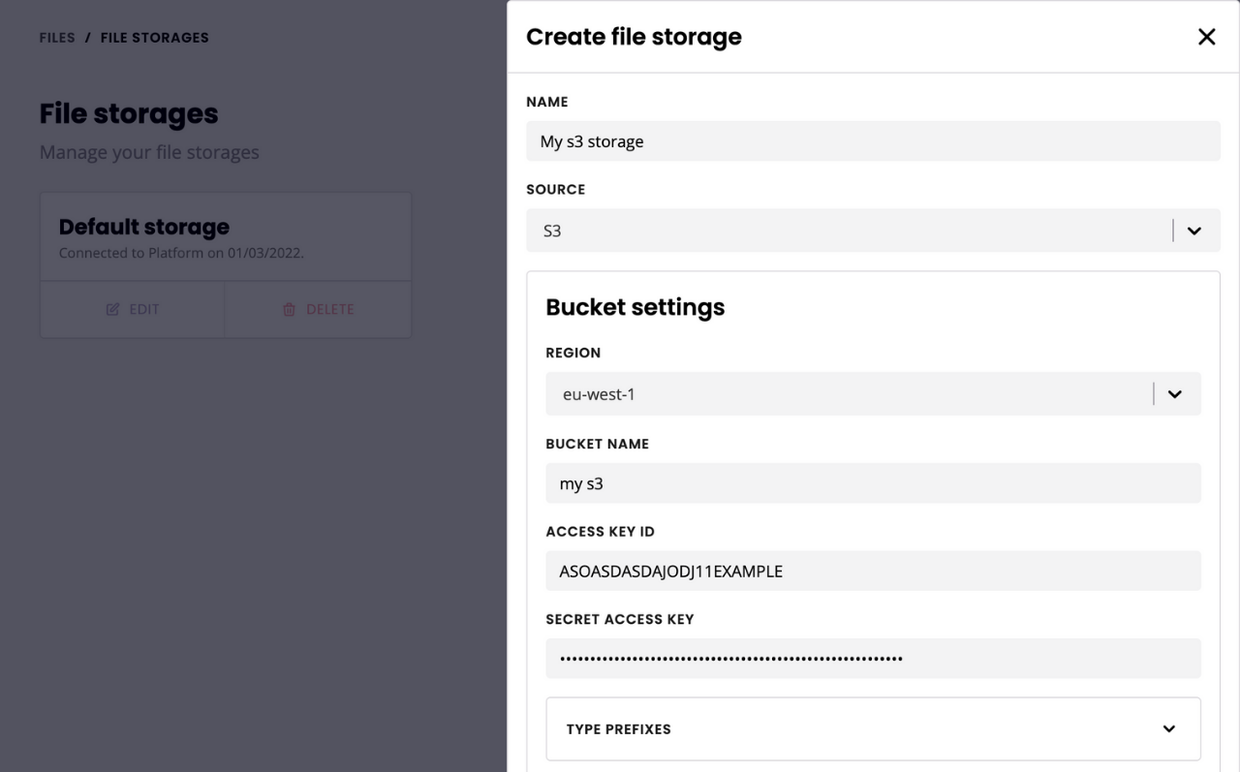
Step 5: Create an S3 platform storage
You can pull files directly from your Amazon S3 bucket into your platform. To start, click + Source in the top right and give your storage a name.
Under Source, pick S3.
The following settings are required:
Region: use the dropdown to select the S3 region associated with your bucket.
Bucket name: enter the name of your S3 bucket.
Next, we will need some credentials associated with your S3 bucket. To find your access key ID and secret access key, follow these instructions:
Open the IAM console.
From the navigation menu, click Users.
Select your IAM user name.
Click User Actions, and then click Manage Access Keys.
Click Create Access Key.
Your keys will look something like this:
Access key ID example: AKIAIOSFODNN7EXAMPLE
Secret access key example: wJalrXUtnFEMI/K7MDENG/bPxRfiCYEXAMPLEKEY
Copy and paste the credentials inside your chatbot platform.
Access a single folder within your S3 bucket
Following the steps above will give your platform access to every file inside your S3 bucket. If you want to select only one folder, unfurl the Type prefixes dropdown.
Use the recommended prefixes to target the file types (e.g. all .JPG into /images)
Manage your S3 files
Your S3 file storage is now connected with your chatbot platform. You may manage your files as you would with a default platform storage.
Deleting a file stored in an S3 bucket from the chatbot platform will delete the file from your S3 bucket.