Overview of the logs
Last updated: 15 May 2023
The logs help you understand what may have gone wrong during a chatbot conversation. They can help you debug faulty integrations, bad transitions, wrong FAQ matching, and more.
Logs provide you with a window inside your chatbot’s inner working. Use them to figure out exactly what happened after every message sent.
To find your logs, go to Analyse → Logs.
Understanding the logs overview
The logs overview is a long table of events that happened inside your chatbot, in reverse-chronological order (the top row is the last event recorded).
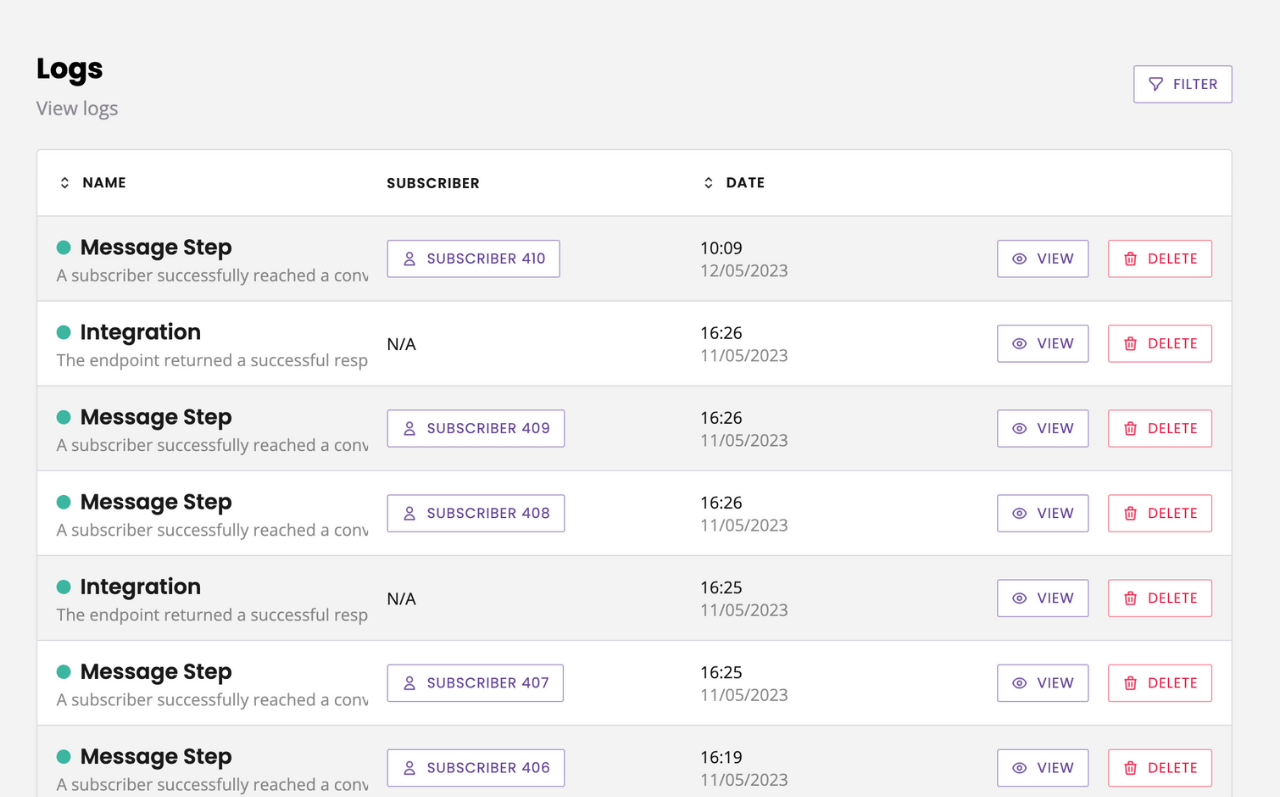
Each row is one event. These events can be:
Message step: a message sent to the chatbot as part of one of your conversations.
Automated step: an automated step was triggered.
NLP: a message sent to the chatbot as part of your FAQs (NLP was used to understand and answer the message).
Integration: an API integration was fired from the chatbot.
Spreadsheet: a spreadsheet integration was fired from the chatbot.
Each log is either marked as
Message: The chatbot has sent a message back to the user.
Warning: Something may have gone wrong, it’s worth checking.
Error: Something definitely went wrong.
Understanding a log
Let’s dig into a Conversation log. Find one in your list and click View.
You are now in the log’s detail page. This page gives you a bunch of information about that one specific action that occurred inside your chatbot.
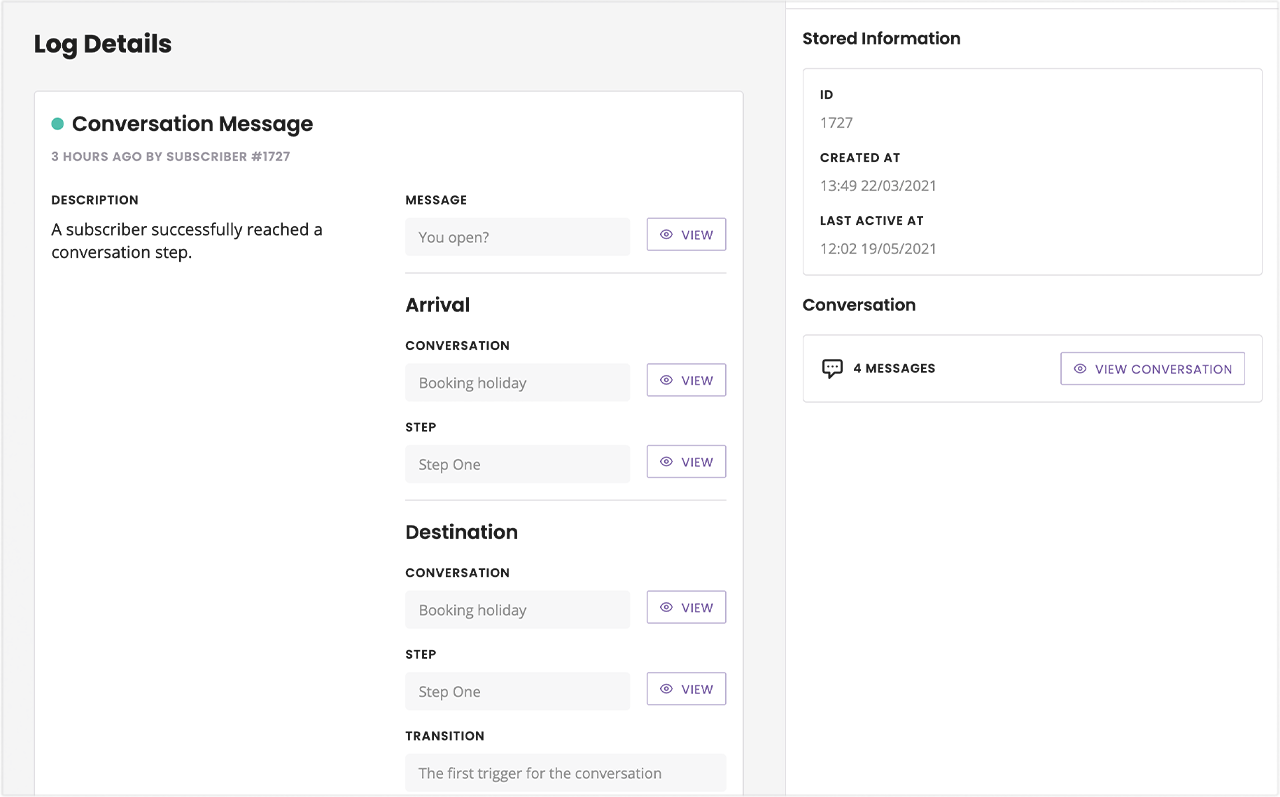
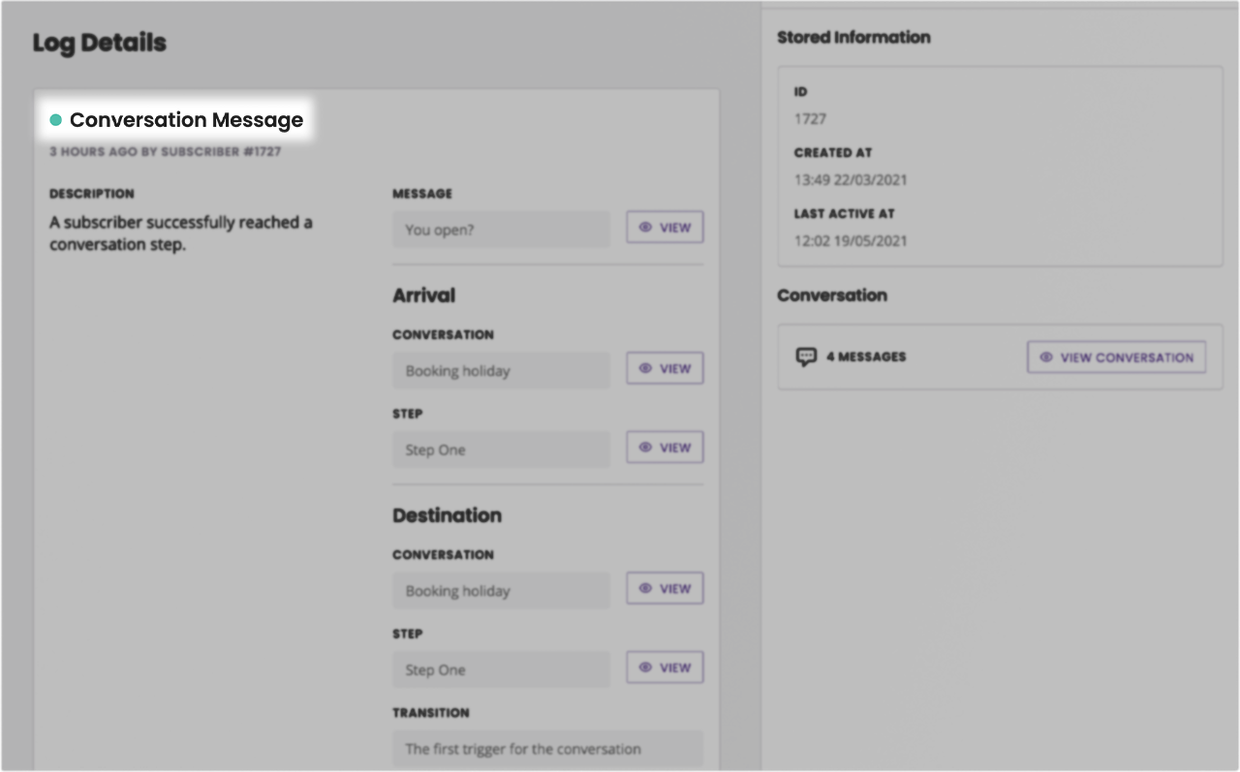
At the top, you see a colour-coded dot. We kept it simple: green for success, yellow for warning, red for error.
On the right side of that, you can see exactly what steps the users went through during this activity.
Arrival tells you how the user got to this step, for example by sending a message.
Destination tells you where the user was sent after they sent their message.
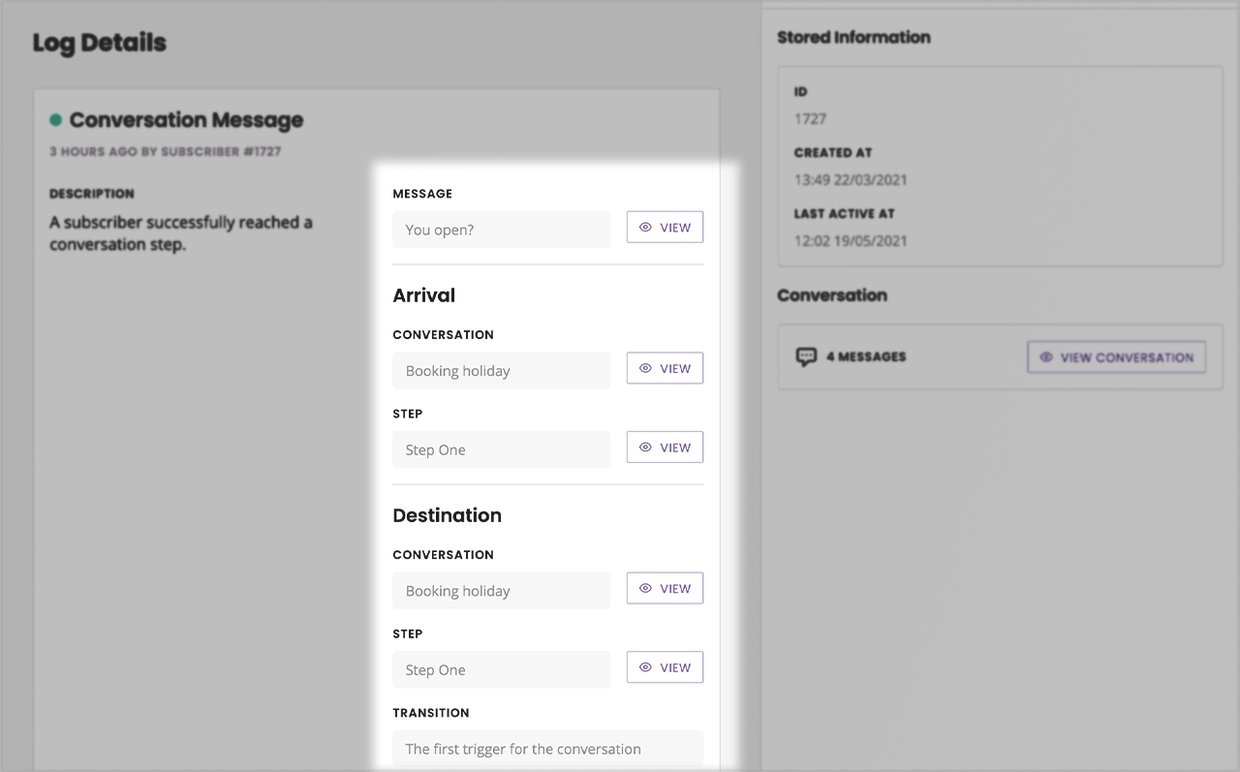
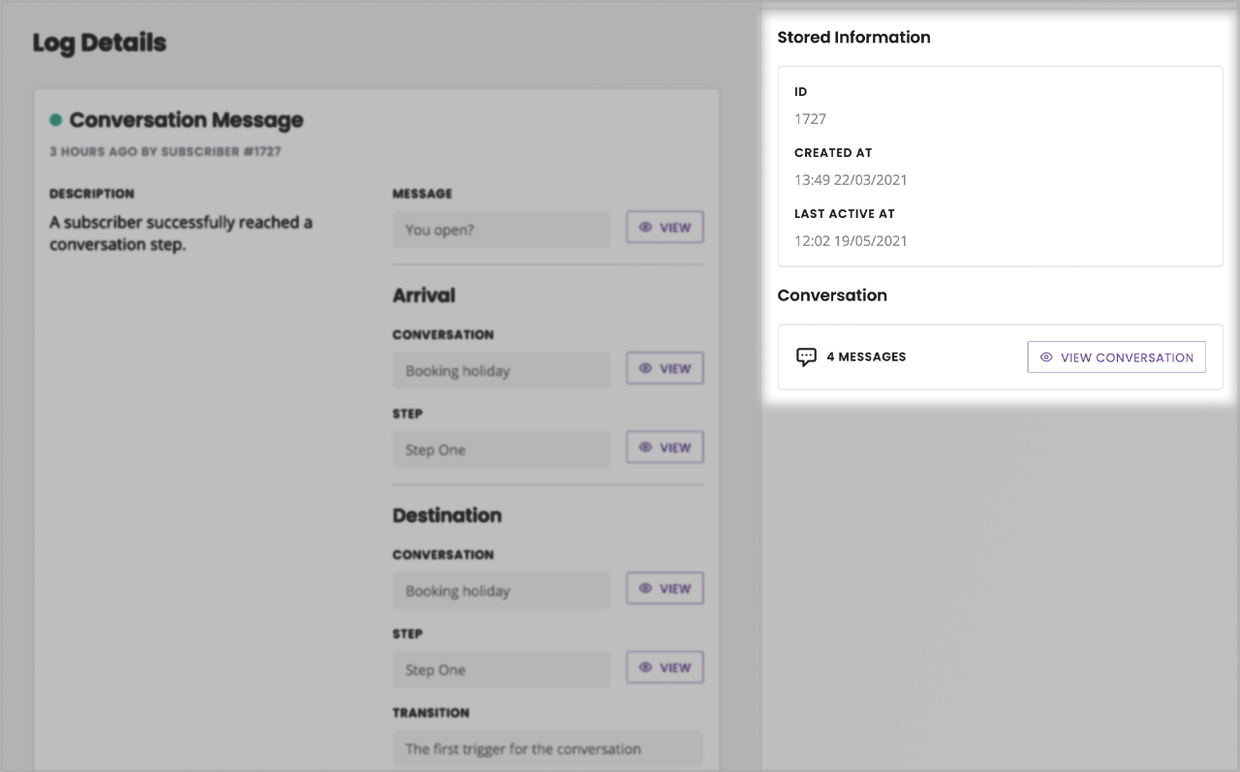
Finally, on the far right, you have a recap of everything the platform knows about this particular user. This includes their user ID, when it was created, as well as a link to the chat transcript and any variables you might have logged for them.
