White label your chatbot platform
Last updated: 30 Nomber 2021
Your chatbot platform can be designed to match your brand and colour scheme requirements.
Only Owners have the option to white label their platform. If you are not an owner, you will not be able to reach these settings.
Step 1: Log into your owner portal
To reach your owner portal, you must first log into your chatbot platform.
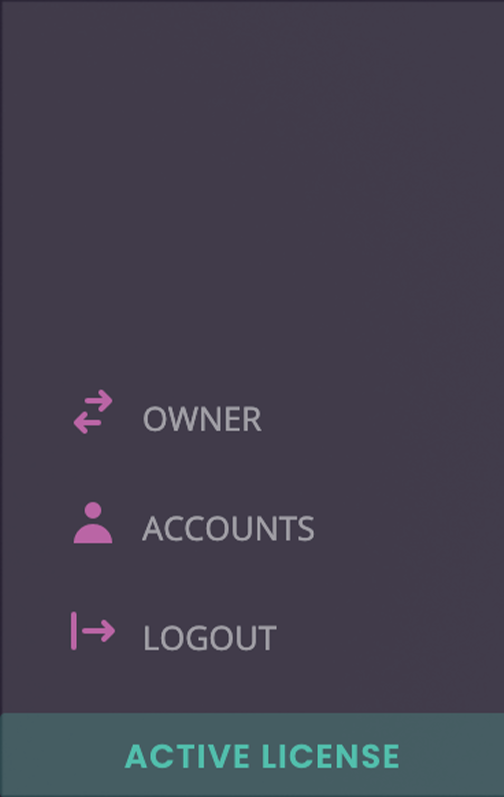
At the bottom left of your screen, click the Owner button to switch to the owner portal.

Step 2: White label your platform
Inside the owner portal, go to White label.
Under Owner settings.
Set up your platform’s logo. Your logo must be a .PNG and hosted online. Recommended dimensions: 300x100.
Enter a URL to direct users to if they click your logo. This link will only be active on login and account creation pages, not inside your platform.
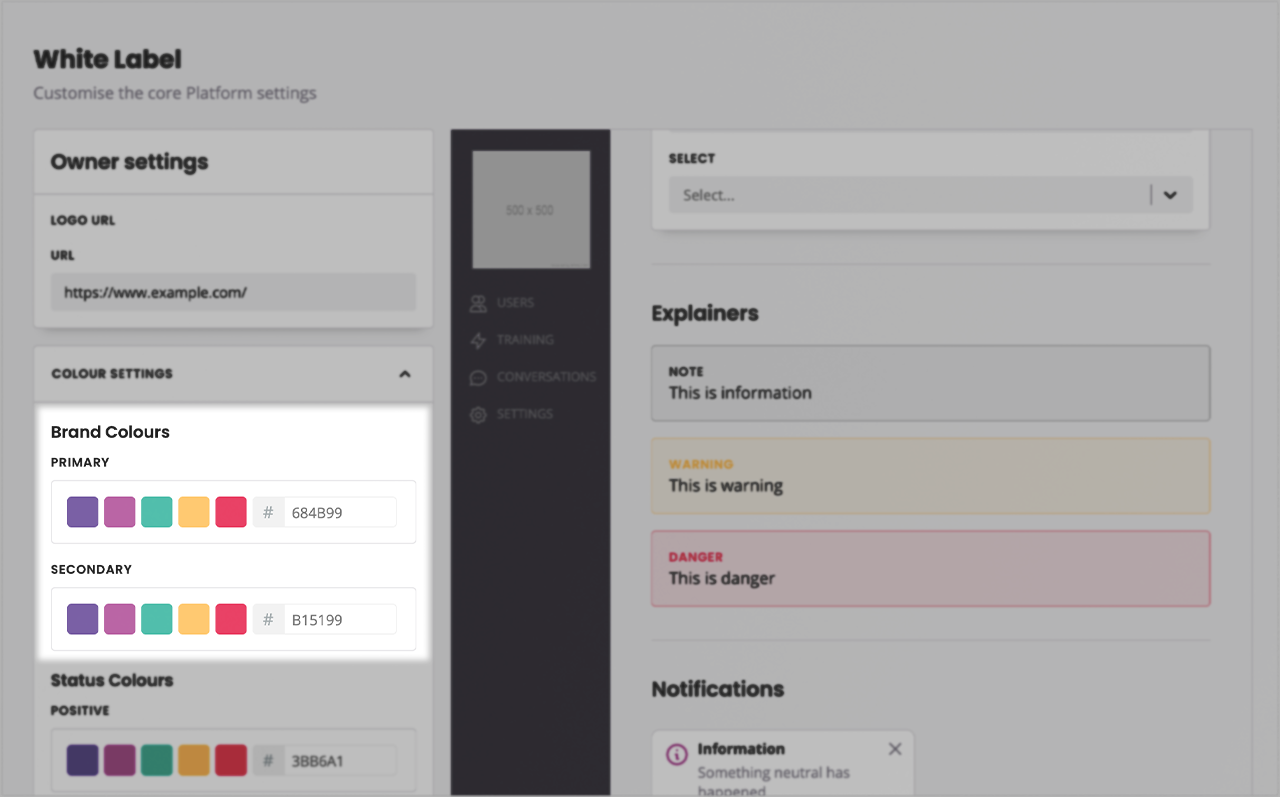
Under Colour settings, start matching your platform with your brand.
As you change the colours of various elements, the preview on the right updates to show you what your platform would look like.
Your colour scheme changes will only take effect when you hit the Save button at the bottom of the page.
Brand colours
Brand colours govern most of your chatbot platform’s colour scheme. It is made of two colours: primary and secondary.

Your primary colour impacts the main items inside your platform, such as:
Sidebar
Action buttons
Secondary action buttons
Your secondary colour impacts secondary items inside your platform, such as:
Message bubbles (inside the application)
Toggle buttons
Button outlines
Status colours
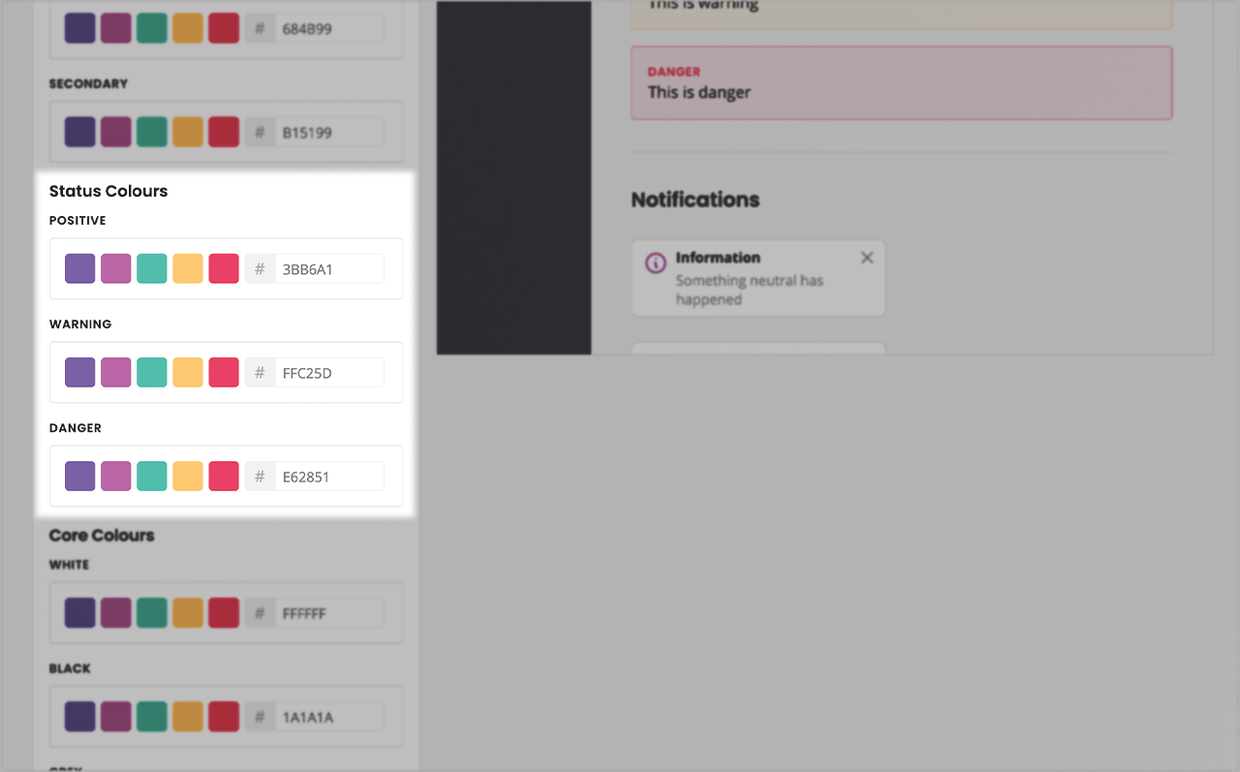
There are three status colours, for the three types of status available: positive, warning, and danger.

Status colours impact alert messages across your platform, such as:
Toaster notifications
Explainers
Tags
Core colours
Core colours impact core elements of your platform. There are three core colour schemes:
White: impacts elements such as button labels.
Black: impacts elements such as sidebar shade and box shadows.
Grey: impacts elements such as page subtitles and notification text.
All done? Hit Save.
Step 3: Log back into your account
To see the impact of your changes, log back into your account by clicking the account switching button at the bottom left of your screen.
