Assign specialities to support agents
Last updated: 19 January 2022
Learn to assign specialities to support agents, so they can pick up tickets that fall within their realm of expertise.
Step 1: Assign specialities to support agents
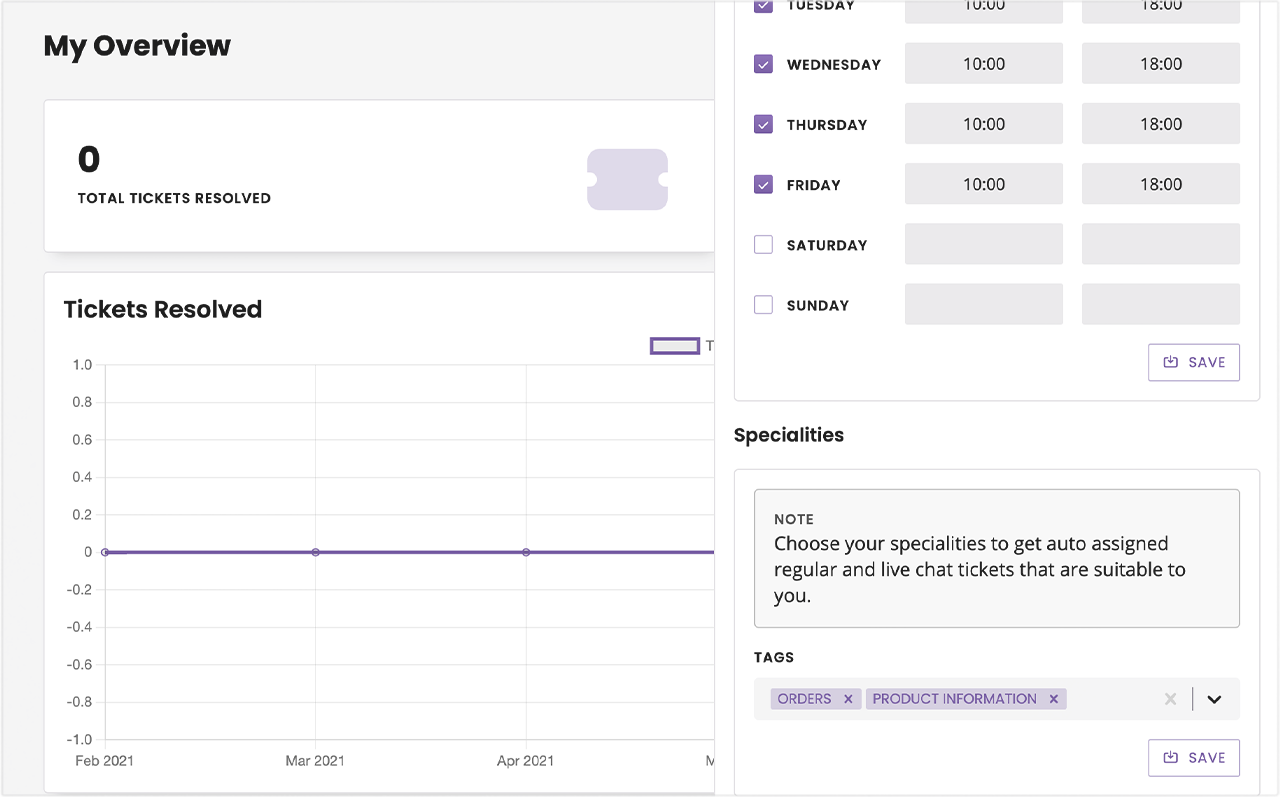
Go to Service → Ticketing.
On the right-hand side, find the Specialities section. If you have existing tags, they’ll appear under Tags. You can create new tags by typing and hitting enter.
All your tags are listed on Settings → Tags.
Step 2: Tag tickets with their specialities
Half the job is done. Now, we need a way to tag tickets as they come in.
To do so, head over to the Builder.
Open up your support ticket conversation (if you don’t have one, follow this doc to create one).
At the final step of raising the ticket, where the Create ticket action is triggered, you may add a tag.
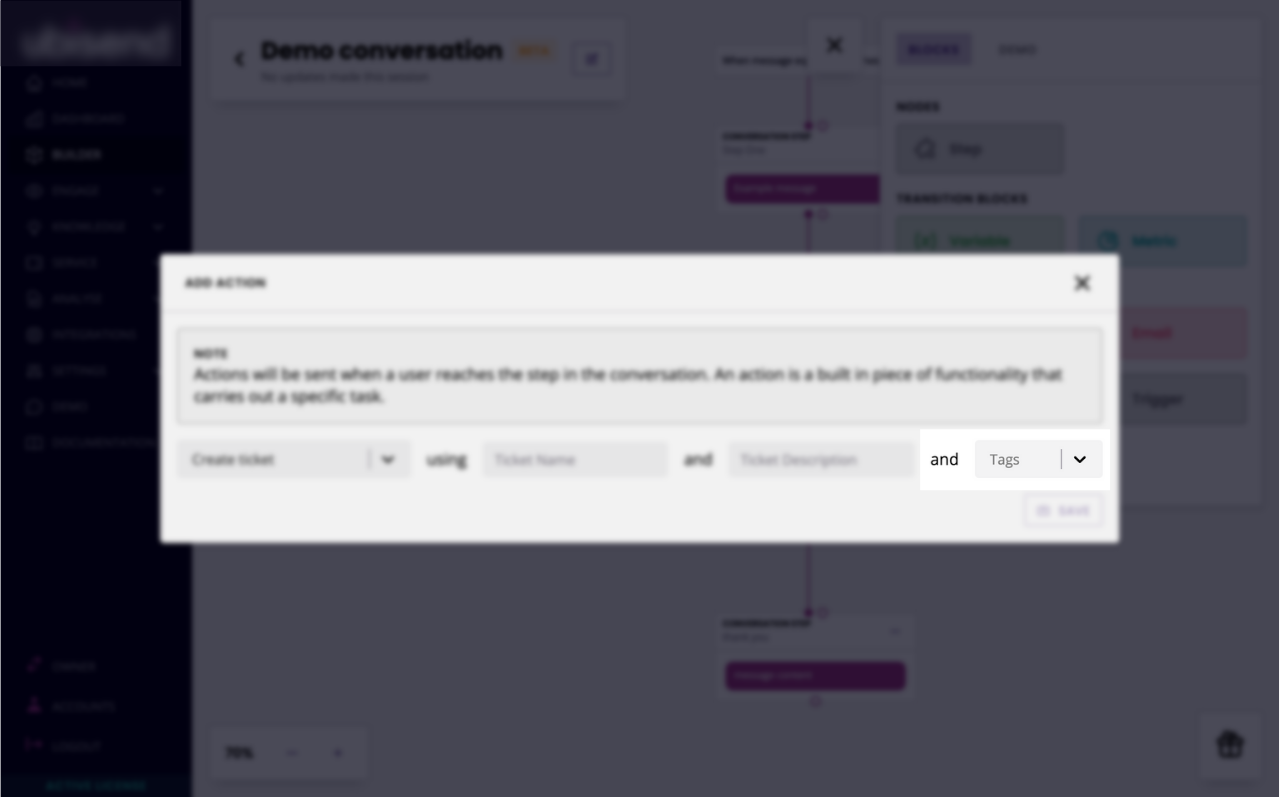
Adding a tag to this step means that every ticket raised through this branch of the conversation will be assigned the same tag.
If you have multiple tags (which should be the norm), create one branch per tag. Drive the user through the right branch by asking relevant questions, before letting them raise their ticket and assign it the appropriate tag.
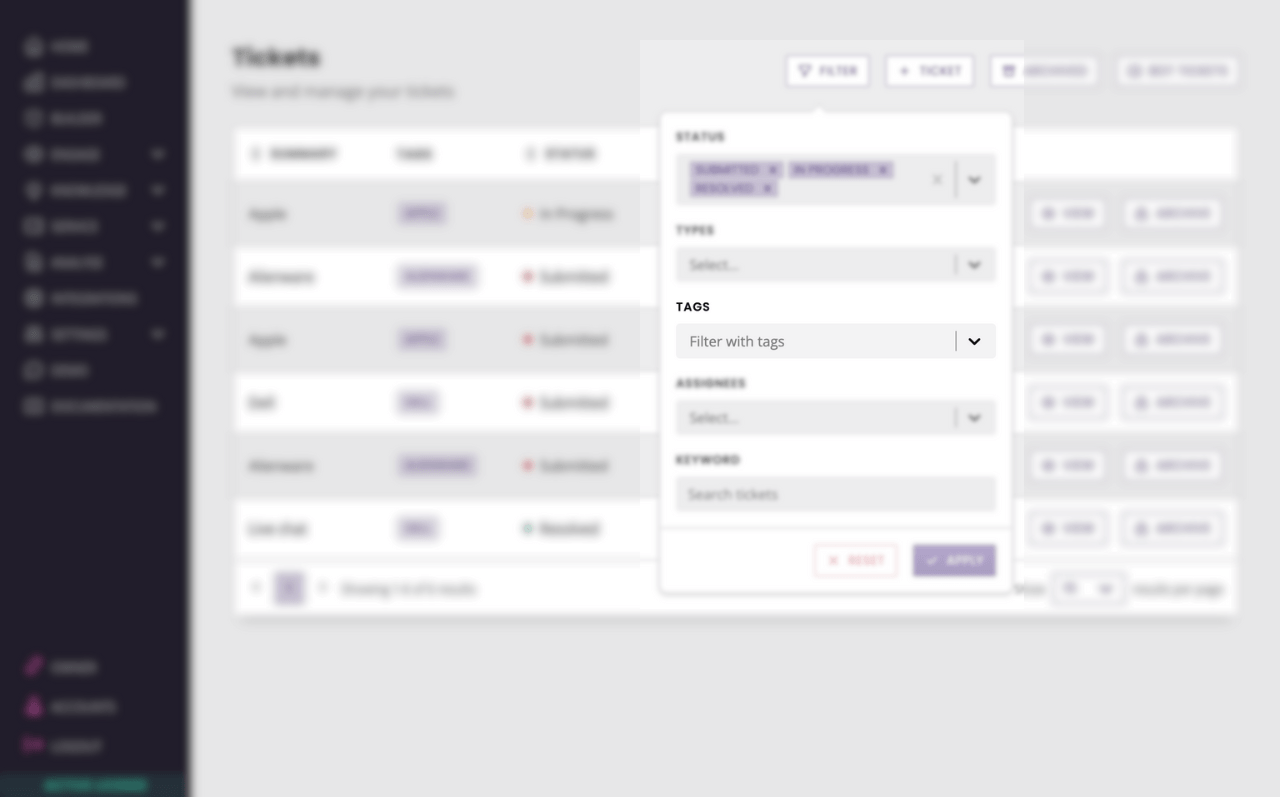
To find the tickets they can work on, your agents now simply filter by tag: