
Create a webhook integration
Last updated: 17 January 2024
Webhook integrations add incredible capabilities to your chatbot. You can, for example, trigger a conversation when your chatbot receives an incoming webhook from a third-party application.
Creating a webhook is simple.
Step 1: Create the webhook
Go to Integrations.
Below Integrations and Spreadsheets, find the Webhook section of the page and click + New webhook integration.
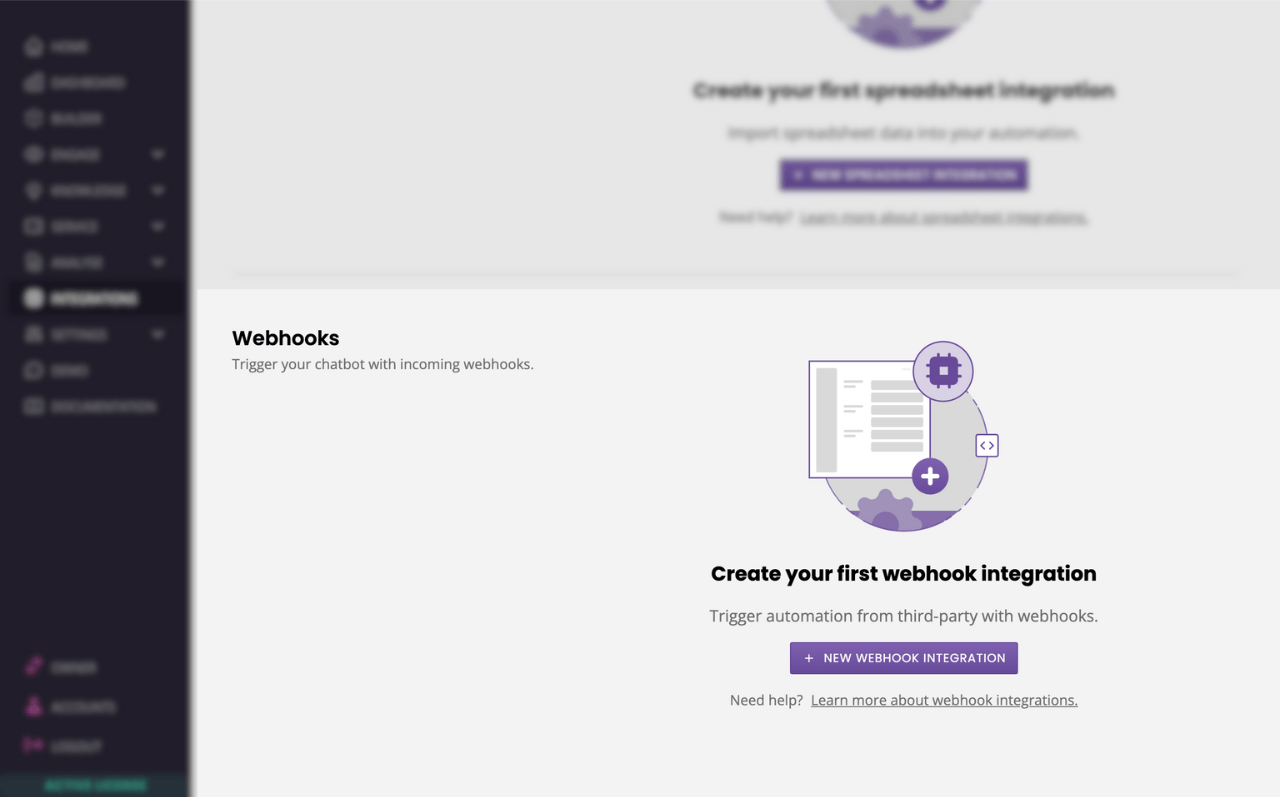
Give your webhook a name and a referring URL.
There are two types of webhooks.
Basic webhooks. Basic webhooks are, as their name implies, basic. You can hit these webhooks to start a conversation for example. Learn how to set this up. Basic webhooks require no action.
Action webhooks. Action webhooks will return an object when hit. At the moment, we only have one action which is to return a chat transcript. Learn how to set this up.
Hit Save.
Step 2: Find your webhook key
A key is automatically assigned to every webhook you create. The key is appended to the end of your webhook URL.

Step 3: Test your webhook
You can use your webhook to trigger conversation, learn how.
If you’d like to test your webhook using a tool like Postman, set your request the following way:
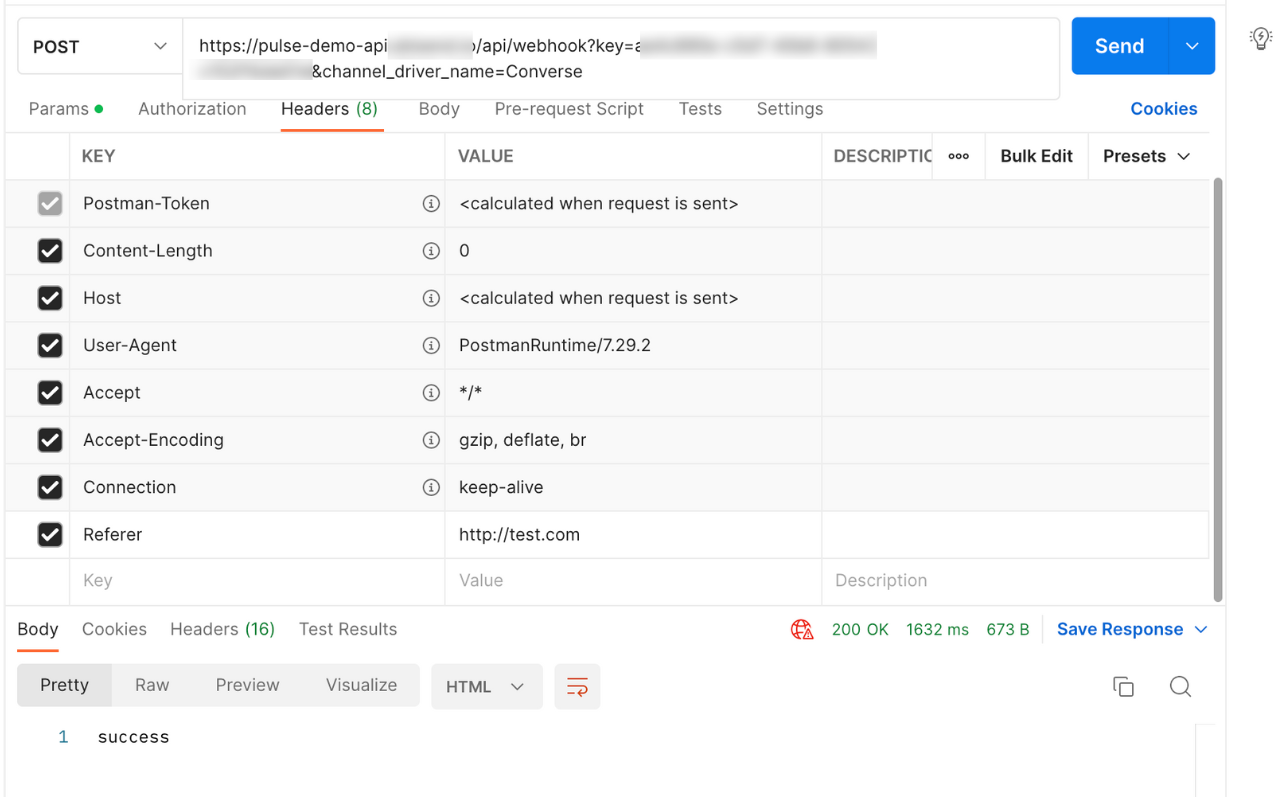
Where:
You must add
channel_driver_name=Converseto your Params.You must add a Referer to your Headers, which is the URL you set up in Step 1.
This should return a success message in the body of the request.