Example of dynamic integrations
Last updated: 02 May 2023
To help you understand how powerful templating can be for integrations, let's work through a simple example.
The example below covers a REST API integration. The same logic is applicable for a SOAP API integration.
Integration
In this scenario, we are creating a lead generation chatbot.
This chatbot takes users through a series of qualifying and data-gathering questions, before squirting all the data captured to an external piece of software such as a CRM.
We're not going to go through the whole external API set up here, as we covered it extensively in other docs. For example, use our How to send leads from your chatbot to HubSpot tutorial to set your integration up.
When you're done, you should have an integration endpoint and a conversation that captures the information.
All good? Let's get crackin'.
Example - Dynamic POST requests (if statement)
To create a record (e.g. a lead) in an external piece of software, there are two types of data you are likely to send:
Required data. This is the data you must provide to create the record, the bare minimum. In the case of creating a lead, CRMs will usually force you to at the very least send an email address.
Optional data. This is any extra data you can, but are not obligated to, send with your integration. This could be the user's last name, their phone number, etc.
As you create your lead generation chatbot, you must think of all the optional data you might eventually want to send along with your required data.
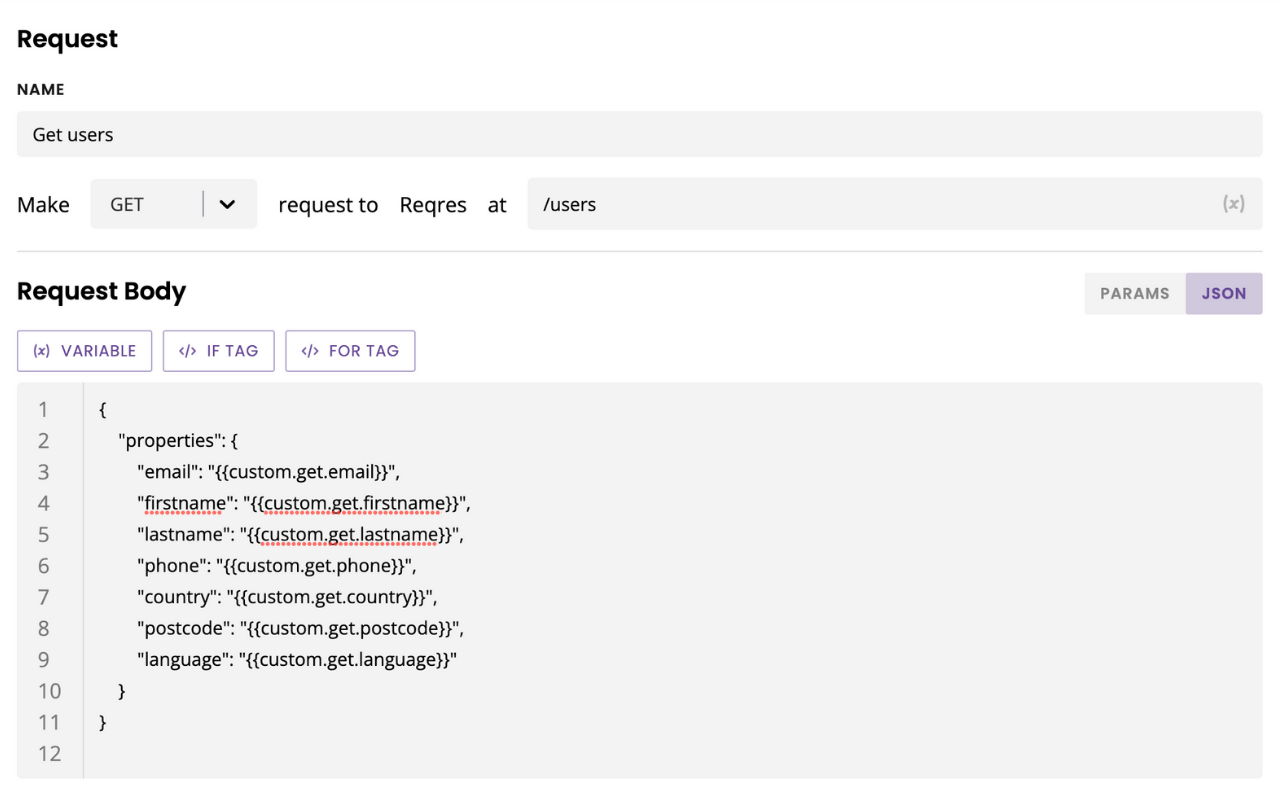
Your integration could look something like this:
In this illustration, you can see I'm sending the user's email address (required) and six other pieces of (optional) information.

The problem I have with this integration is: what happens if one of my chatbot users doesn't provide one or several of the pieces of information?
Those variables would be empty and my integration would fail. Boo.
Thankfully, with templating, we can use an if statement that will dynamically look at the data stored in the variable. If it is present, it will send the data. If it isn't, it will send a placeholder.
This way, I can make sure my integration always works.
Create the endpoint
Go to your Integration and open up your endpoint.
Switch to JSON.

For every field, we're going to enter an if statement. Delete the value (e.g. {{custom.get.last_name}}) from the field.
Click </> If tag to bring the template between the quotes.
Write the following template:
{% if last_name %}{{custom.get.last_name}}{% else %}N/A{% endif %}
Apply the same logic to any other field in your endpoint.

I’ve left {{custom.get.email}} as is, as it is often considered the bare minimum to create a lead. If you wanted to, you could use the same logic there.
Hit Save.
Understand the template
The template itself is very simple. We're simply telling our integration to:
Look at the
last_namevariable.If it has a value, send it.
If it doesn't have a value, send
N/Aas a replacement.N/Acan be whatever you'd like.
With this small modification, you can now use your endpoint in any conversation regardless of whether you are capturing all the information or not. Your record will always get created, albeit with placeholder values.