Explore the owner portal
Last updated: 15 September 2022
Your chatbot platform is more than a platform: it’s an infrastructure.
Within this infrastructure, you may have multiple accounts. For example, a business may have one account used to create an HR chatbot, one to create a sales chatbot, and one to create a customer service chatbot.
The owner portal helps you manage the various accounts under one platform.
In this doc, we explore the portal, how to reach it, what you can do within it, and more.
Who has access to the owner portal?
Every platform has an owner portal. However, only a handful of individuals should have access to a single platform’s owner portal.
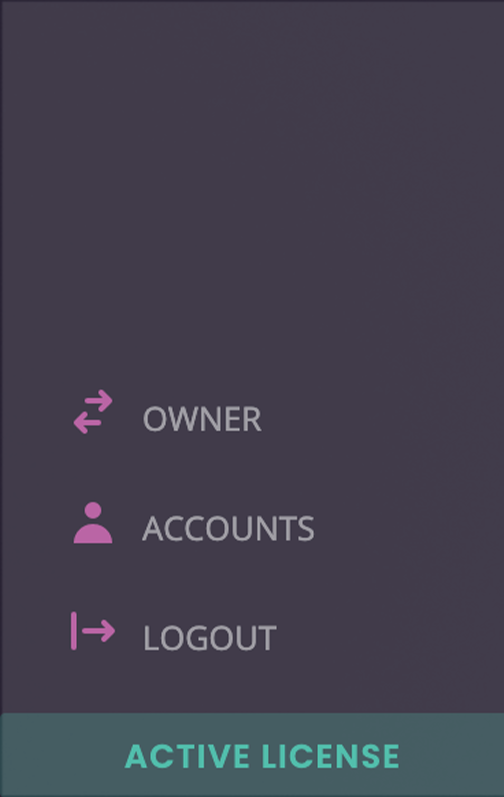
To verify whether you have access to the owner portal or not, login to your platform and look at the bottom left of your screen. If you see the owner switch button, you are indeed an owner.
How to log into the partner portal?
To reach the owner portal, simply log into your chatbot platform and click the owner switch button.
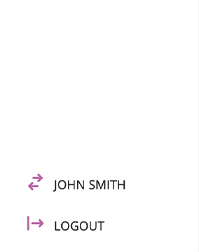
Once logged into your portal, you will notice the button has changed label. It now displays the name of the account you were previously logged on. To switch back to your account, simply click that button:
Exploring the owner portal
Let’s look at the various sections inside your owner portal.
1. Accounts
The accounts page shows you a list of all the accounts under your platform.
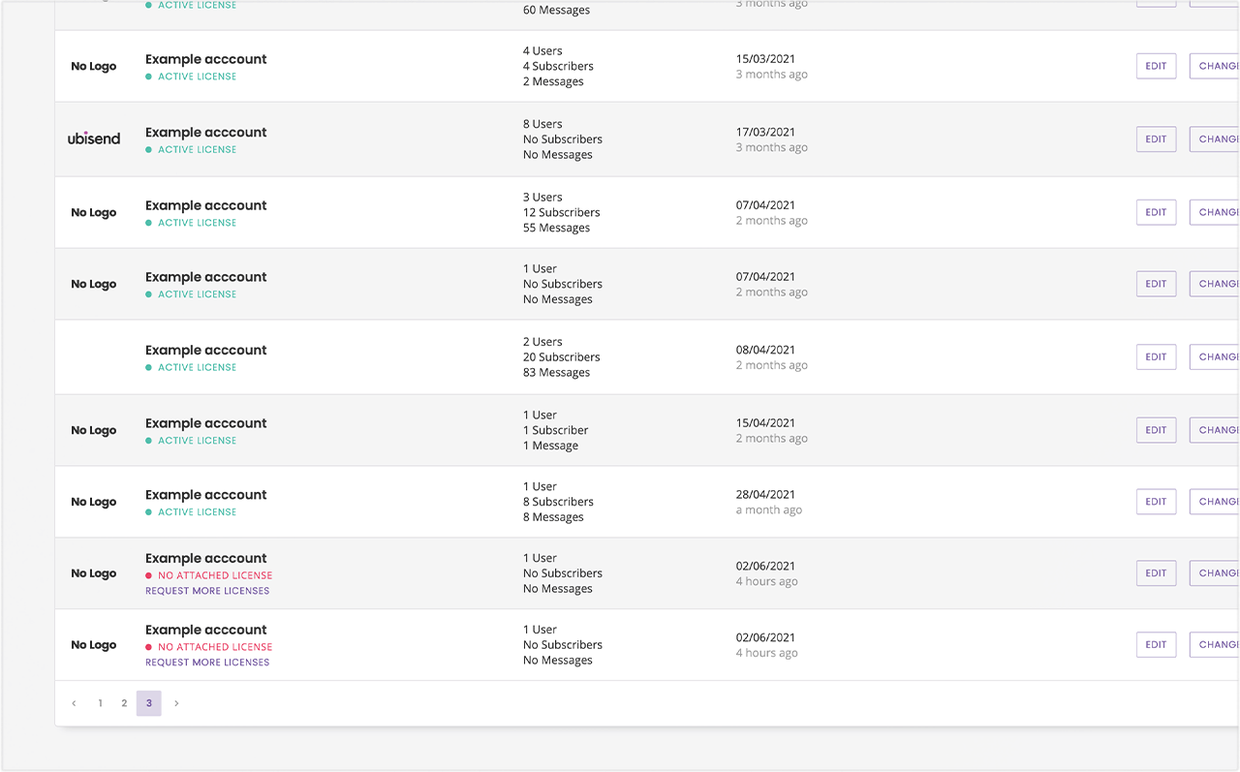
In the example used in the introduction, the owner of the platform would see a list of three accounts:
HR chatbot
Sales chatbot
Customer service chatbot
There are no limits to the number of accounts a single platform may have.
Column | Description |
|---|---|
Name and license | The first column of the column shows the name of the account and whether or not it has an active license. Active licenses are displayed in green. Inactivated accounts (or accounts without an associated license) are displayed in red. Learn more about licenses. |
Summary | The second column shows overview statistics for the account:
|
Created | The third column shows you when the account was created |
Actions | The last column allows you to
|
2. Licenses
The licenses page shows you a list of all the licenses you have purchased for your account.
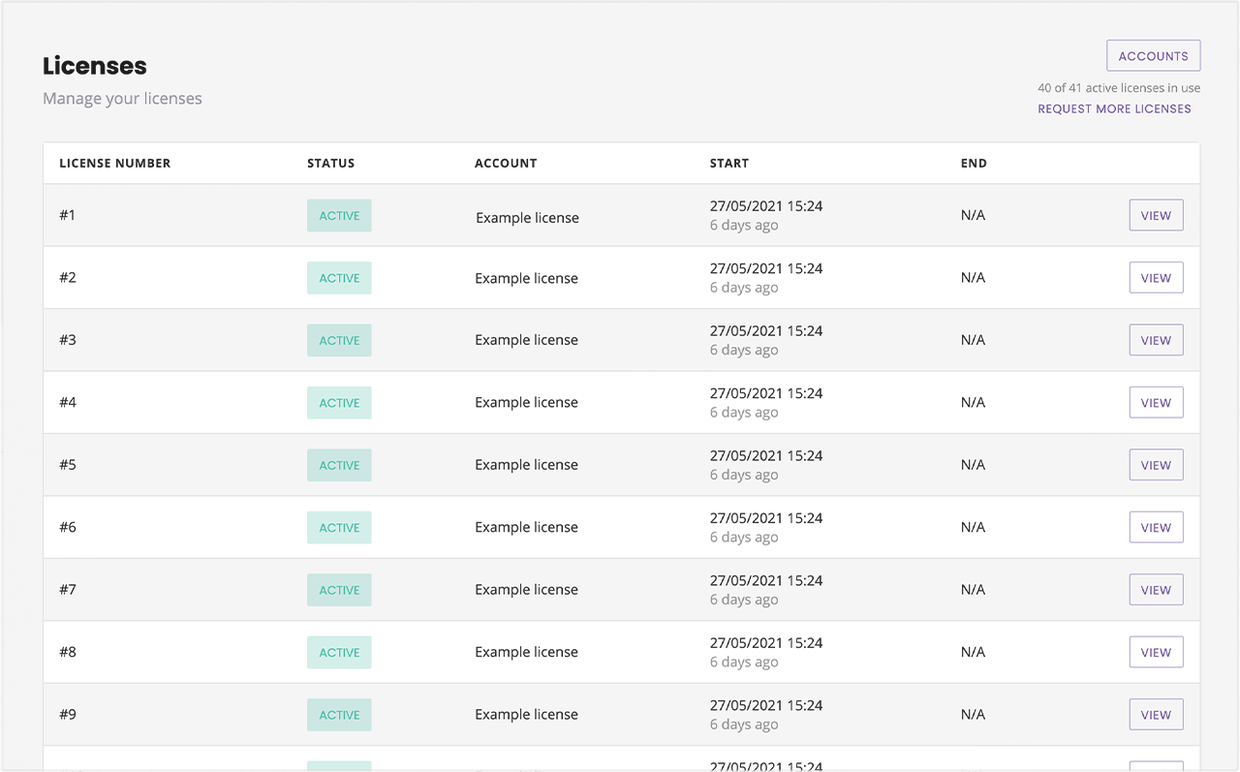
To be active, an account must be associated with an active license. To learn more about licenses, read this doc: Overview of account licenses
Column | Description |
|---|---|
License number | The number associated to every license you own. |
Status | Whether the license is Active or Inactive. A license goes inactive if payments have not been made to maintain it. A chatbot built on an account with an inactive license will not respond to messages. |
Account | The account the license is associated with. |
Start | When the license was issued. |
End | When the license is due to expire. |
Action | A button to explore the license further, including its history. |
3. Users
The users page shows you a list of all the users across all the accounts under your platform.
Within the users page, you may promote users to Owner status.
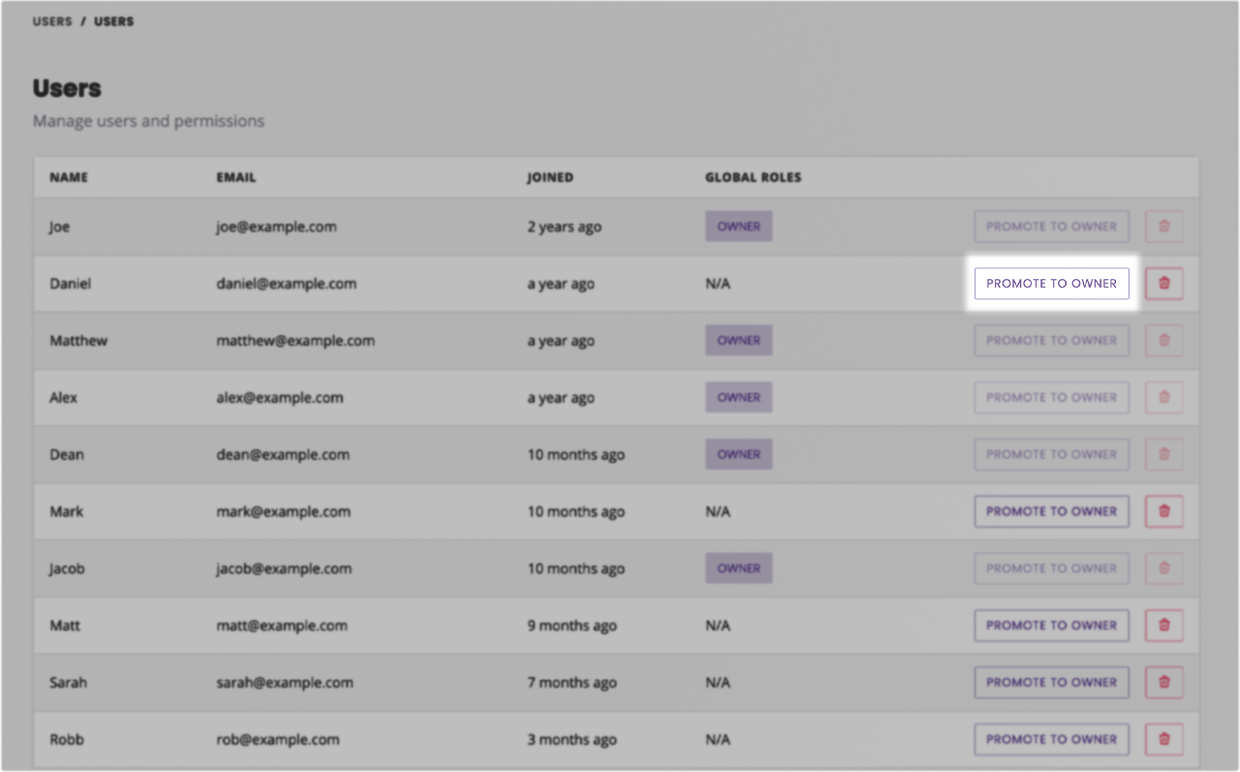
Demoting a user from owner status will require help from your account manager.
4. White label
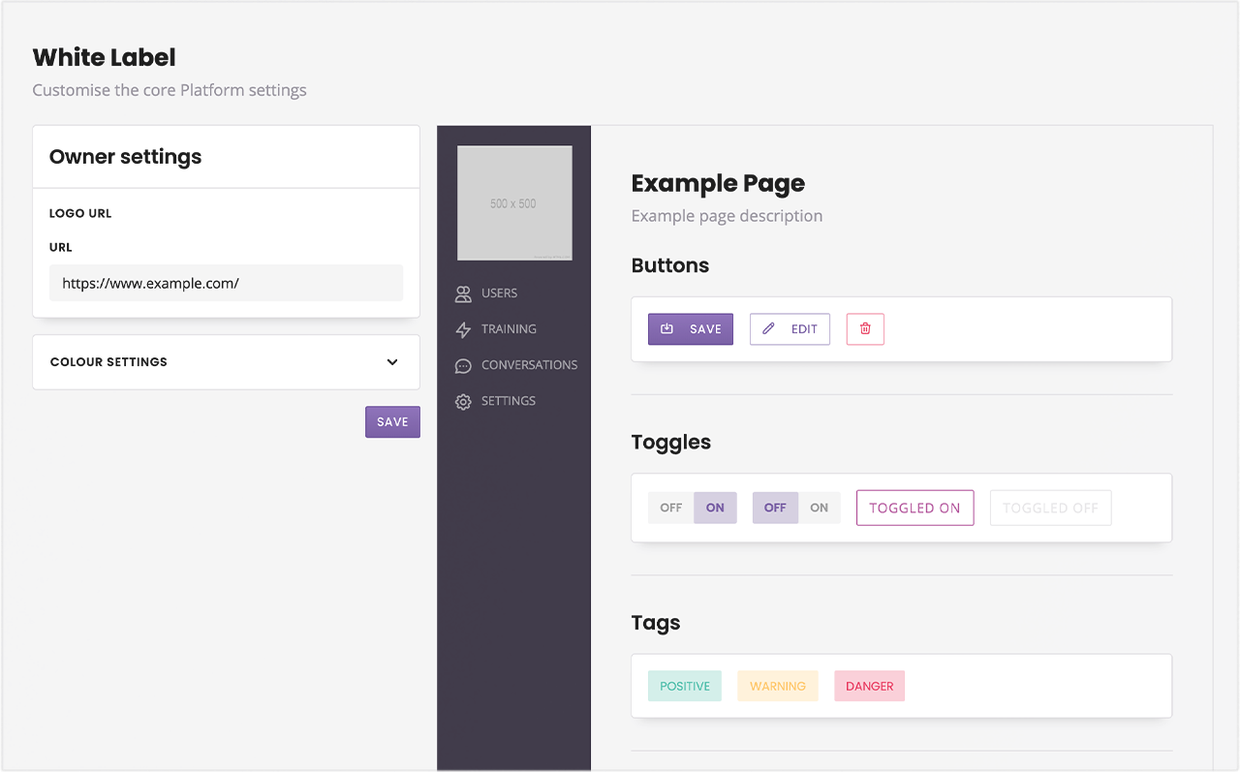
The white label page gives you all the options to white label your platform. From this page, you can change the colour scheme of key areas such as
Sidebar
Buttons
Status
Toggles
And more.
You may also update your platform’s logo and logo URL, which are displayed on the login and account creation screens.
5. Documentation
The documentation area is an exact copy of the documentation present inside your account. It is duplicated there to help you find documentation without having to switch back and forth between account and owner area.
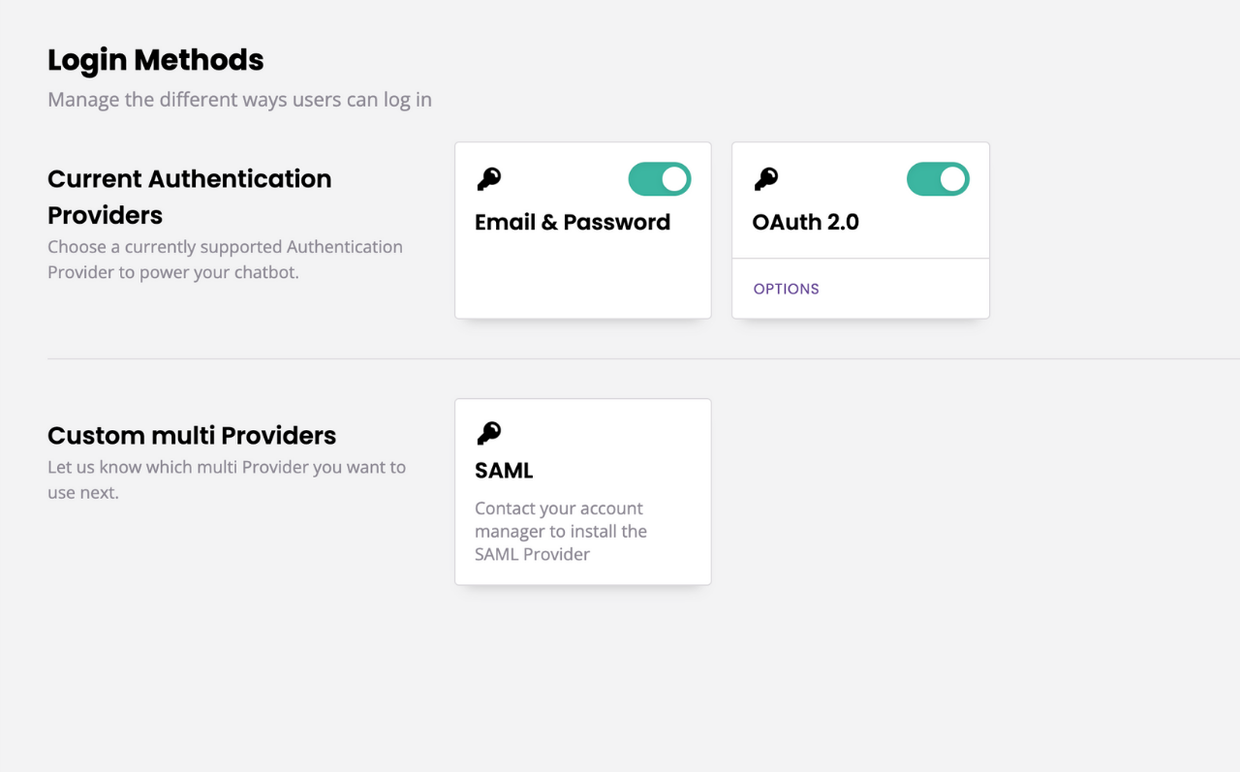
6. Login methods
The login methods area is where you can define how users are allowed to log in to the platform. You may set up a simple email and password, as well as any OAuth 2.0 method.
