How to create demo accounts
Last updated: 14 July 2021
This feature is only accessible to platform Owners. To become an Owner, reach out to your account manager.
As well as licensed accounts, additional accounts can be created for demonstration and test purposes.
Whether testing out a new integration, conversation or simply having a separate chatbot that can be used to demo to clients, demo accounts are a great way of building solutions without affecting your existing live builds.
Demo accounts are free, until you decide to associate them with an active license.
Step 1: Go to your Accounts view
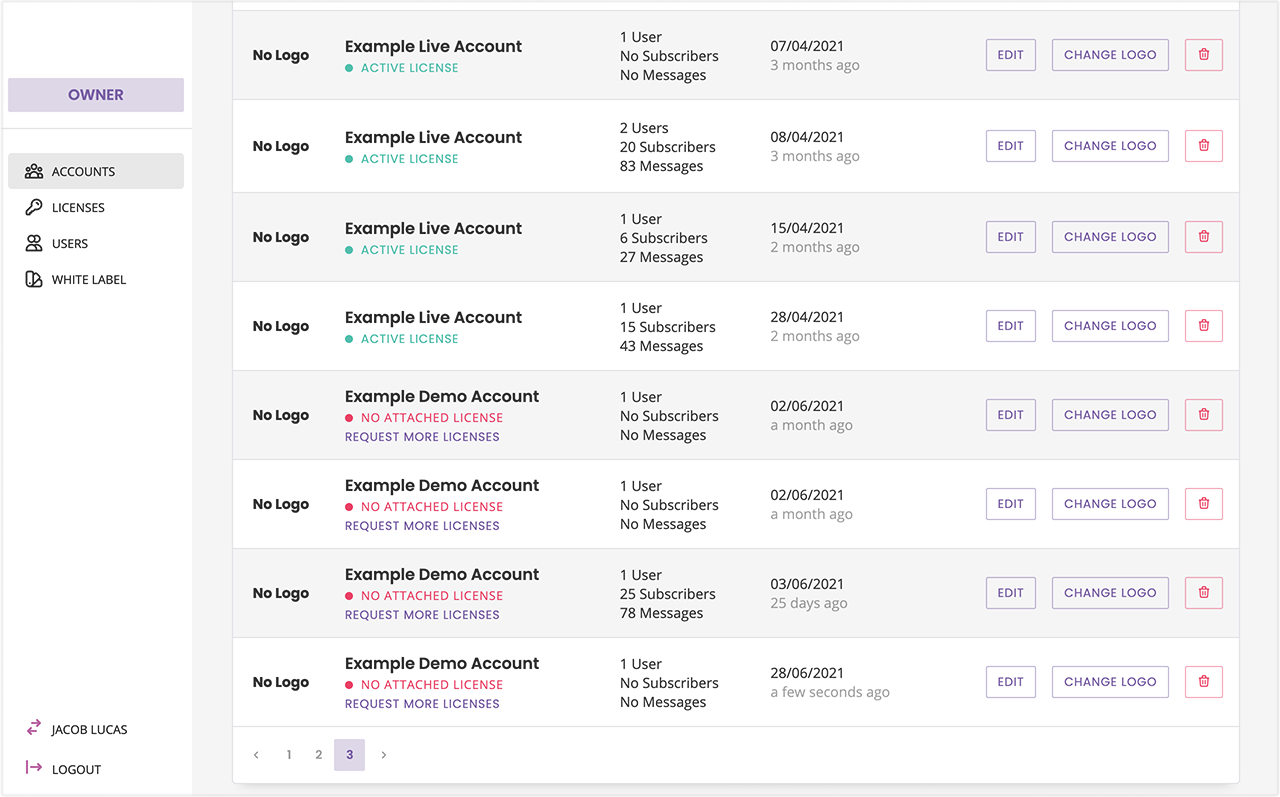
To create a demo account, head over to Owner portal → Accounts.
Step 2: Create your account
Click the + Account button at the top right of your screen.
Enter the required information to create a new account. Once created, your new account will be available in the accounts list.
The license status will show as No Attached License.

Step 3: Log into your new account
Click the account name at the bottom left of your screen to log back into your user portal.
There, click on Accounts and find your new account in the slide-in panel.
What can’t I do with a demo account?
Demo accounts that exist without a license are free, but cannot be deployed in live environments.
While you can log into the account, create conversations, and generally set up your chatbot, an account needs an active license to be functional.
Your chatbot will only start responding (outside of the demo area) when an active, paid-for license is associated to the account. To add a license to a demo account, read this or speak to your account manager.