How to hide your chat widget on specific pages
Last updated: 25 November 2021
The easiest way to deploy a chatbot widget to your website is to add its script tag to the website’s <body> tag. Doing so will display your chat widget across your entire website.
In this tutorial, we explore using smart rules to prevent your widget from displaying on parts of your website.
This feature is only suitable for the Converse channel.
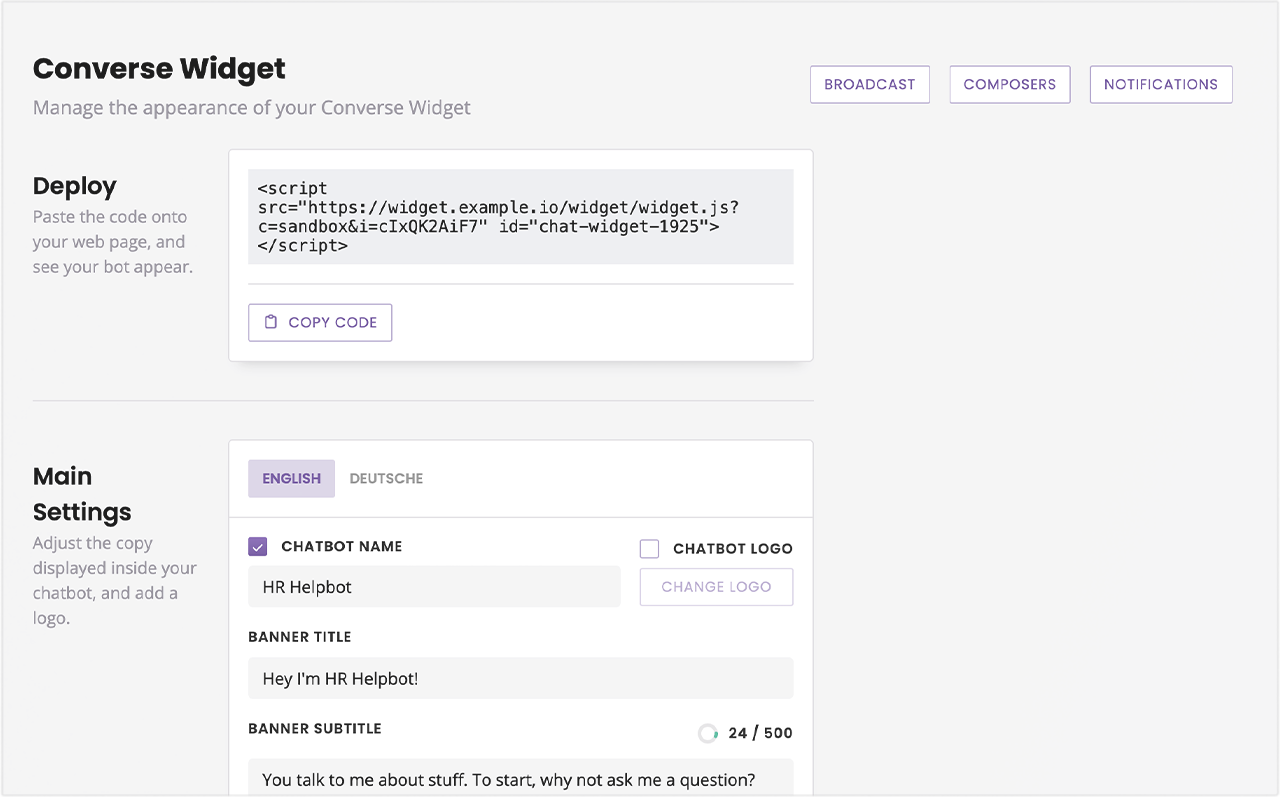
Step 1: Add your script tag to your website
We will assume you have already set up your chatbot and added your script tag.
If you need a refresher on this, read Add a chat widget to your website.
Step 2: Set up your smart rules
Go to Engage → Channels.
In the list of channels, find Converse and click Options.
Find and unfurl Display Rules.
Within Display Rules, unfurl Widget Visibility Rules.
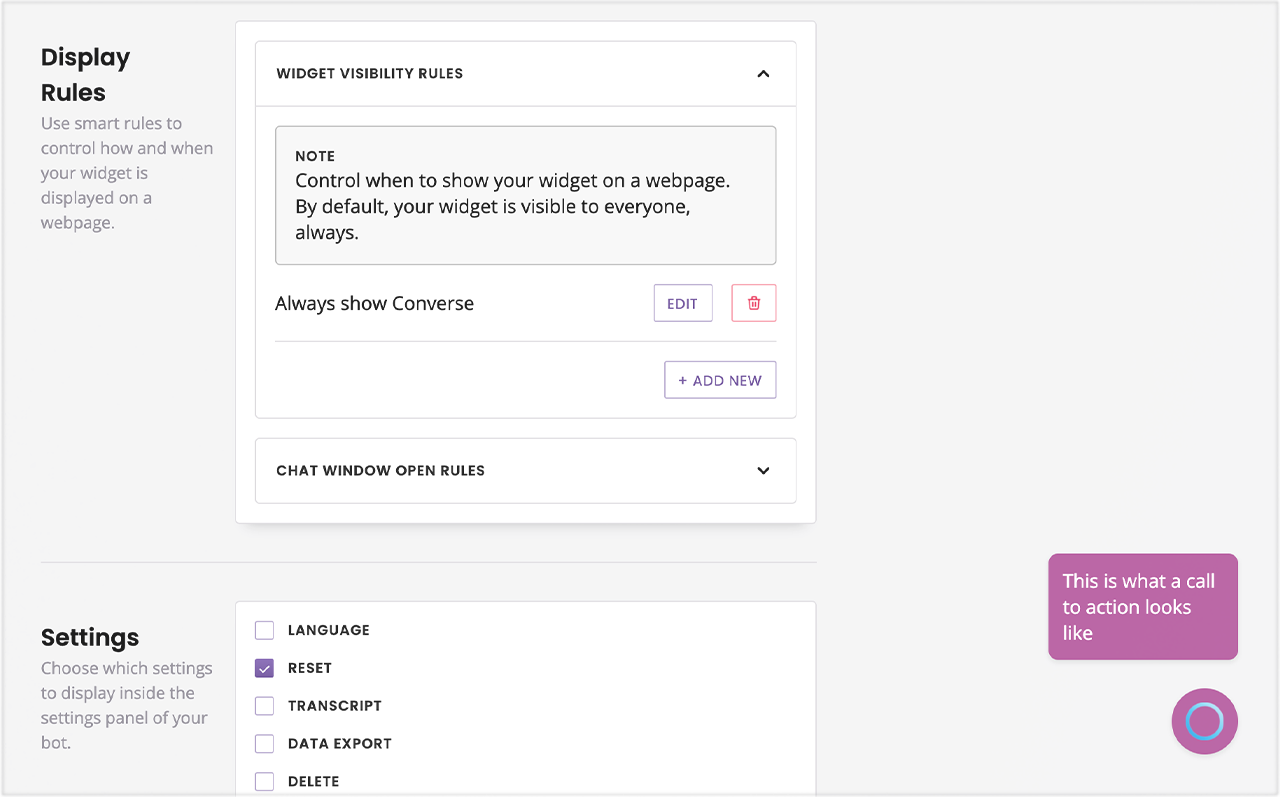
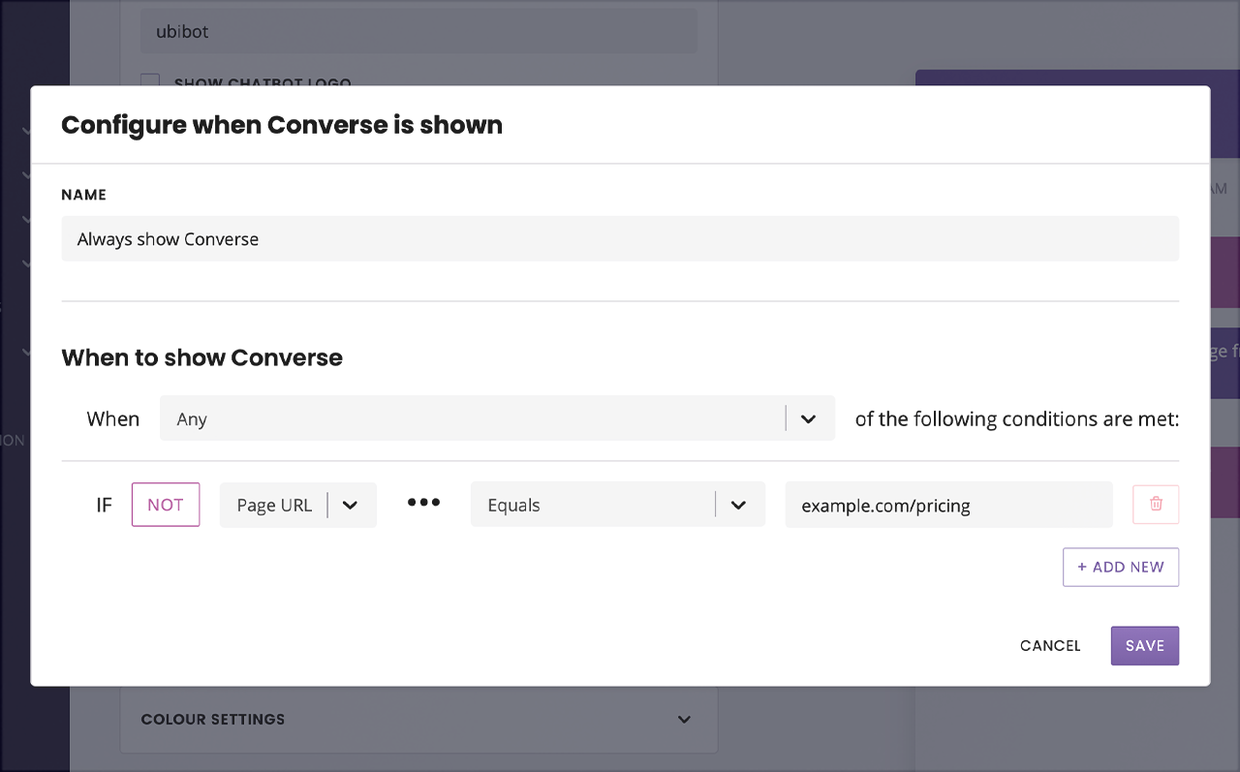
By default, your chatbot’s display settings are ‘Always show Converse’. You can either tweak this existing rule, or delete it and create a new one.
Let’s assume we want to display the widget on all our web pages except example.com/pricing. This is the smart rule we would create: