Send and receive files via live chat
Last updated: 30 March 2022
File exchanges are common during live chat interactions. Learn how to send files to a user and allow users to send files to your agents.
Send a file to a live chat user
Ensure your live chat agents have the following permissions enabled:
Files (all)
File sources (all)
Composers (all)
Go to Service → Live chat.
Once you’ve claimed a live chat ticket, notice the message field also displays a file icon:

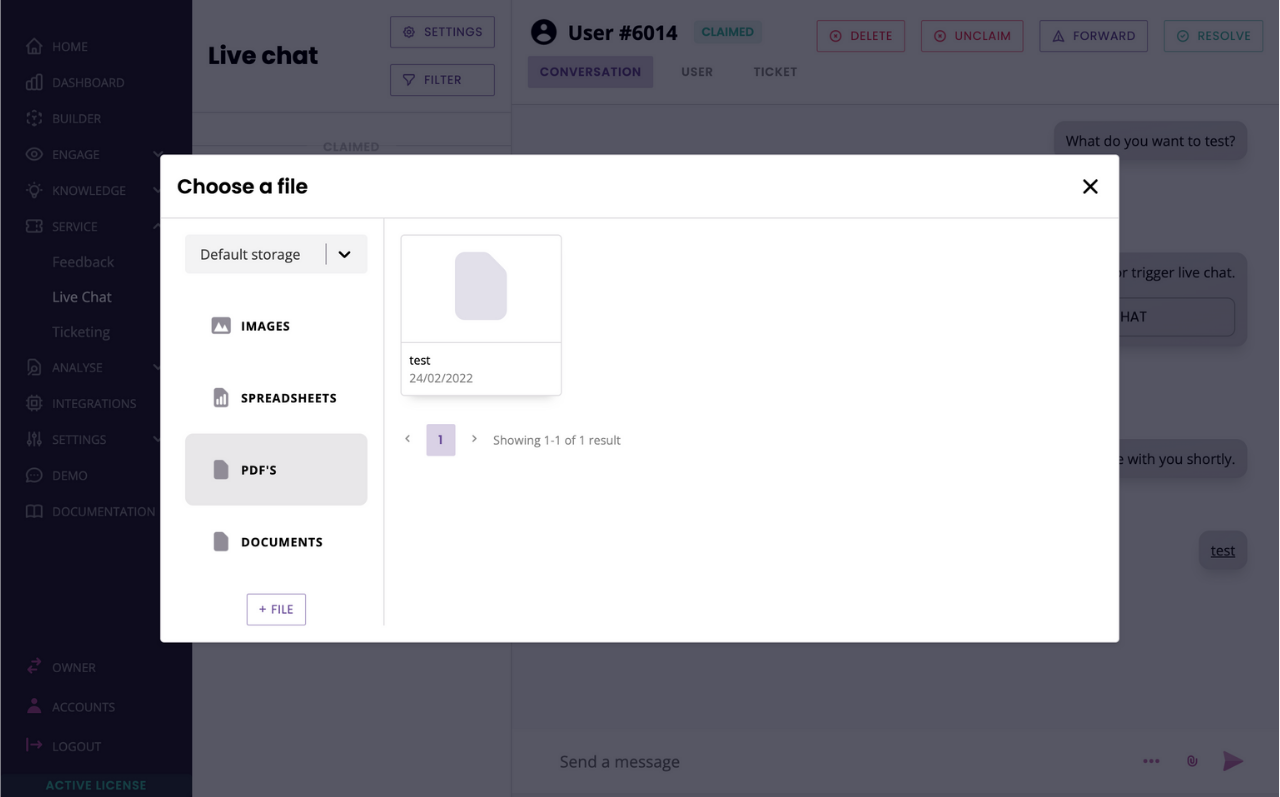
Click this icon to open your platform’s file explorer.

Find a file and click it to send.
Done! Your live chat user will receive a clickable link to the file you sent across.
Allow a live chat user to send you a file
As a live chat agent, there are moments when you will want your users to send you a file. To fully control this interaction (and only allow users to send files when you need them to), you can force a specific composer to a live chat user at any point in your interaction.
To do so, make sure you have created a file upload composer. Learn how here.
Then, go to Service → Live chat.
Claim a ticket.
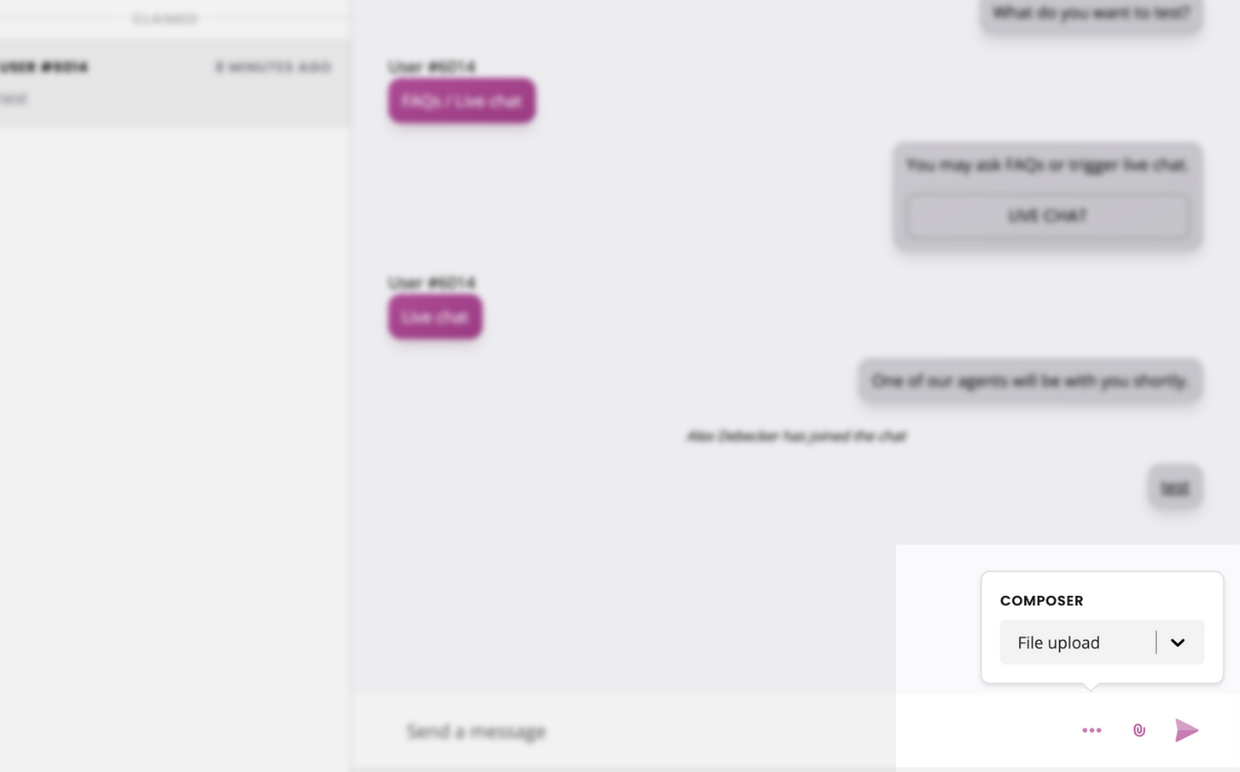
Next to the file upload icon (which allows the agent to send a file to the user), click the three dots.
This menu allows you to force one of your composers onto your live chat user. Use the dropdown to find your file upload composer, then send a message to your user.

As your user receives this message, their composer changes; enabling them to click the upload button and send their file.
This composer will remain active until you, the agent, send another message.