Set up a logical integration
Last updated: 05 December 2023
Logical integrations allow you to move the chatbot user through conversations based on one or multiple integration calls. Logical integrations are often used to:
Verify a purchase before sending a 'thank you' message to the user.
Verify calendar dates are available before allowing the user to book a meeting.
Verify a user's location before changing a chatbot's default language.
And more.
Step 1: Ensure you have an active integration
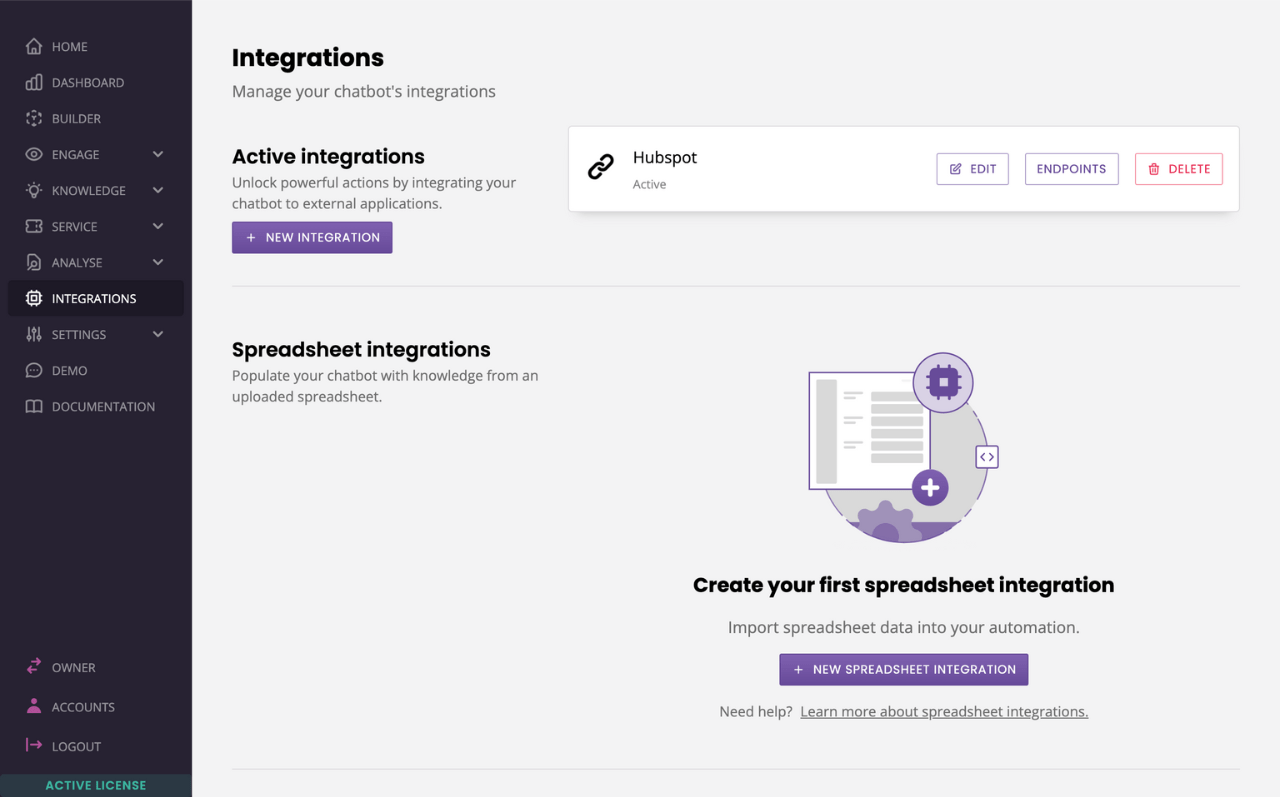
Head to Integrations and make sure your integration is properly set up.

Your integration should have:
A base URL
An authorization method
Relevant headers
At least one endpoint
Variables inside its endpoint's keys and values
If you need a refresher, here is how to create an integration.
Step 2: Tie your logical integration
Logical integrations happen in transit between two conversation steps.
You can use them to send to users down branch A or B of the conversation, depending on what the integration returns.
Head to Builder.
Click View on the conversation you want to use.
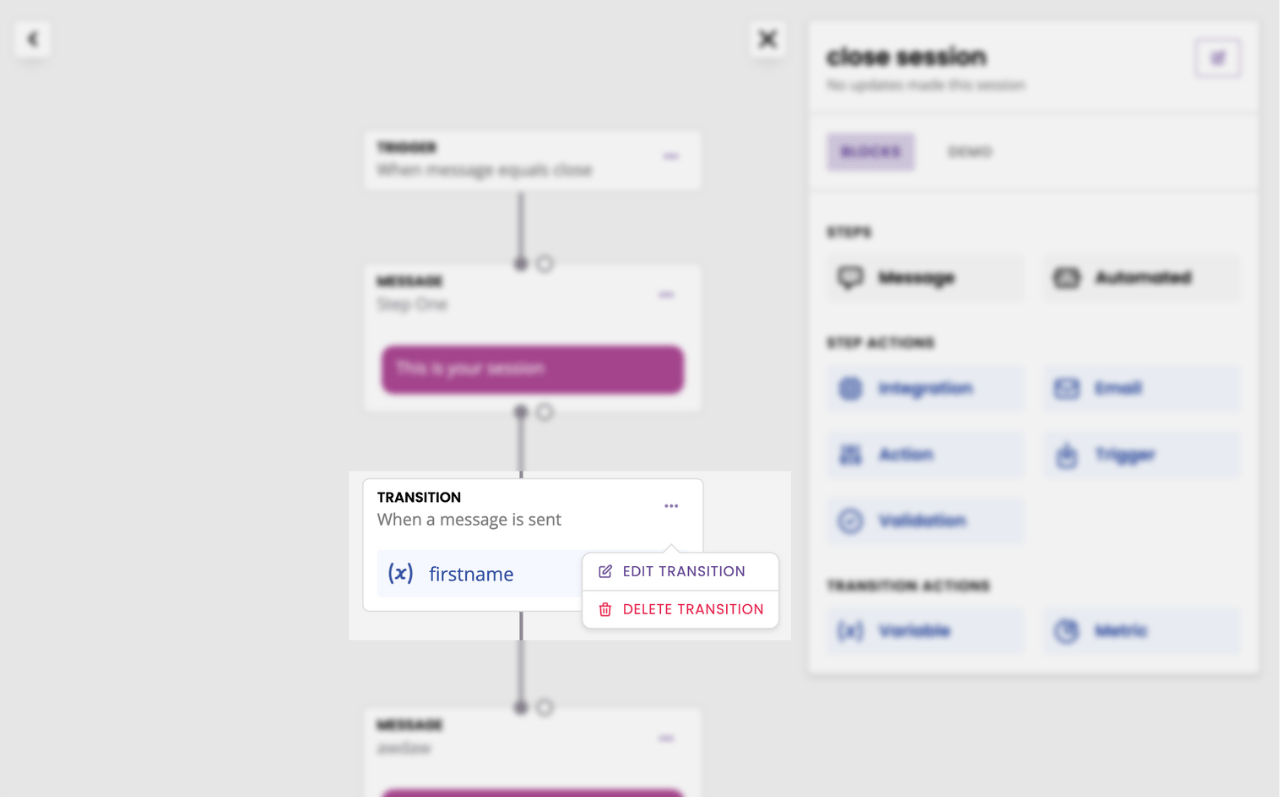
Find the two steps between which you would like to set up a logical integration. Click the three dots in the top right and Edit transition.

In the event dropdown, find Making an API request.
There are two types of validation you can use.
Status code: progress the conversations based on your integration failing, succeeding, or returning server errors.
Response body: progress the conversation based on your integration returning a specific data point (e.g. an email address, phone number, true/false, etc.).
Hit Save.