
Set up an outbound integration
Last updated: 05 December 2023
Outbound integrations allow you to export data collected by the chatbot into an external piece of software. Outbound integrations are often used to:
Collect user information and create a lead into an external CRM.
Collect user feedback and create a ticket in an external ticketing system.
Collect and update customer details into an external database.
And more.
Step 1: Ensure you have an active integration
Head to Integrations and make sure your integration is properly set up.

Your integration should have:
A base URL
An authorization method
Relevant headers
At least one endpoint
Variables inside its endpoint's keys and values
If you need a refresher, here’s how to set up an integration.
Step 2: Ensure you are capturing information
You will use variables to collect data from the users, then push this data through your outbound integration.
Before you tie your integration into a conversation, make sure your conversation is capturing the data you need.
Go to Builder.
Click View on the conversation you want to use.
At a glance, see if variables are being populated in the transition between conversation steps. You can tell by the variable icon and the name of the variable on the transition.
If you're not currently populating variables in transitions, open your Block bank. Click, drag, and drop a Variable inside the transition block.
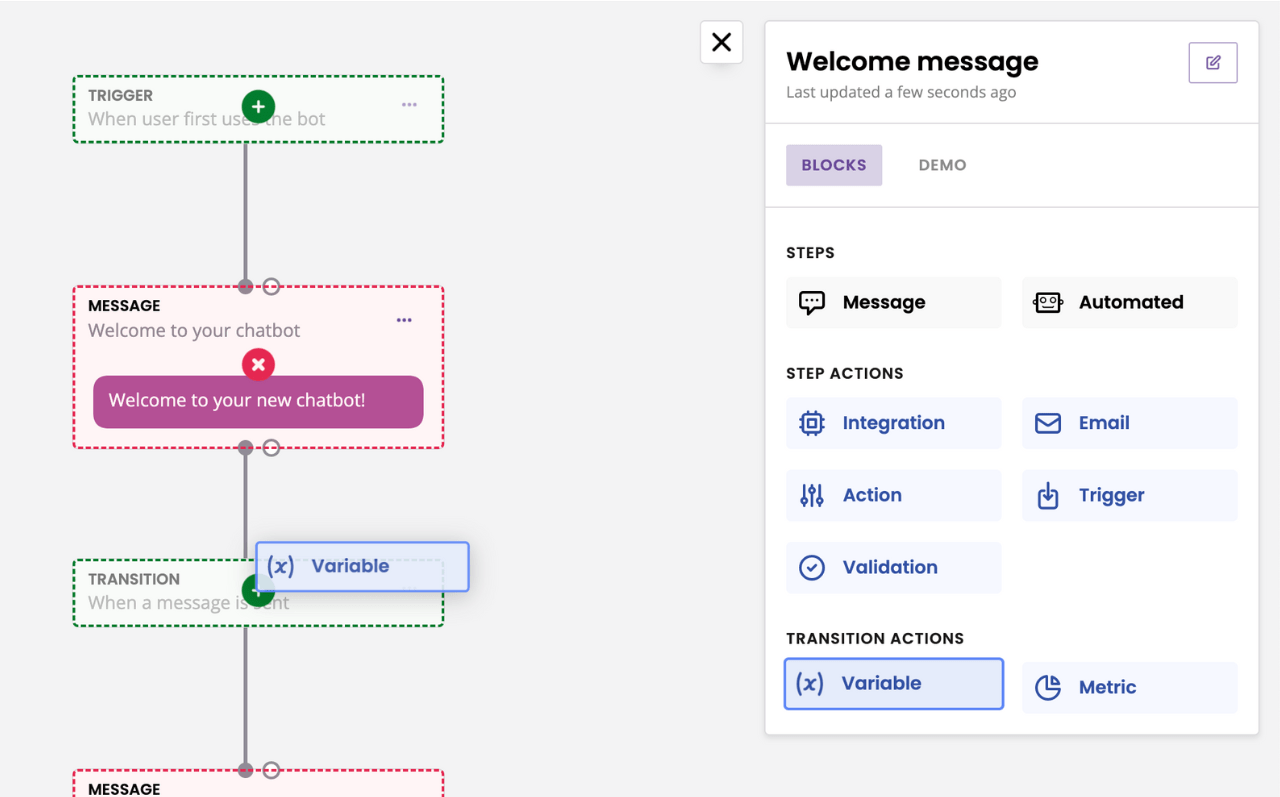
In the pop up, select your variable. Click Save.
Hit Save.
Step 3: Tie your outbound integration
Now that you have an integration and a conversation set up, you can tie your outbound integration.
Go to Builder.
Click View on the conversation you want to use.
Open your Block bank. Click, drag, and drop an Integration onto your last step.
Though outbound integrations tend to happen at the last step of a conversation, this is not a requirement. You can create an outbound integration at any point within a conversation.
Using the first dropdown, select your integration.
In the second dropdown, select your endpoint.
Hit Save.