
Transfer automated VOIP calls to a different number
Last updated: 02 May 2023
As you build your VOIP conversation, there may be points where you will need to transfer the chatbot user to a different number. This may be a different department (where a human will pick up), a different chatbot, or even someone’s personal phone number.
This is all possible through the transfer action.
This doc covers transferring VOIP calls, for which you will need your VOIP channel set up. Learn more.
Step 1: Create a transfer route
All transfers, regardless of the final phone number you need to reach, must go through the phone number set up inside Audiocodes. It is through this phone number that the call will get transferred.
Log into your Audiocodes account. Go to Routing.
Click + Add in the top right.
Under Connected service, select your existing bot.
Under Connection type, select Transfer.
Under Connected with, select your existing phone number.
Step 2: Create your transfer
Log into your chatbot platform.
Go to Builder and find the conversation within which you’d like to transfer a call.
Find the step at which point the chatbot should automatically transfer the call to a new phone number.
Open the block bank, drag and drop an Action onto the step.
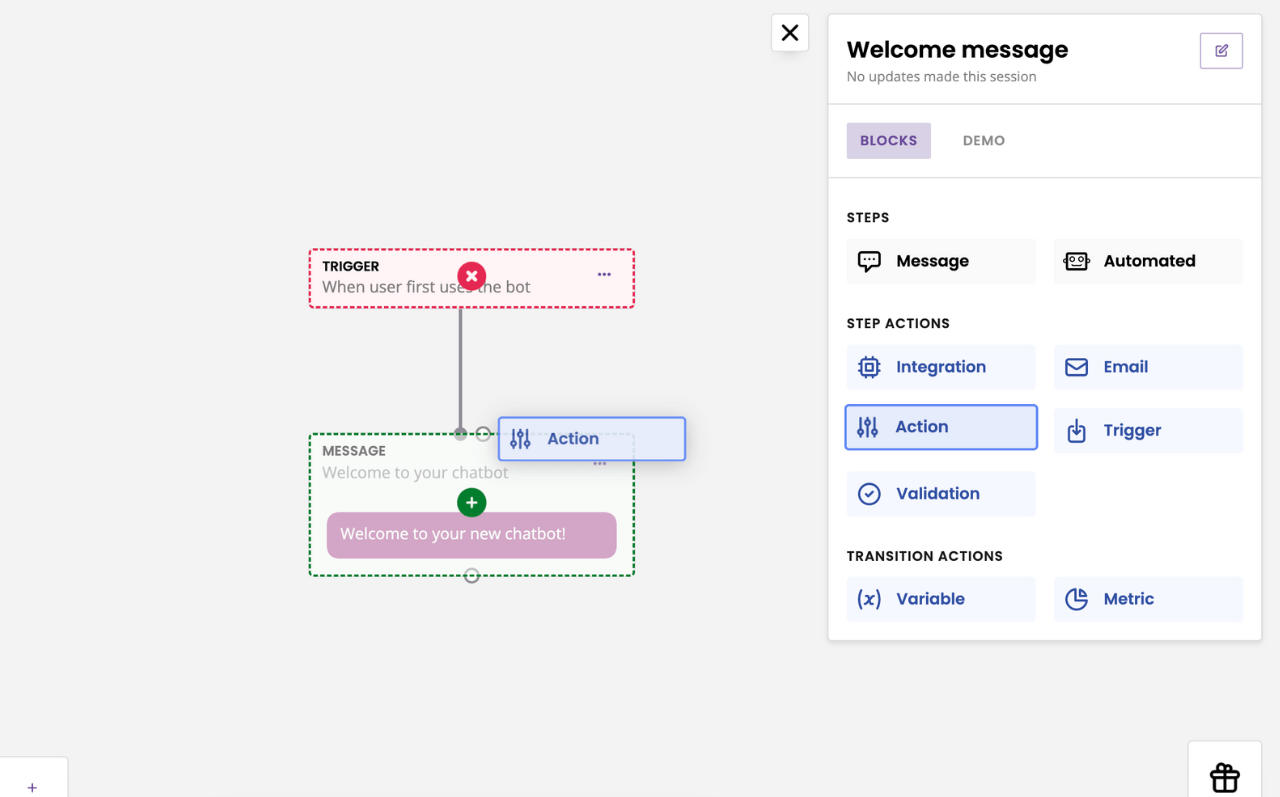
In the modal, select Transfer VOIP call.
Enter the phone number you’d like to transfer to. Make sure to add tel: before the phone number, then the whole phone number including area code (e.g. tel:+441234567890).