
Connect your chatbot to VOIP
Last updated: 30 January 2024
Connect your chatbot to an automated telephony system, powered by our advanced NLP and conversation builder technology.
Step 1: Create an Audiocodes account
To connect your chatbot to VOIP, you will need an Audiocodes account. Through Audiocodes, you will set up the phone numbers, the routing, and the persona of the chatbot’s voice.
You will need a VoiceAI Connect Cloud account.
Step 2: Create your phone number
Log into your Audiocodes’ VoiceAI Connect Cloud account.
Go to Numbers and click +.
Select a Country. The country you select will dictate the area code of your phone number. For example, selecting United Kingdom will generate a +44 phone number.
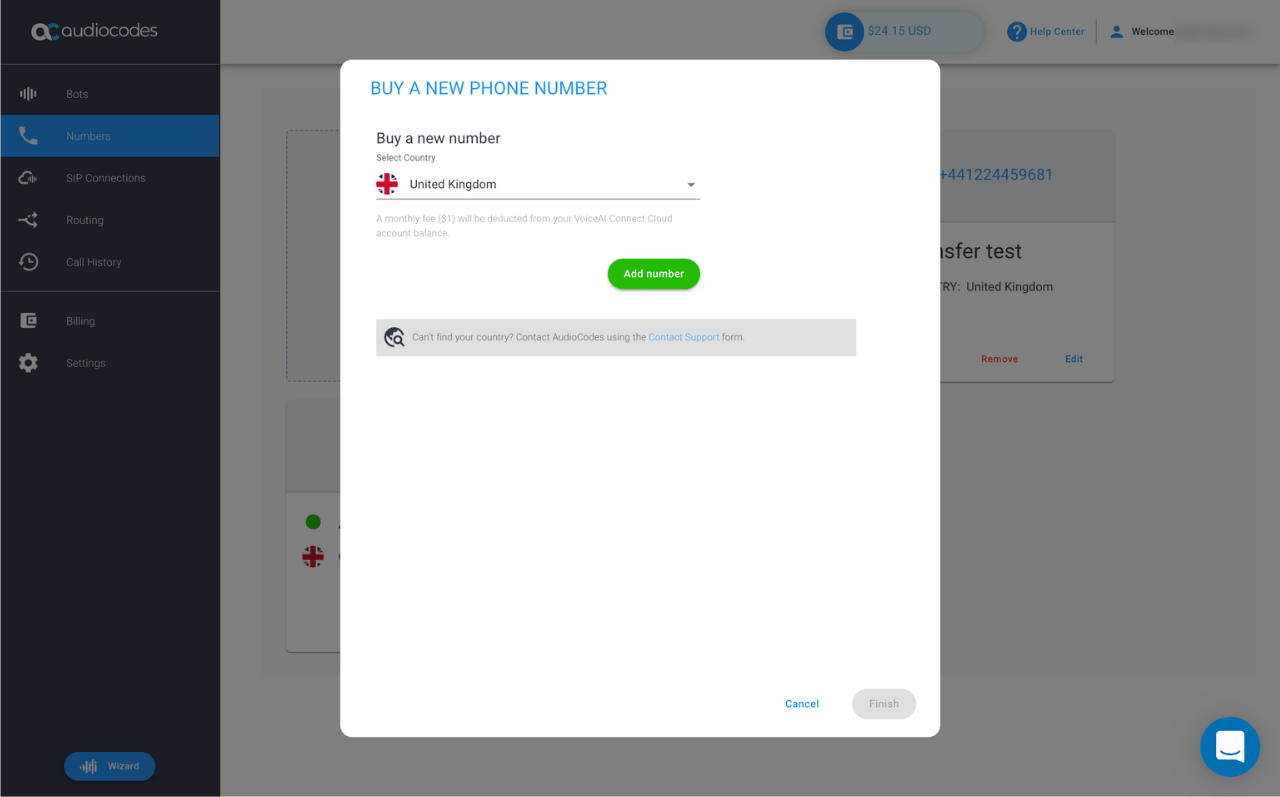
Hit Finish.
Your new phone number will appear on your list as Unassigned, with a red dot.
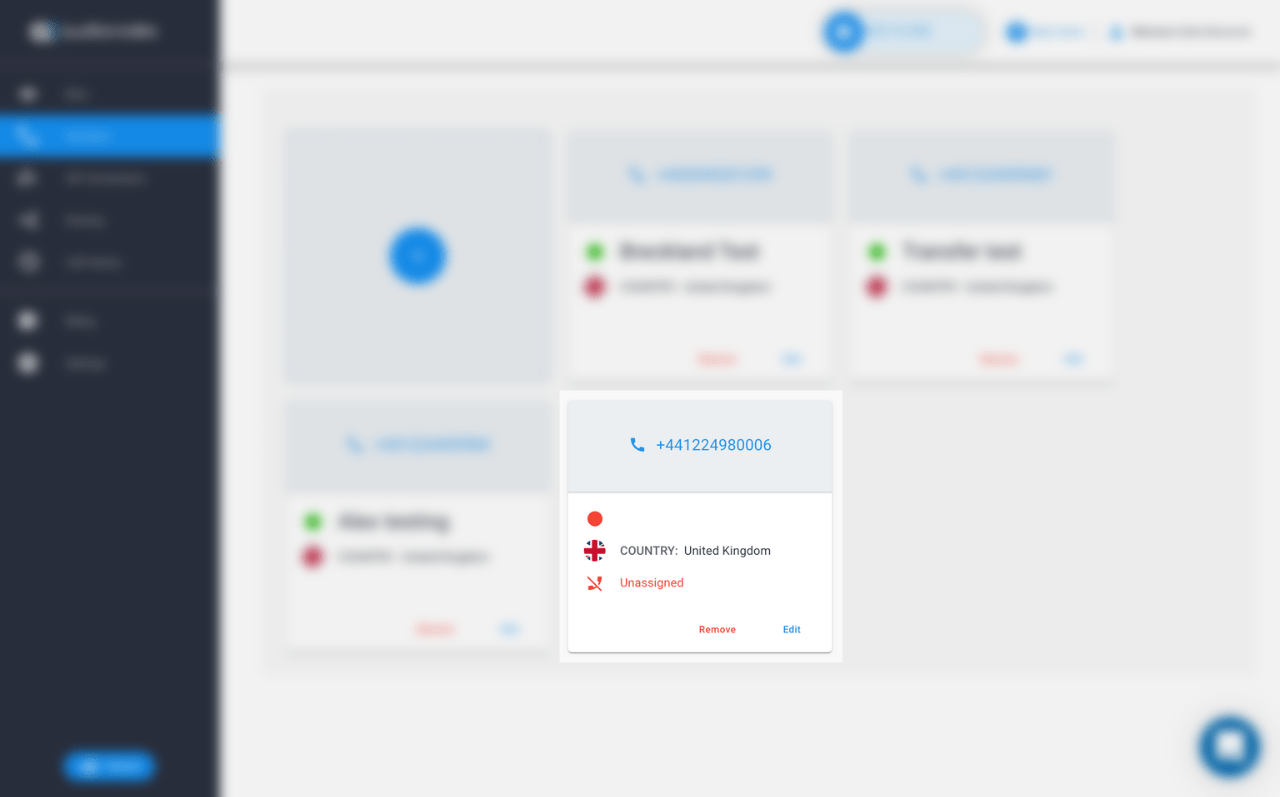
You can, optionally, hit Edit and give your new phone number a name.
Step 3: Find your VOIP channel URL
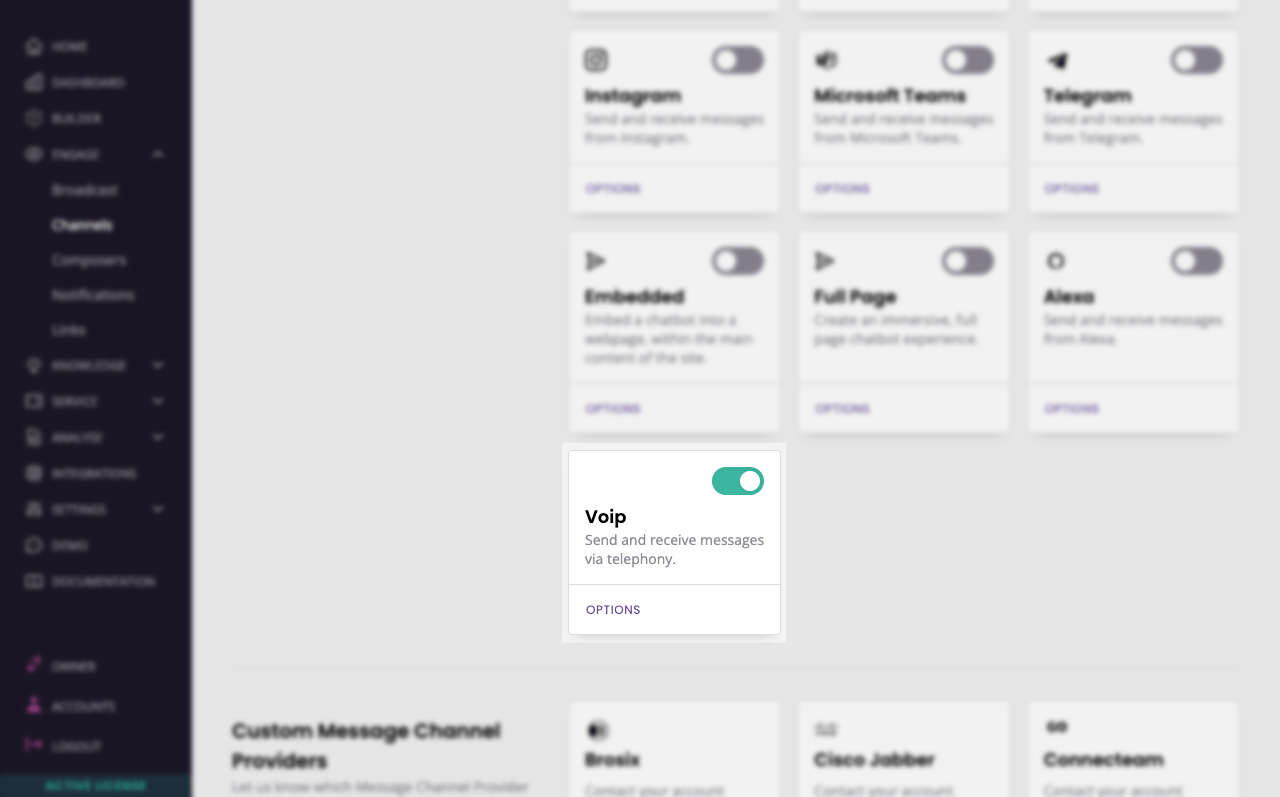
Log into your chatbot platform and go to Engage → Channels.
Find the VOIP channel and hit Options.
On this page, you will find a long URL. Keep this page open (or save the URL somewhere), as we will use it in the next step.

Step 4: Create your bot
Go back to Audiocodes. Go to Bots. Click the + sign to create a new bot.
In the list of frameworks, select AudioCodes Bot API, then click Next.
Give your bot a Name. This name is for internal purposes only, chatbot users will not see it.
Under Bot URL, paste the URL from step 3.
Leave Token blank.
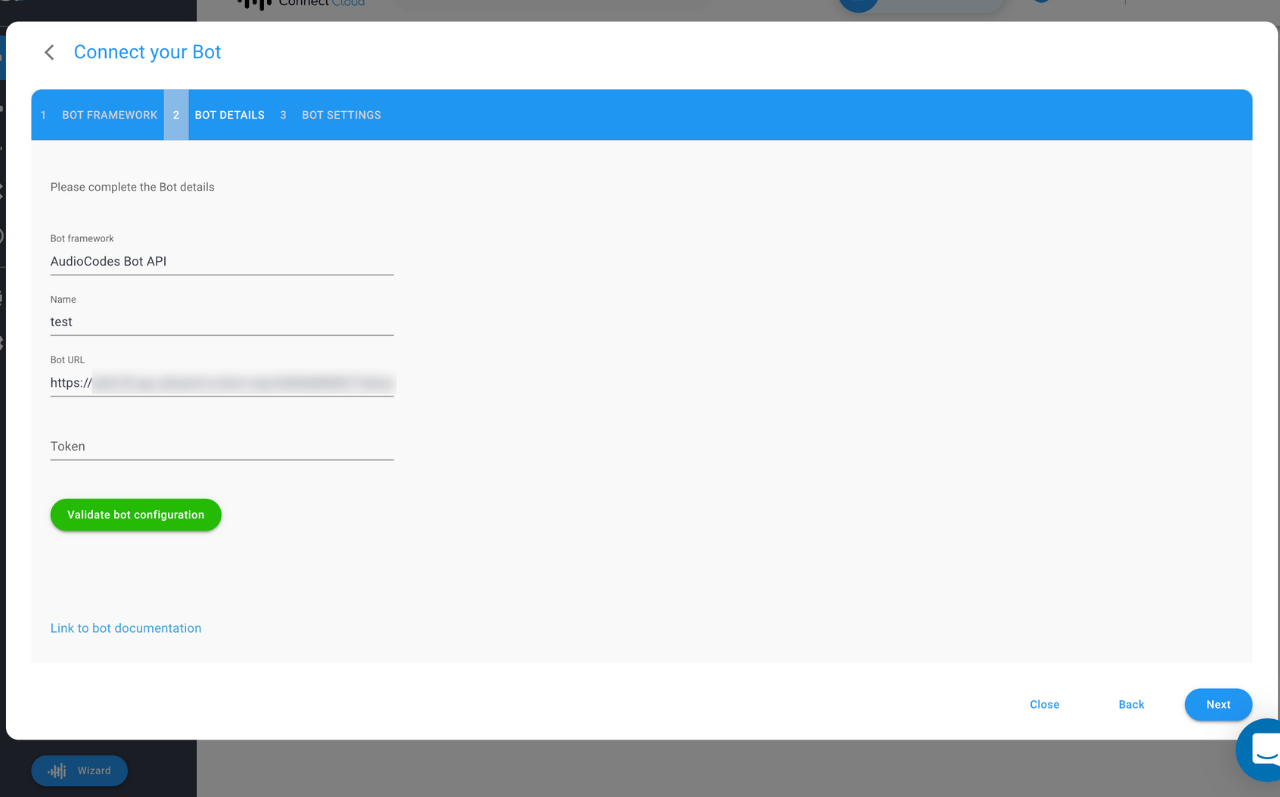
Hit Next.
In bot settings:
Choose a TTS Speech Service (we recommend Microsoft).
Choose an STT Speech Service (we recommend Microsoft).
Choose a language. This is the language of your chatbot. If you are building a English-speaking British chatbot, you may select English (United Kingdom) (en-GB).
Choose a voice name. Depending on the language you chose, you will have access to a varying number of voices, both male and female.
Scroll down to find Additional settings and turn DTMF on.
Hit Create.
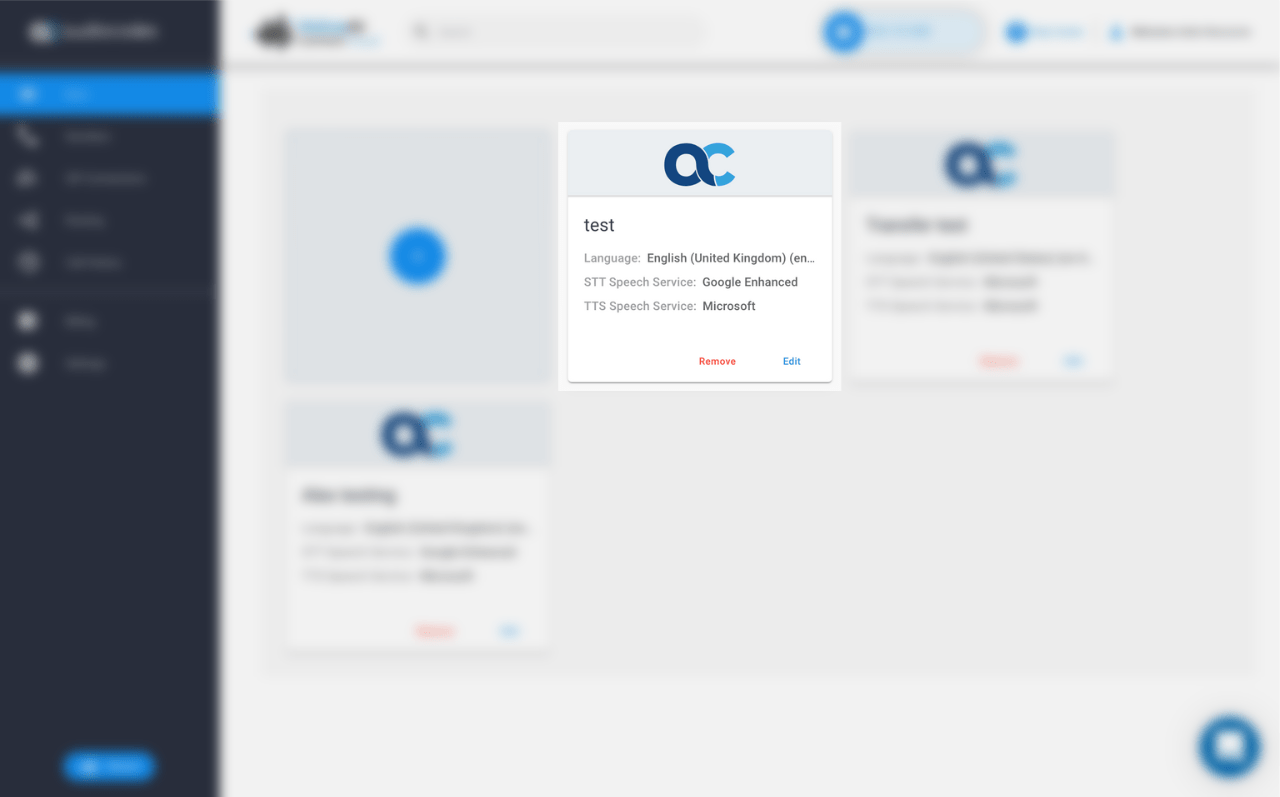
Your new bot will appear in the list of accessible bots.
Step 5: Set up routing between your number and your bot
We now have a phone number and a bot. All we need to do is connect the two.
In Audiocodes, go to Routing and click + Add.
In the new row,
under Connected service, select your new bot,
under Connection type, select inbound, and,
under Connected with, select your new phone number.

Hit Save.
Your chatbot platform is connected to your Audiocodes' bot which, in turn, is routed through the phone number you created.
Step 6: Create the required trigger conversation
As soon as a user calls your phone number, your chatbot needs to take over. To make this happen, you must create a trigger conversation.
Head over to your chatbot platform and into the Builder. Create a new conversation, give it a name and a description.
For its trigger, use If Variable {{voip.is_start_request}} is true.
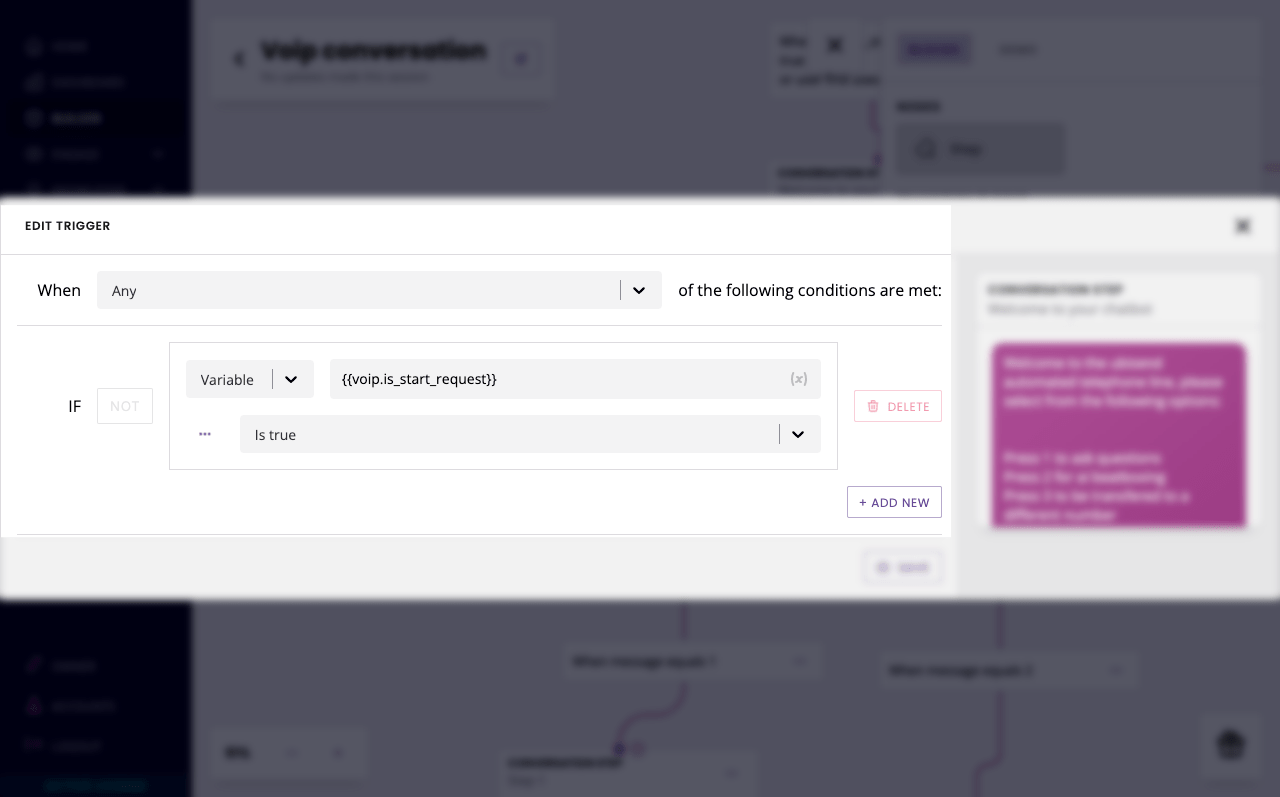
Hit Save.
Step 7: Turn your channel on
In your chatbot platform, go to Engage → Channels and turn on your VOIP channel.
All done! Call your number to give it a try.
FAQs
Whenever I call the number, the line is busy. What have I done wrong?
The issue will commonly stem from one of these:
Have you set up the routing properly? (step 5)
If you have multiple phone numbers, did you pick the right phone number when setting up routing?
Did you set up your default conversation? (step 6)
Did you turn on your channel? (step 7)
Do you have an active license?
Are you sending message types supported by VOIP? Learn more.
If you answered yes to all these questions, please reach out to your account manager for further debugging.
The call hangs up after I speak and never responds back to me.
Voice channels are a bit unique in that you must specific when they should listen for an answer from the user. Make sure you’ve used the Listen action everywhere you are expecting the user to speak.
When the bot reads back variables it has captured in VOIP, it often takes a longer pause even if it’s in the middle of a sentence. How can I improve that?
VOIP will capture user input into a variable and automatically append a period (.) at the end of the value. When it then reads it back, it therefore has a period in the middle of a sentence.
To prevent this pause, use the following regex formatter on the variable: {{variable-name|regex("/^(.*?)(\\.|$)/")}}.
This formatter will automatically strip out the period, making reading the value back much smoother.