
Create a voice conversation with the 'listen' action
Last updated: 02 May 2023
Voice chatbots are a tad unique. Unlike text-based chatbots, voice chatbots must be told when to listen to its users and when not to.
Below, we cover how and when to use this ‘listen’ action.
Step 1: Connect your chatbot to a voice channel
This doc covers voice chatbots, so make sure your chatbot is connected to:
Step 2: Understand the ‘listen’ action
When a user talks to a text-based chatbot, the conversation is always open. The user can type a response to the chatbot at any point, and (generally) the chatbot will pick up where they left off.
With voice-based chatbots, this isn’t the case.
You’ve most likely experienced an Alexa interaction where Alexa’s blue ring lights up as it listens. After a few seconds, the light goes off and Alexa is no longer listening.
This is due to, amongst other things, privacy reasons. A device cannot keep its microphone open and listen to everything happening around it forever.
Because of this unique behaviour, in our platform you will have specific when your voice chatbot is meant to listen and when it is meant not to. By default, your voice chatbot will not listen. This means every time you do want it to listen, you will need to add a specific action to do so.
Don’t worry, it’s all nice and easy.
Step 3: Create a conversation
Go to the Builder. Create a new conversation. Give a name and a description, and a simple trigger.
Add a new step to your conversation, so that there are at least two steps.
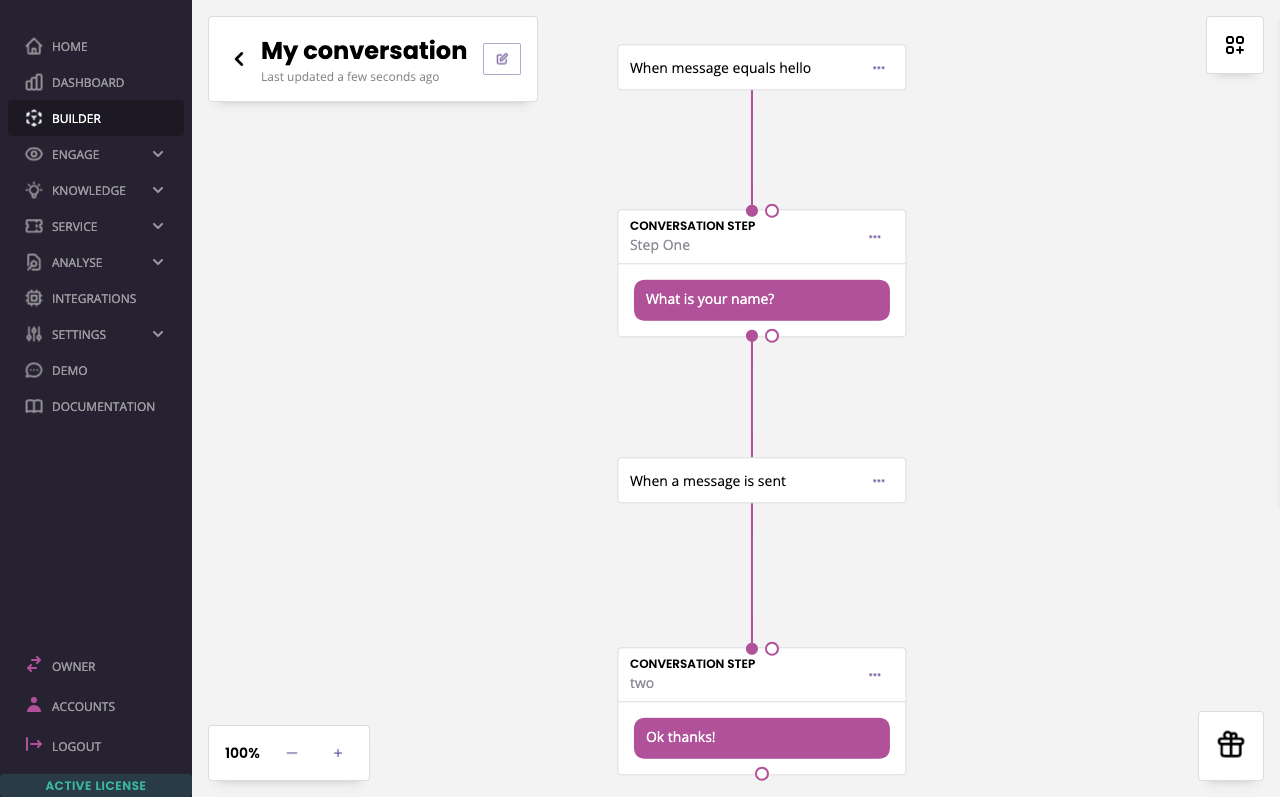
Between step one and step two, we want the chatbot to listen for an answer.
Step 4: Drop the ‘listen’ action
Open your Block bank. Drag and drop an Action on the first step.
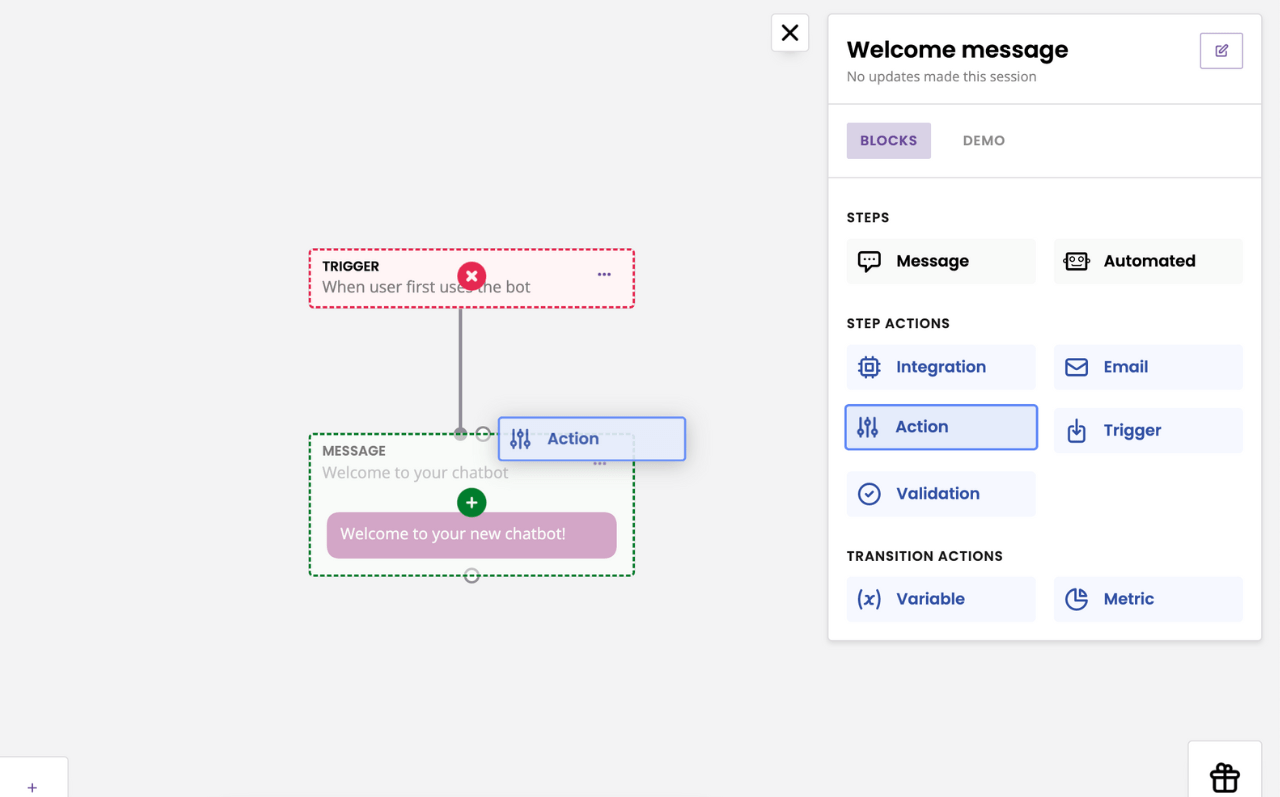
Your action must be dropped on the step during which you would like your chatbot to continue listening for an answer.
In the action modal, select the listening action associated with your voice channel.
For VOIP, select Listen for response on VOIP
For Alexa, select Listen for response on Alexa
Hit Save.
You can now test your conversation. In transition between these two steps, your chatbot will listen to a response. Then, when it reaches the final step (without the action), notice how the communication immediately ends.
Step 5: Edit existing conversations
Your chatbot platform automatically ships with a few default conversations such as the conversation that handles FAQs and the conversation that handles live chat requests, and more.
With your knowledge of the ‘listening’ action, you will soon realise some of those default conversation will need editing.
For example, will you want your chatbot users to be able to ask another FAQ after their question answered? If so, you will need to add the listen action to the FAQ conversation.
Whip through your default conversations and make sure they are voice-adapted.