How to use a spreadsheet as a pricing matrix inside your chatbot
Last updated: 02 May 2023
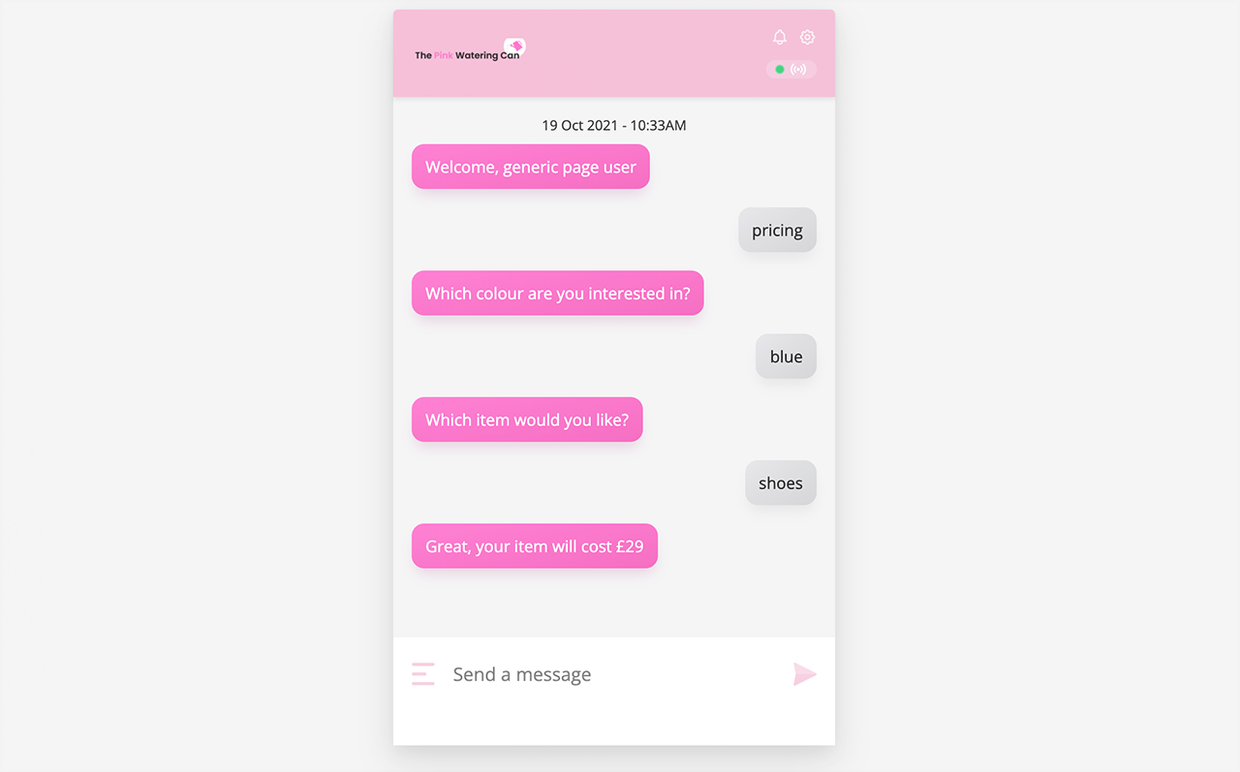
A chatbot can be an excellent way to drum up interest in your products or services. As users engage with your chatbot, you may want to, eventually, present them with a quote for their purchase.
In this tutorial, we show you how you can create a quotation chatbot with a simple spreadsheet integration.
Let's get started.
Step 1: Prepare your spreadsheet
Before we dive into the platform, you'll need to prepare your pricing matrix. For this tutorial, we'll imagine we are working for an online clothing brand.
Our operations are simple: we sell shoes, trousers, shirts, and jumpers. Each item of clothing can be purchased in red, blue, green, yellow, or black.
Our fictional company is not very sophisticated, but that'll do for this tutorial.
This is how our pricing matrix would look like, in a spreadsheet:
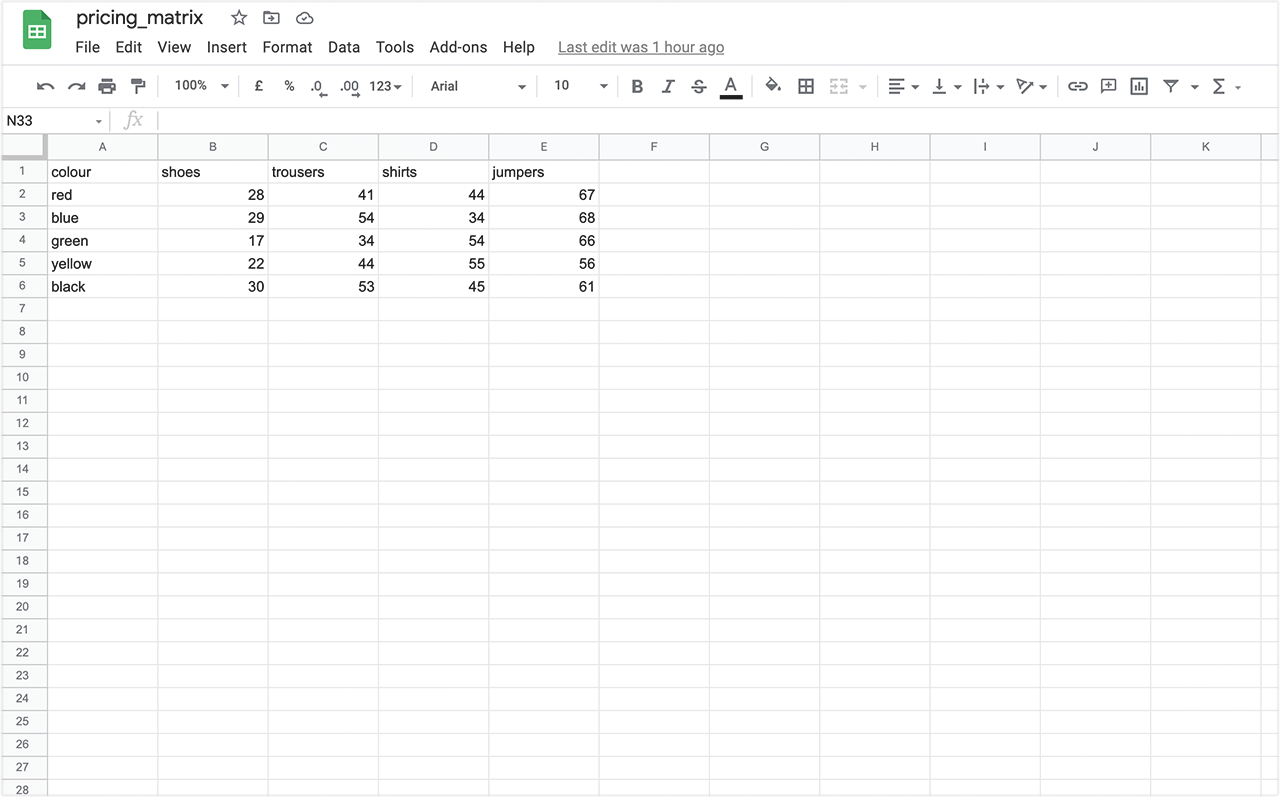
Column A shows us colours, row 1 shows us the clothing items. As you can see, each item + colour has a different price. For example, a black shirt costs £45 while a blue shirt costs £34.
As you prepare your own spreadsheet, here are the rules to follow:
Row 1 and column A must be used as respective headers.
You must start listing your data inside row 1 and column A. No empty rows or columns before or above the data.
Your column headers (everything inside row 1) should be lowercase, don’t include any capitals.
You must save the spreadsheet as a .csv.
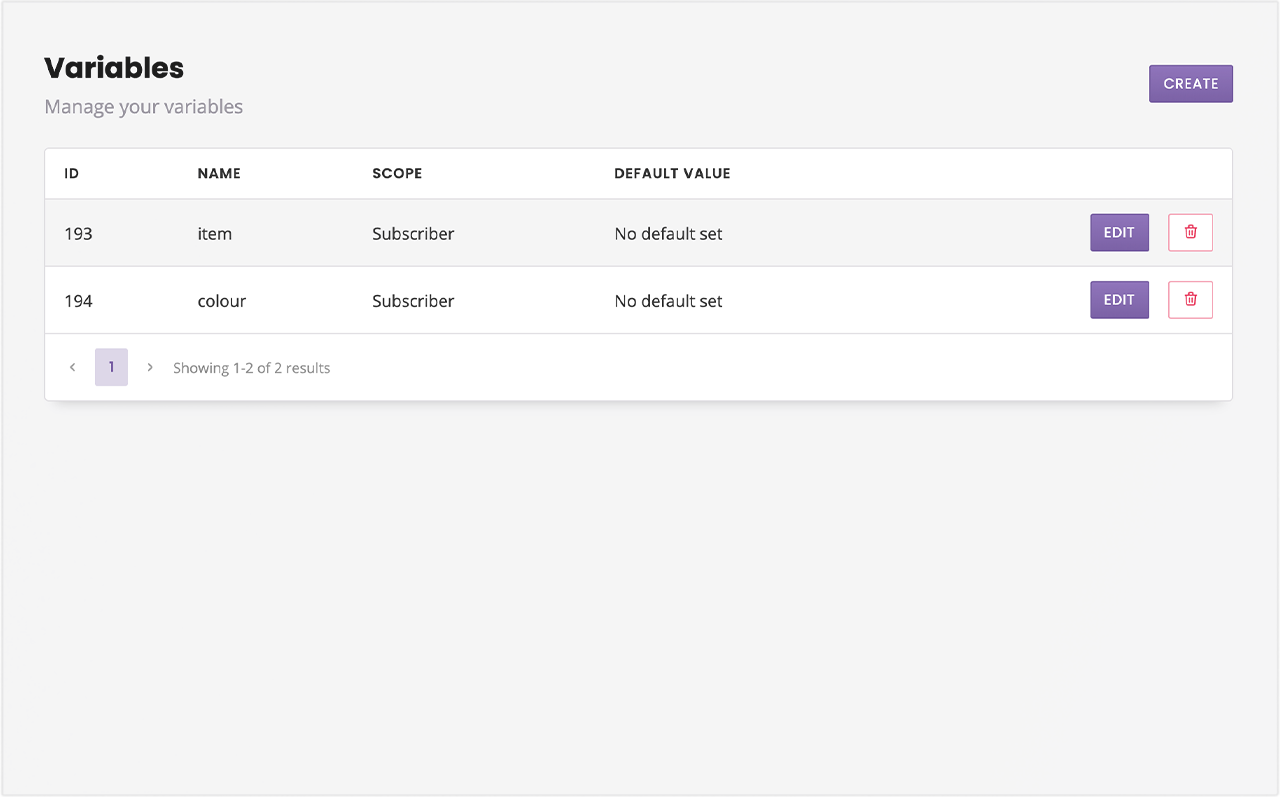
Step 2: Prepare your variables
Our pricing matrix has two variables: items and colours.
Only when we have both (e.g. shoes + red) can we actually return a price.
Log into your platform and go to Settings → Variables. Create two variables.
As we ask users what they are looking for, we will store their answers into these variables and use them in our spreadsheet looking to return the right cost.
Step 3: Create the quoting conversation
Head over to the Builder and create a new conversation.
We're going to create a simple 3-step conversation. We will:
Ask the user to pick a colour.
Ask the user to pick an item of clothing.
Give the user the cost of the item.
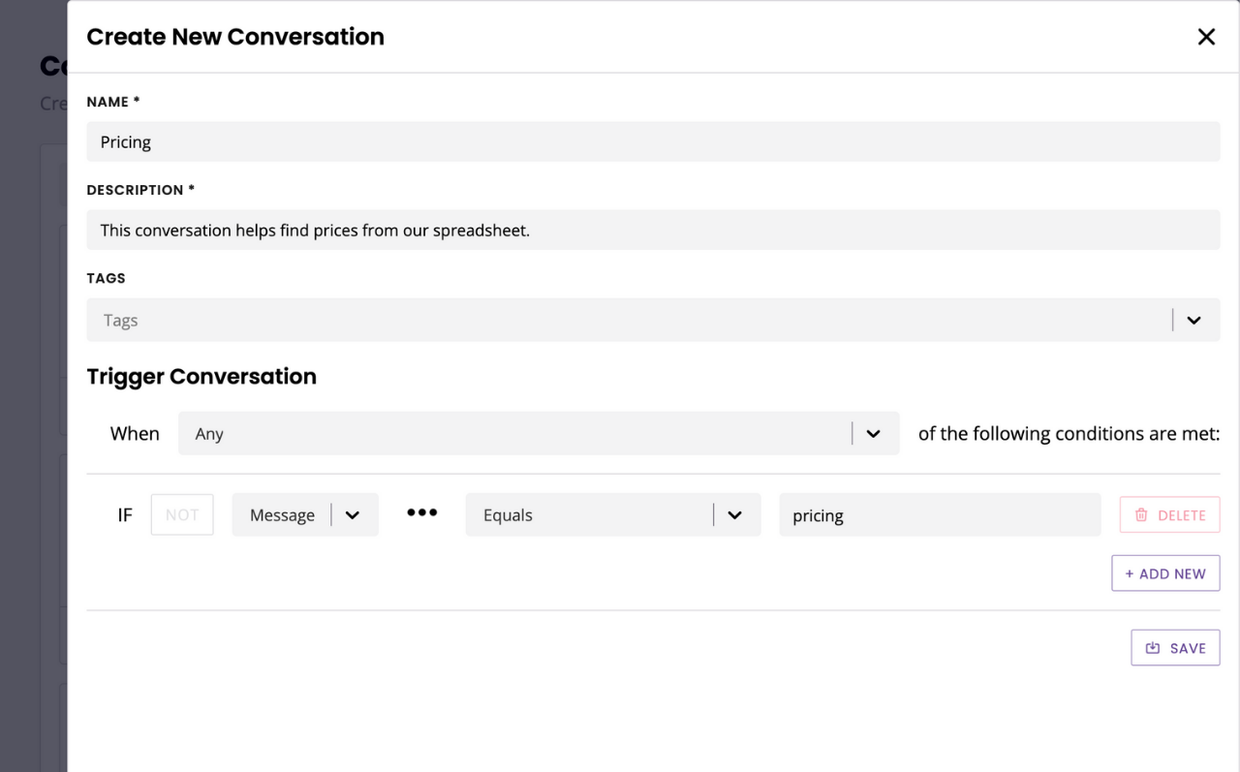
Trigger
Give your conversation a simple trigger, such as an exact match keyword. For now, we want to keep this simple. Once you're all set, feel free to change this trigger to whatever you need.
First question: colour
The first step of the conversation will ask the user which colour they're interested in. It looks something like this:
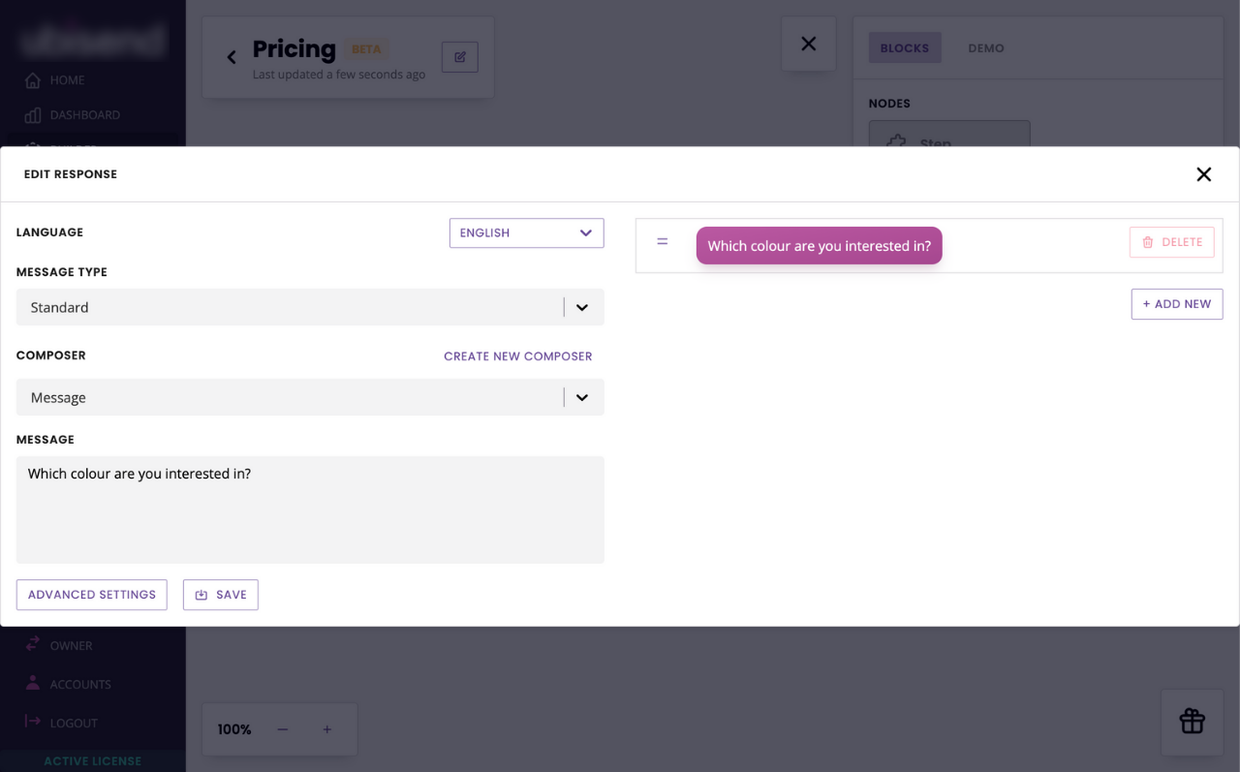
Hit Save.
Second question: item
Click, drag, and drop a new Step from the Block bank into your canvas. This step will ask the user to pick an item:

Hit Save.
Quote
Finally, we'll return the quote to the user. Once more, drag and drop a step into your canvas. For now, we will use placeholder content. We will get back to edit this later.
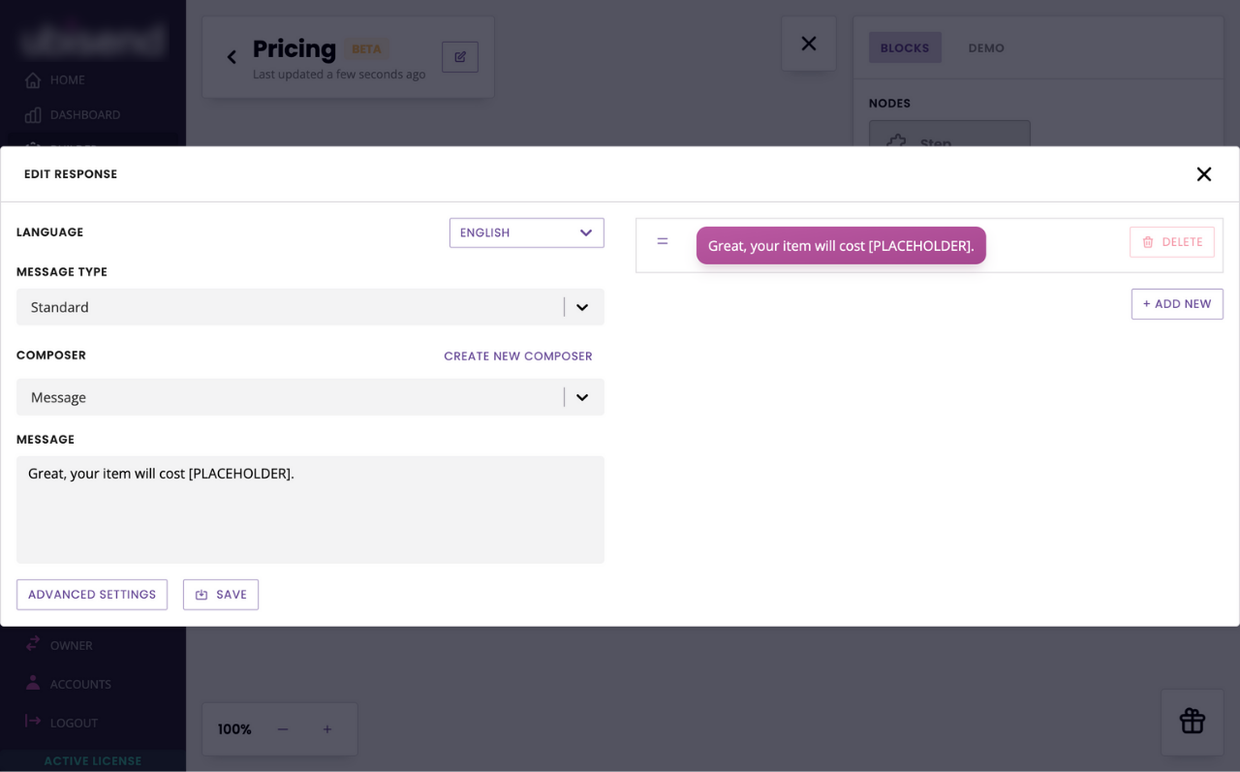
Hit Save.
Connect steps between each other using the dots. For simplicity, use When a message is sent as the transition rule.
Variables
Now that we have our three steps, let's go through each of them and log our variable.
Between the first and second, then the second and the third steps, drag and drop a variable.
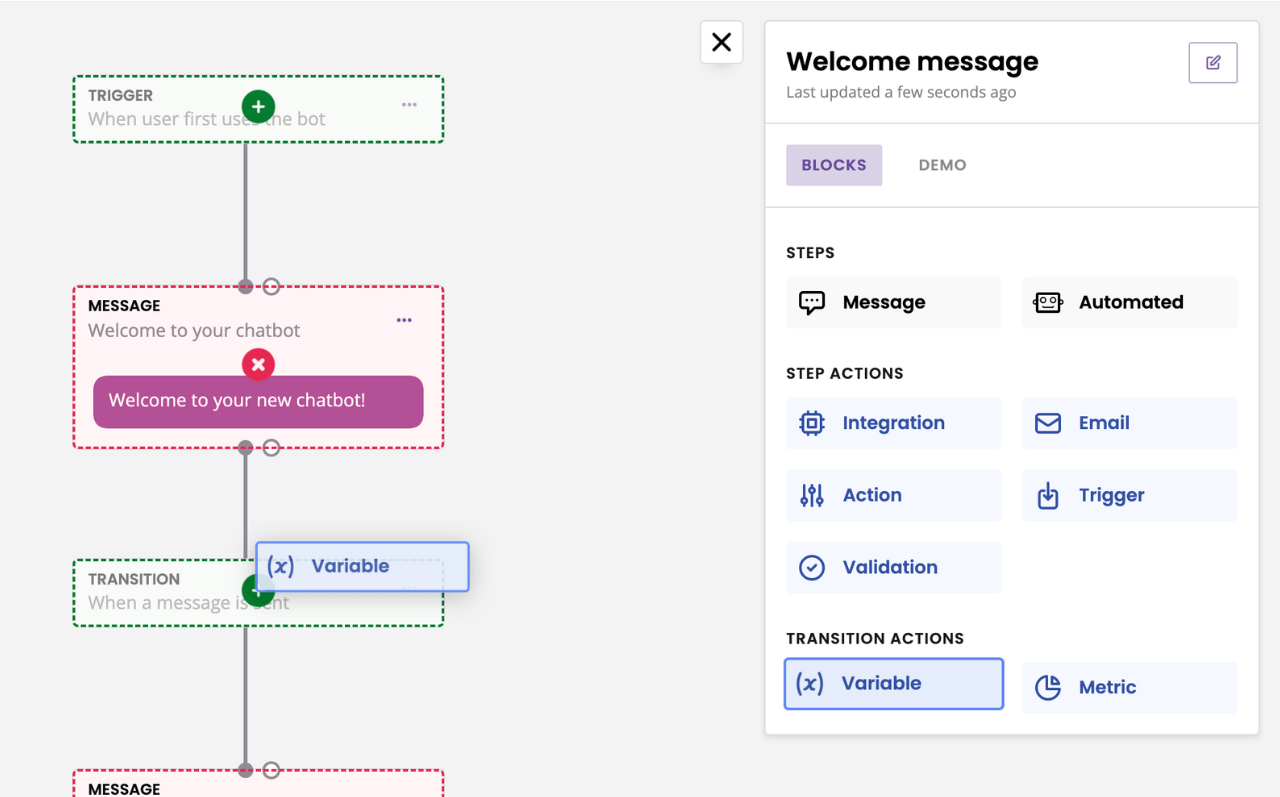
The first variable should use Colour and the second Item.
Want to make this conversation even slicker? Use custom composers to force your users to pick from a list of items and colours, instead of providing them with free text. Learn about composers.
Step 4: Create the spreadsheet integration
Go to Integrations. Under the spreadsheet section, click Upload spreadsheet.
Give your spreadsheet a name and hit Create.
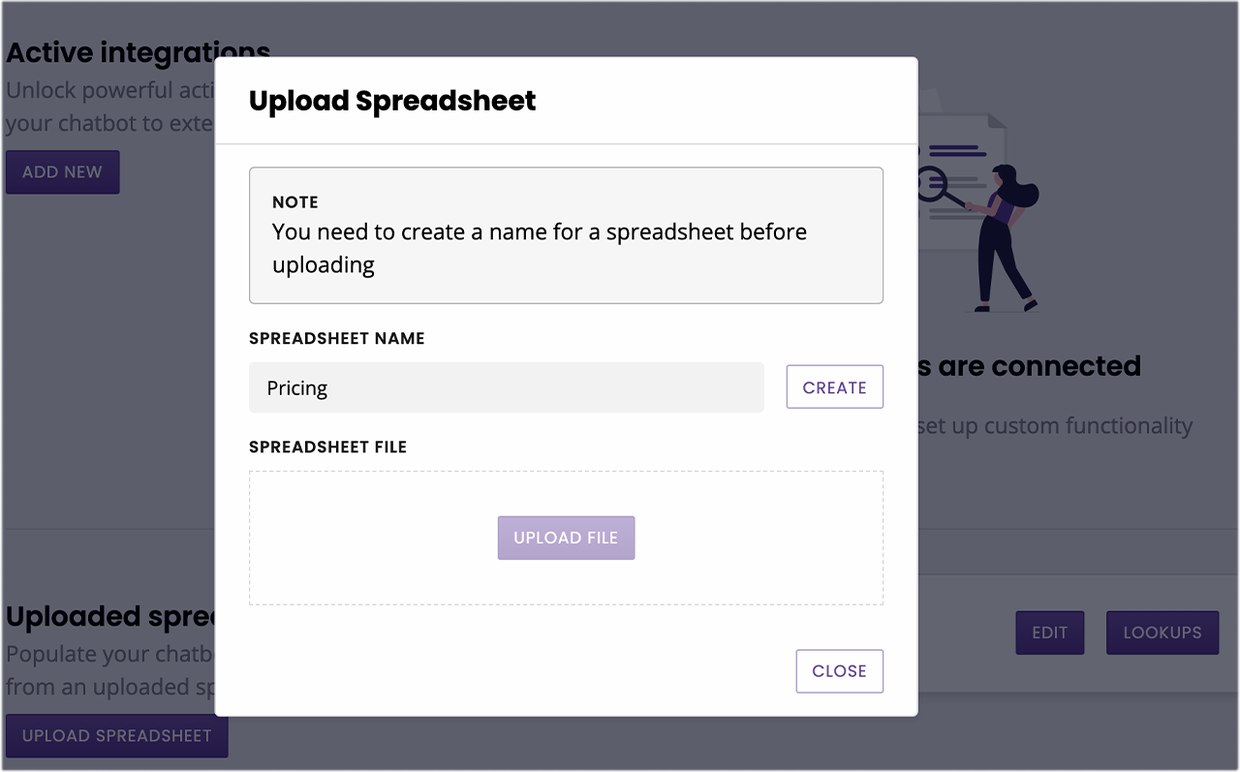
Once you have, the upload button should be available. Click it and upload your .csv file.
Hit Close.
Click Lookups. We will create the formula that will, once provided with both pieces of information, help your chatbot find the right price in the matrix.
Name and describe your lookup.
Set up the following lookup:
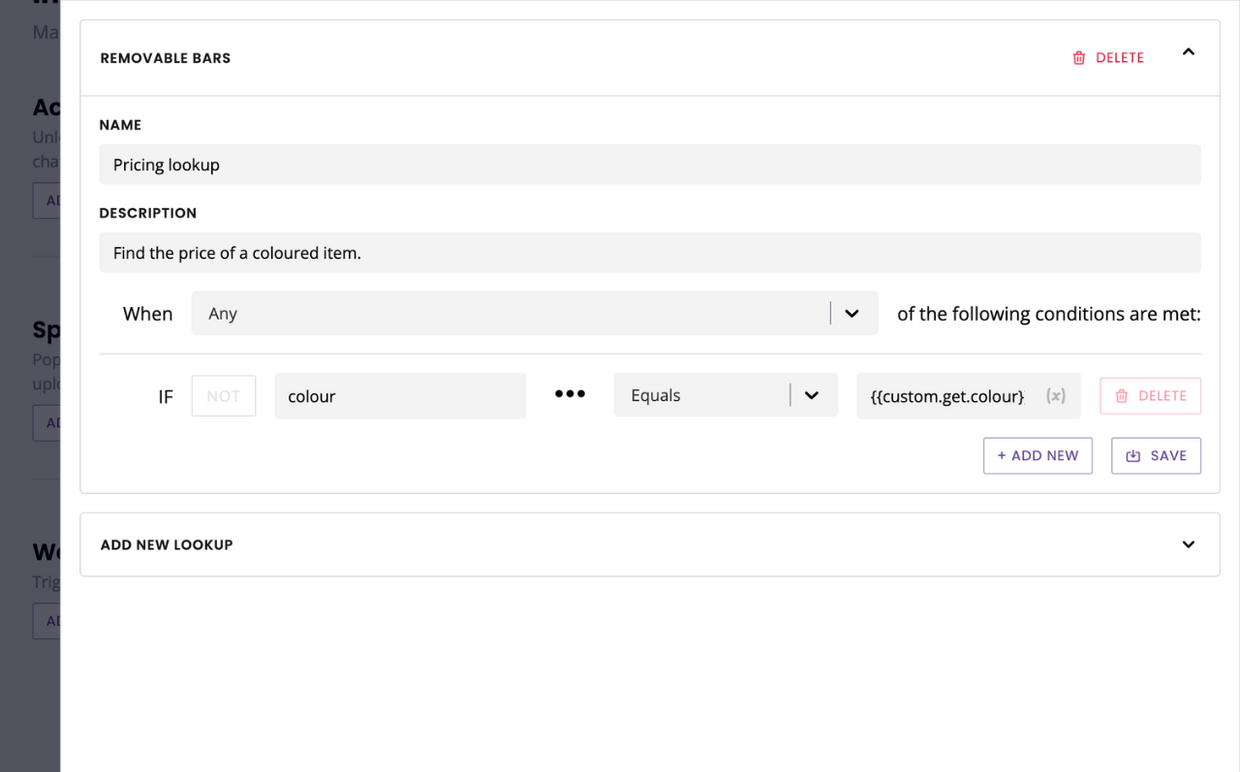
The formula, in human language, says: "compare the item the user has sent and find it in this list". This allows us to hone in on one row.
We will then use our zero indexing method to move laterally along the row and find the corresponding answer.
More on zero indexing.
Hit Save.
Step 5: Add the spreadsheet integration to the conversation
We're almost ready. We've got a conversation, a spreadsheet, and a good lookin' lookup. Let's tie it all together.
Head back to Builder and your conversation.
On the last step (where you intend on displaying the cost), click the three dots and Edit response.
Click Advanced settings.
Under Data type, find Use spreadsheet values. Pick your spreadsheet and the lookup you just created:
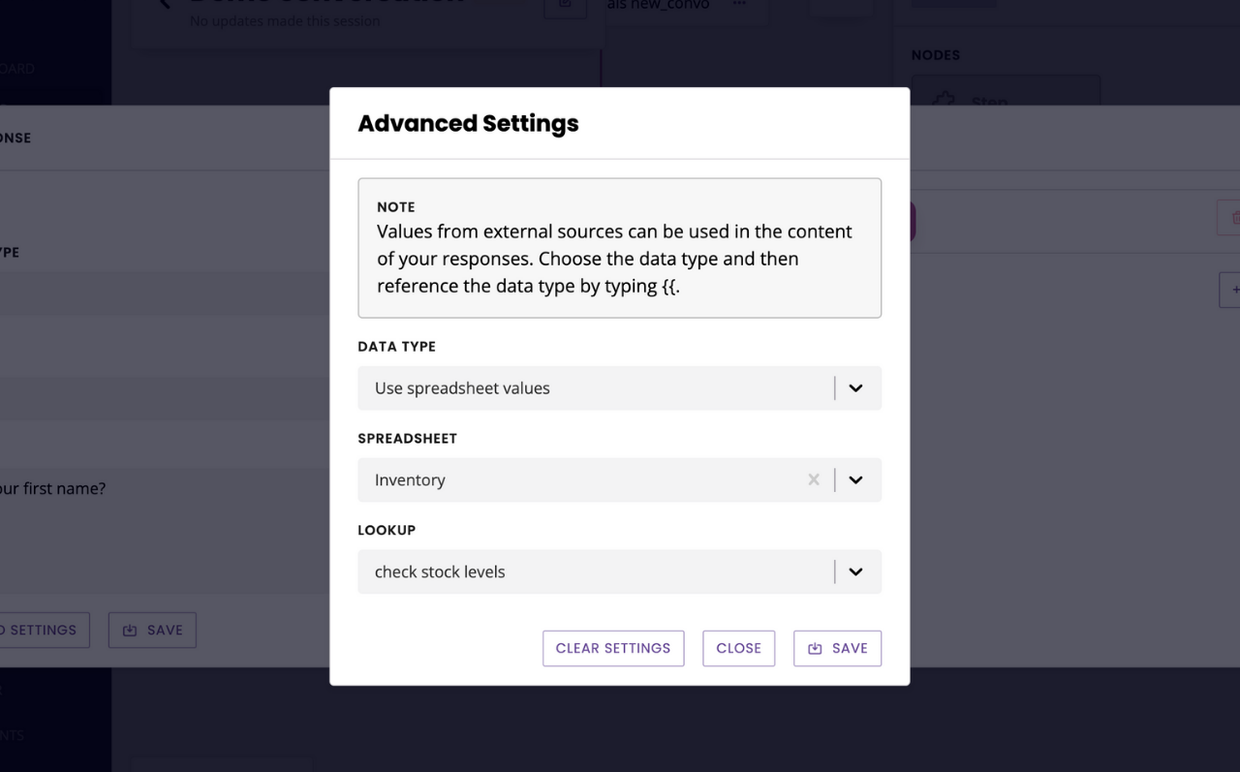
Hit Save.
Step 6: Update the lookup variable
When we first created the conversation, we put a placeholder on the actual pricing bit:
Now that we've set everything up, we can replace this placeholder with the real variable. Here's what we should set up:
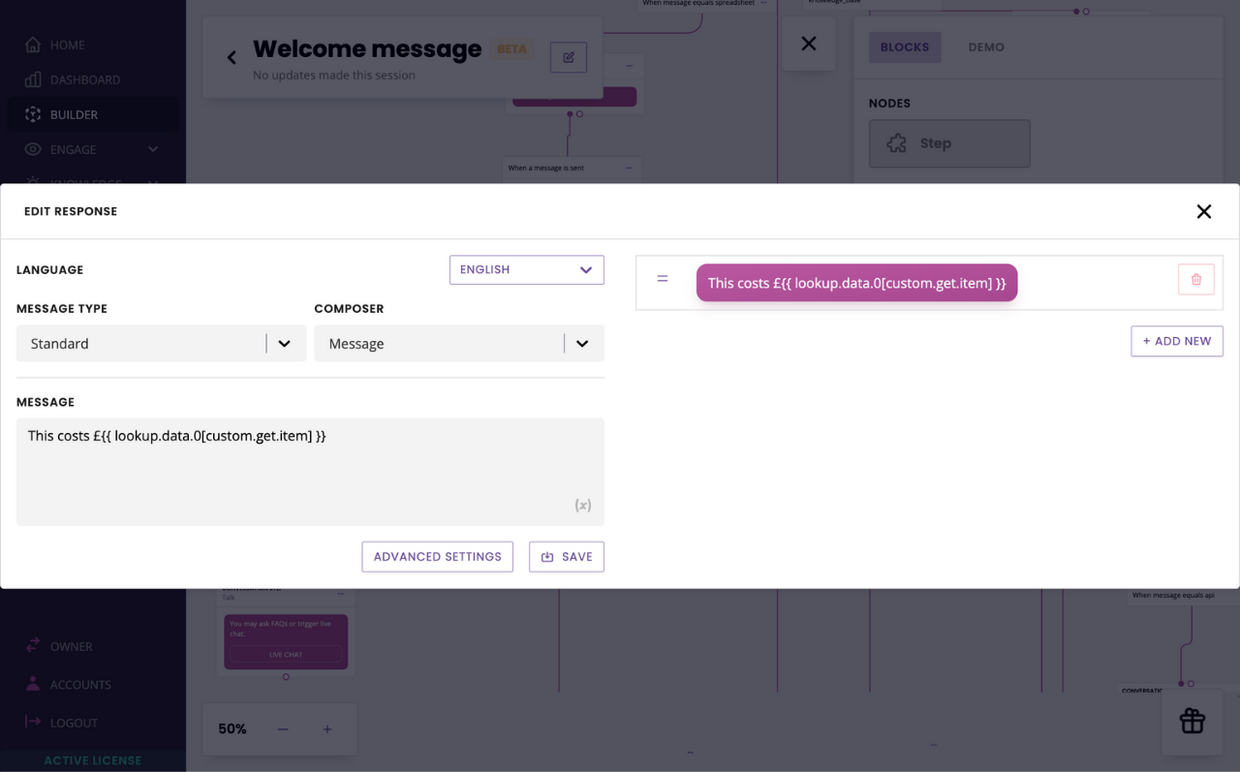
Here it is, if you’d like to copy the string: {{lookup.data.0[custom.get.item]}}
We're cleverly using our zero-indexing to tell the lookup: 'find the colour the user has given us down the array of colours on our spreadsheet, then use the item the user has given up to zero in on the exact price."
Lo and behold, we've got a price!