Add custom parameters to your chatbot script
Last updated: 30 July 2024
To set up a chatbot on your website, all you need to do is copy its script and paste it into your page's code. Simple enough. If you need a refresher on this, read the following docs:
But did you know you can do more than 'just' copy-pasting this code? In this doc, explore how you can append up to ten custom parameters to your script and use them to make your chatbot even more powerful.
Step 1: Find your script
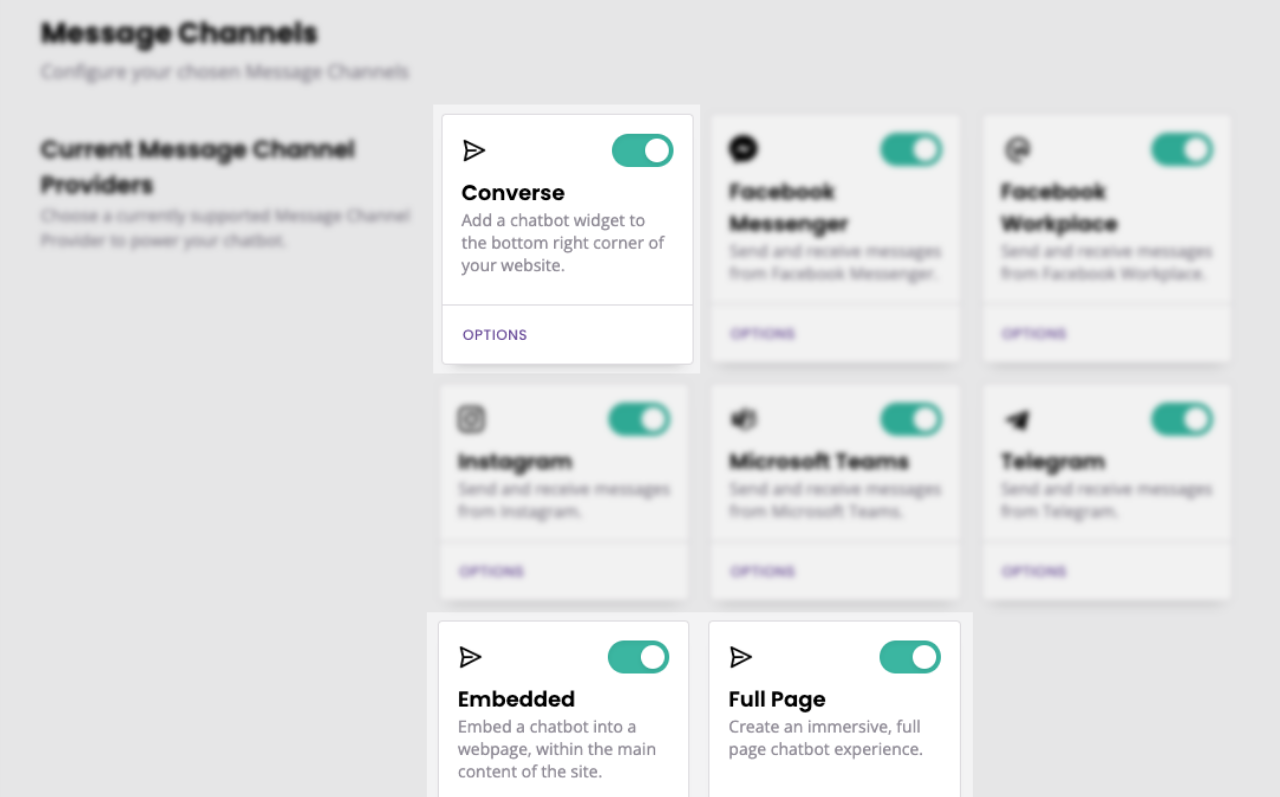
Go to Engage → Channels.
Pick one of the web-based channels: Converse, Embedded, or Full page.

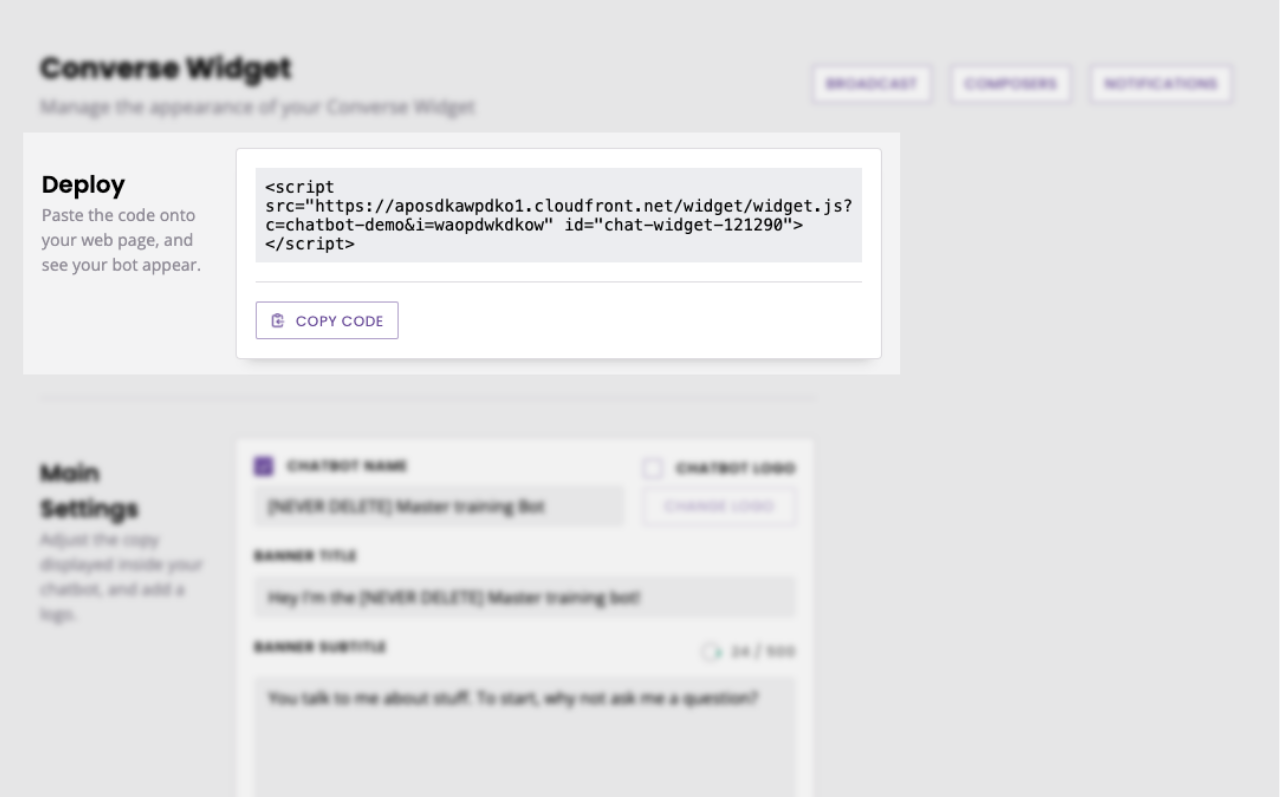
Find the chatbot script at the top of the page.

Step 2: Create a custom parameter
Before we append the parameter, we need to come up with one. The good news is: this is totally up to you.
There are no limitations in what you'd like to call the parameter or its value.
For the purpose of this doc, we're going to assume we are going to use this extra parameter to store a token of a logged-in customer. Here's a parameter we could use: token=my-token
Step 3: Append the parameter to the chatbot URL
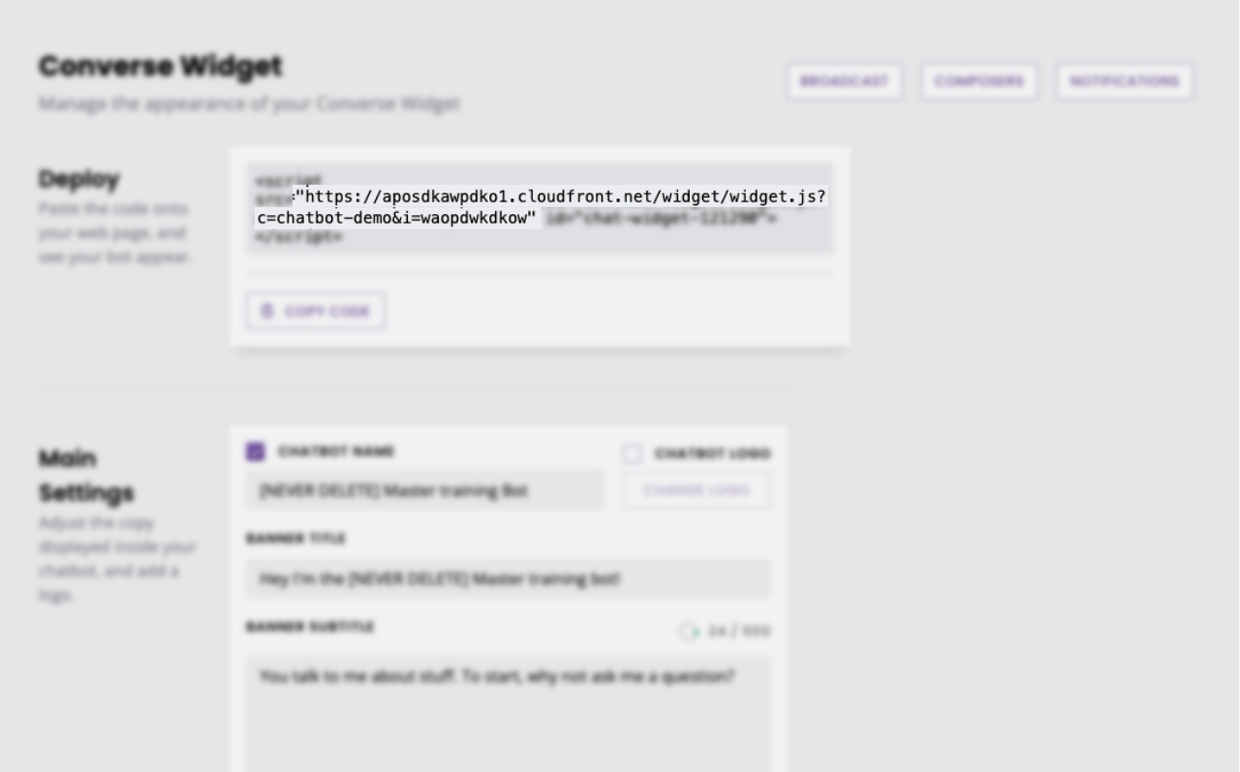
Grab your chatbot script and find the chatbot URL. Regardless of which of the three channels you picked, the URL will look similar.

It has
a long URL,
a
c=parameter, and,an
i=parameter.
At the end of the URL, append your new parameter.
https://aposdkawpdko1.cloudfront.net/widget/widget.js?c=chatbot-demo&i=waopdwkdkow&token=my-token
You may add up to ten parameters to your script.
Step 4: Add your new script to your site
Follow the simple steps to add your script to your website.
Step 5: Use your new parameter
Having the ability to append a custom parameter directly into the chatbot script opens up many opportunities.
You can use this parameter to store a unique identifier, such as a logged-in token.
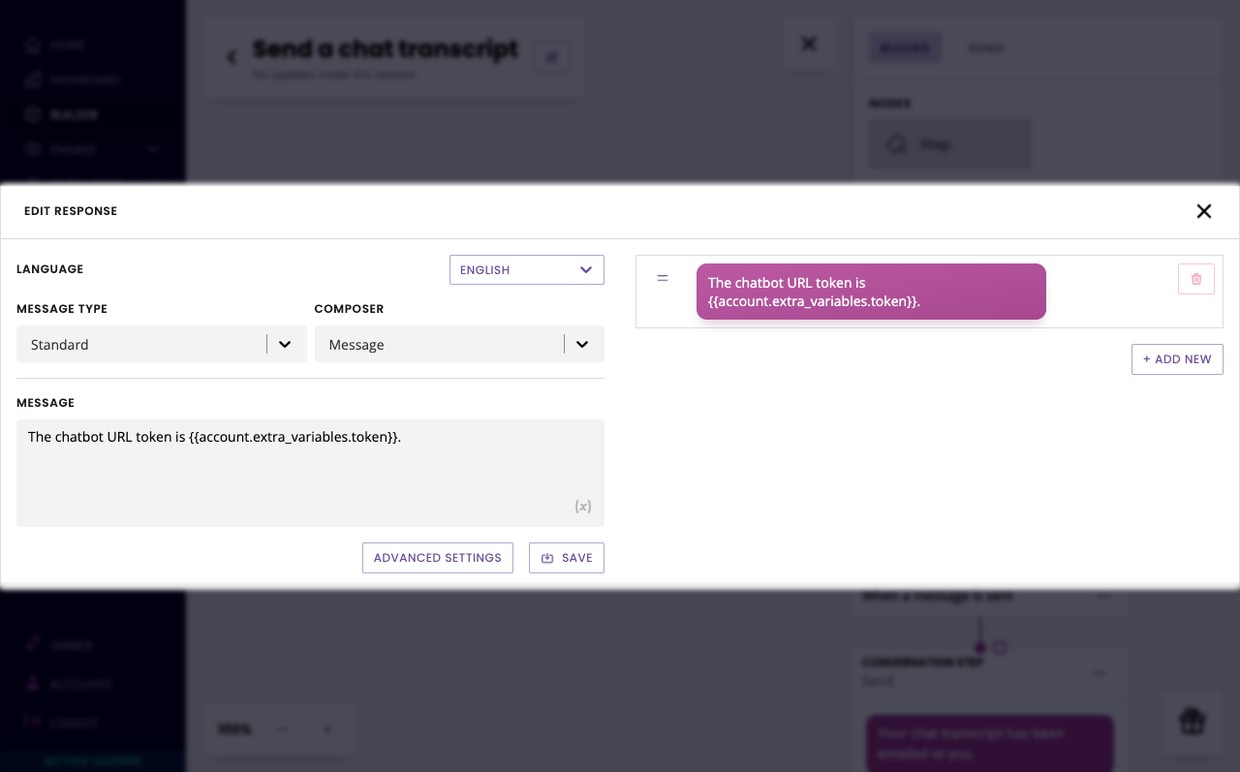
You can also use this parameter and display it inside your chatbot, if you wanted to. To do so, use the following variable:
{{account.extra_variables.parameter}}.
In our example, it would look like this:
