Overview of the workflow builder
Last updated: 24 June 2024
The workflow builder, or Builder, is a central part of your automation platform.
It is with the workflow builder that you can automate long (or short) and complex (or simple) processes. It is so extensible and powerful, not a single process can resist it.
If you can make it a process, our builder can automate it.
In this document, you will learn the basics of the workflow builder.
Default workflows
Your platform comes loaded with default workflows. These workflows are conversations, built to help ensure your chatbot works from the get-go; giving you a leg up and preventing you from having to build everything from scratch.
Head over to Builder.
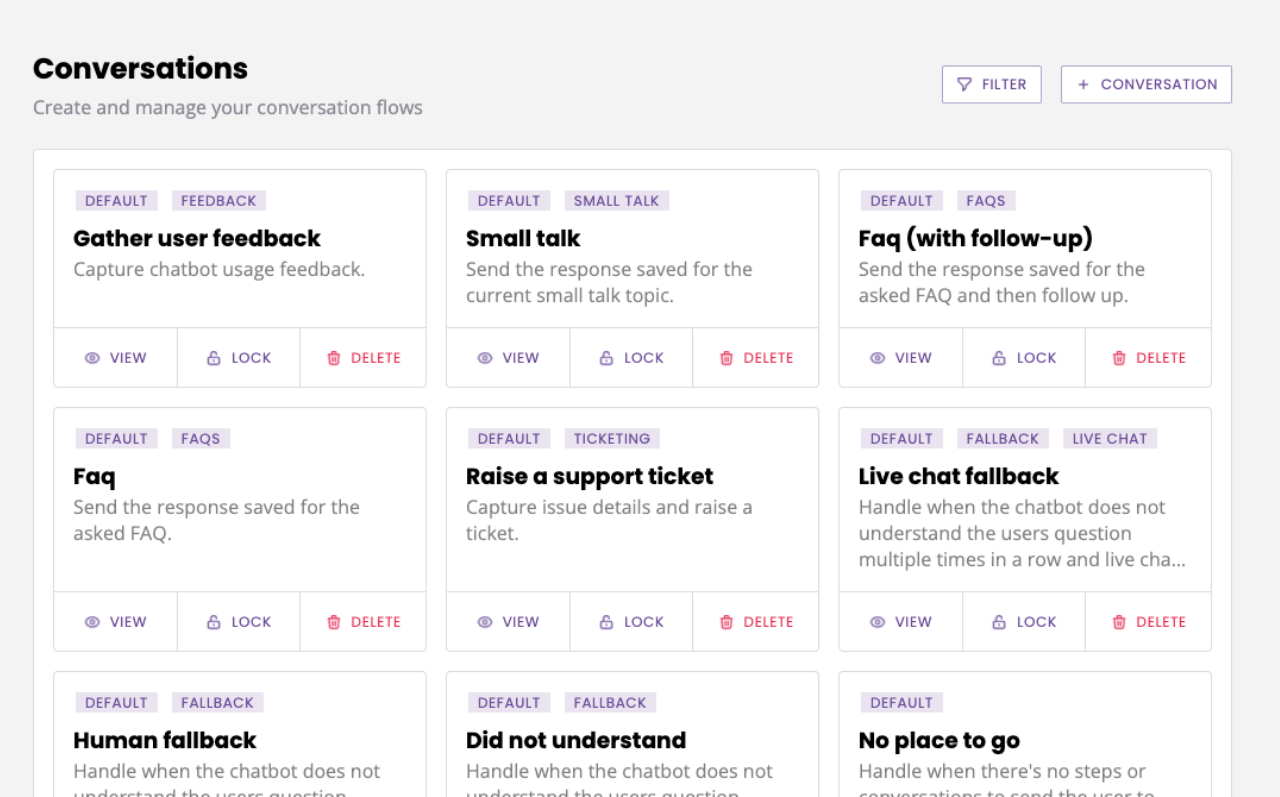
Here you find all the existing workflows. Each workflow has:
A name (e.g.
Gather user feedback).A description (in light grey below its name).
One or several optional tags (e.g.
Default,Feedback, etc.).A View button, which takes you to edit that specific workflow.
A Lock button, which stops platform users without the appropriate permissions to access the workflow (learn more).
A Delete button, which enables you to delete the workflow.
While default workflows are automatically added to any new account, you still have complete control over them. You may edit or delete them, as you please.
Learn more about your default conversations.
Pick any workflow on the list and click View.
The workflow builder is made up of two key elements: the canvas and the block bank.
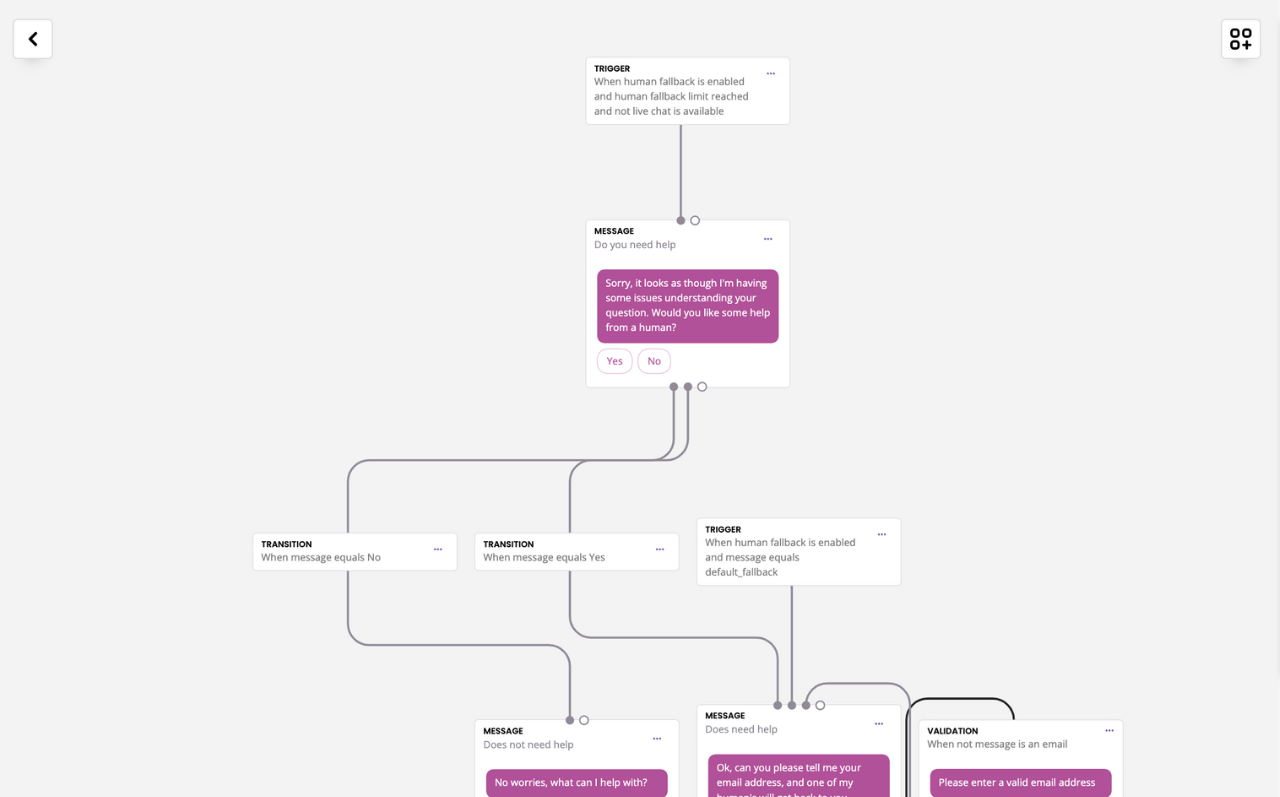
Canvas
The canvas is the entire working area.
It is on the canvas that you build your workflows by adding, deleting, and moving blocks.
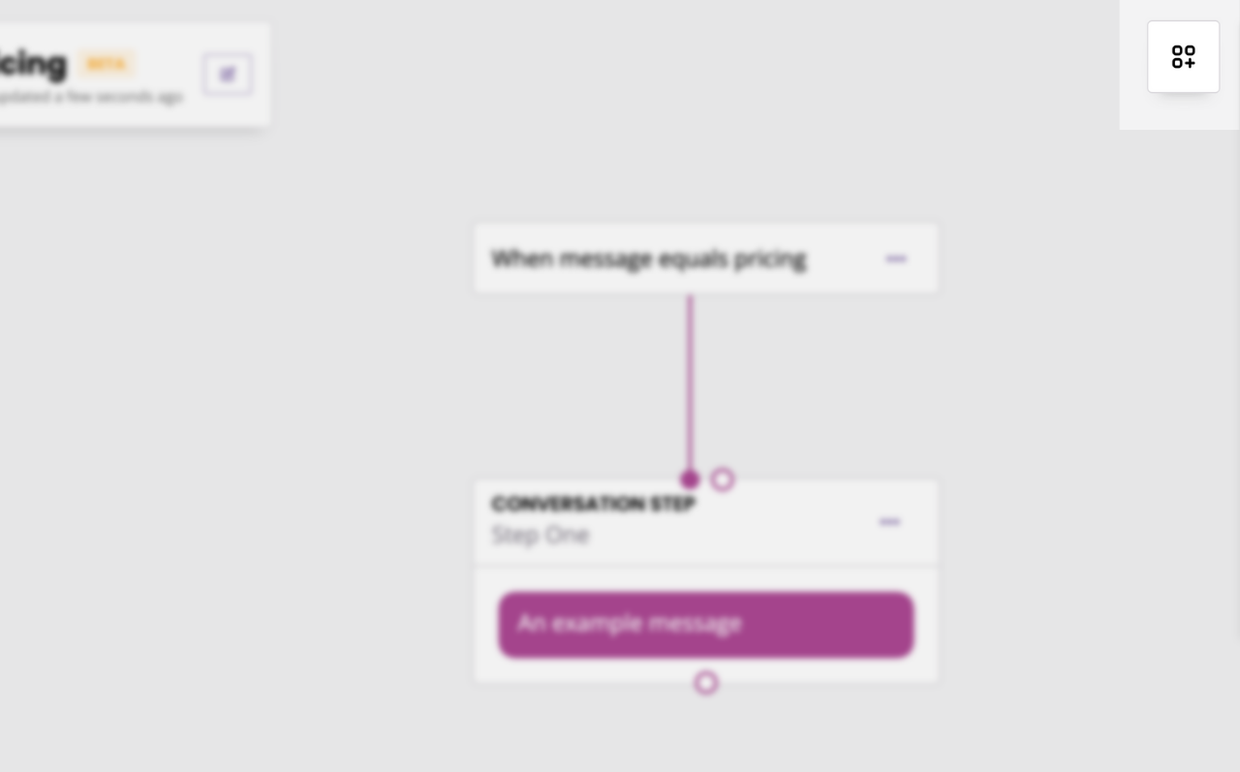
Every block on the canvas is movable through simple drag and drop motion. For example, to move this step slightly to the left, click the step, hold, and move it to the left.
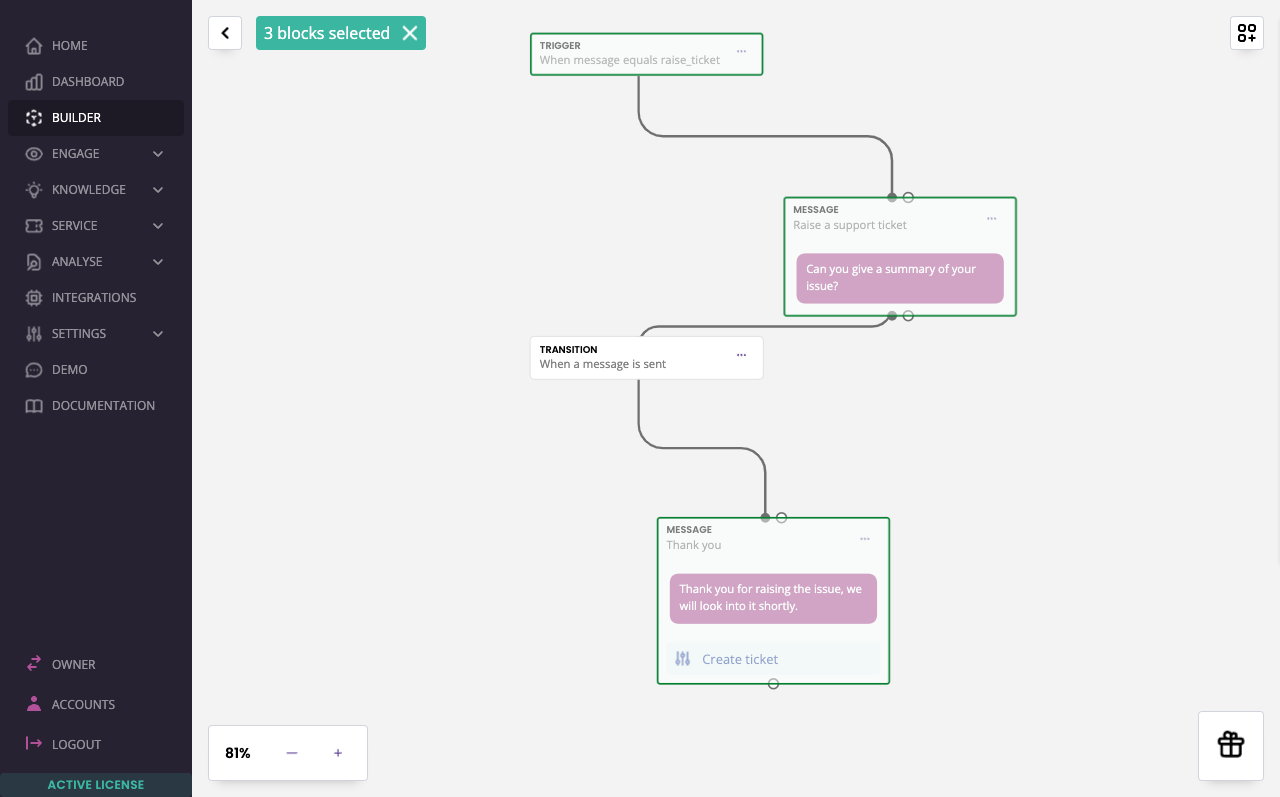
You can move multiple blocks at once by using Shift + Click:
Block bank
Building workflows is as simple as stacking and arranging a step of actions.
Every possible action your automation might take (e.g. a new step in a conversation, saving a variable, calling an integration, sending an email, etc.). is available in your block bank.
Your block bank is nested in the top right of your screen. To open it, click the icon in the top right:
Once open, you’ll notice the blocks are organised in sections.
Section 1: Name and updates
At the very top of the block bank, you find the name of the workflow you’re currently working on. Notice the notification showing you when something inside your workflow was last updated.
Finally, it also has an edit button to change your workflow’s name or description.
Section 2: Blocks, settings, and demo
In this section, you can flick the block bank between three tabs:
Blocks: access to everything you need to build your workflow.
Settings: will only appear if you have two or more languages active. Allows you to switch your workflow overview to a different language.
Demo: allows you to test your workflow inside the builder (only valid for conversational workflows).
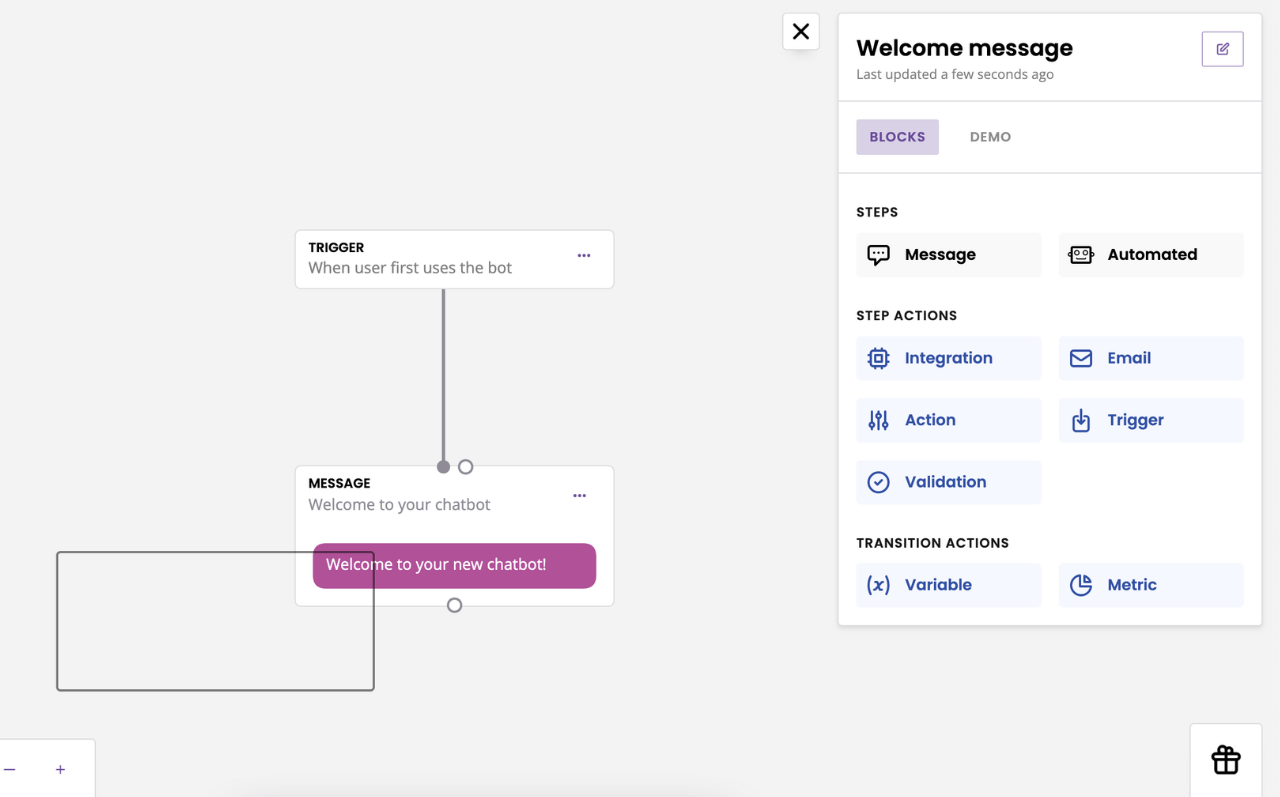
Section 3: Steps
There are two types of steps:
Message. A message step is a step of your workflow where your automation will send a message to the user. Message steps are used for chatbot automation.
Automated. An automated step is a step of your workflow where you automate specific actions (e.g. trigger an integration, send an email, create a ticket, etc.).
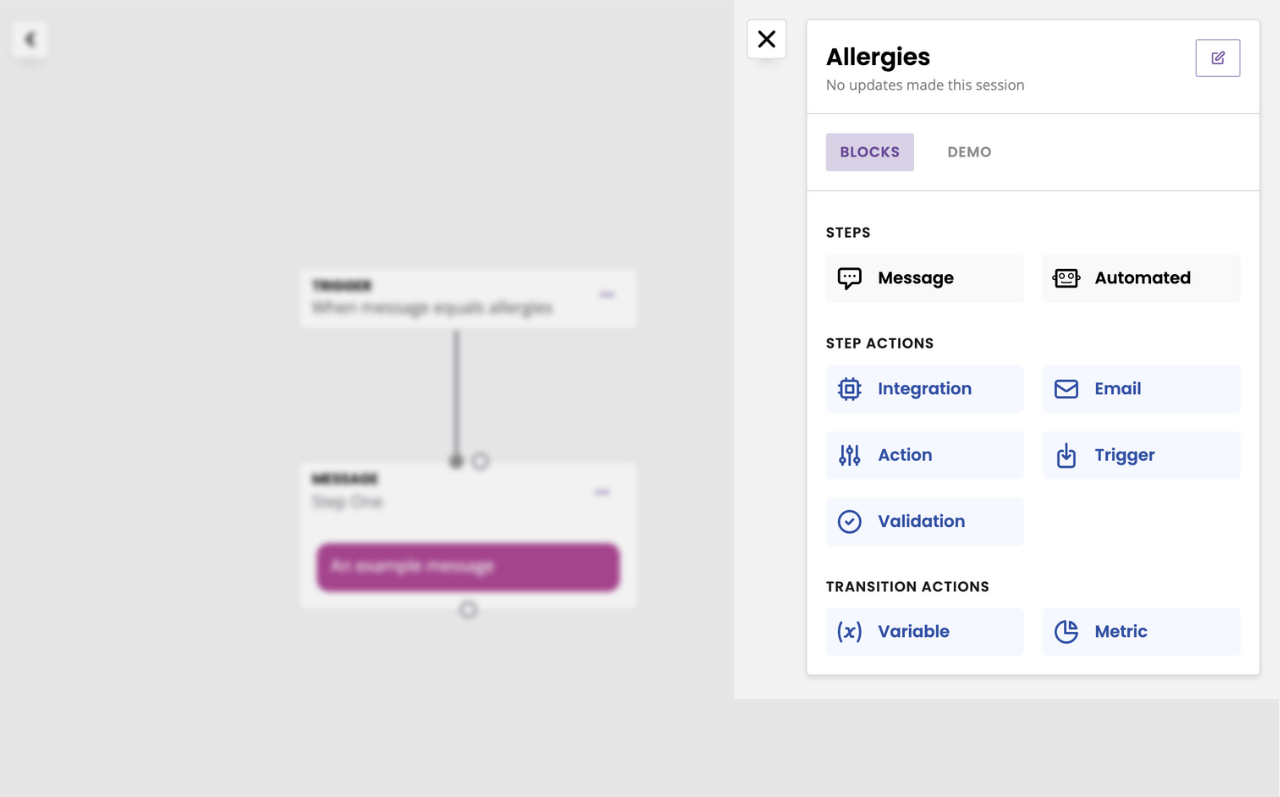
Section 4: Step actions
Step actions are actions you add to your workflow’s steps. There are five step actions.
Integration, which enables your automation to send data to third-party software (learn more).
Email, which enables your automation to fire off an email (learn more).
Action, which enables your automation to fire a series of automated processes (example).
Trigger, which dictates a way for users to reach this specific workflow step.
Validation, which prevents users from moving to the next step unless their response is valid.
Step actions cannot be dropped anywhere else on the canvas.
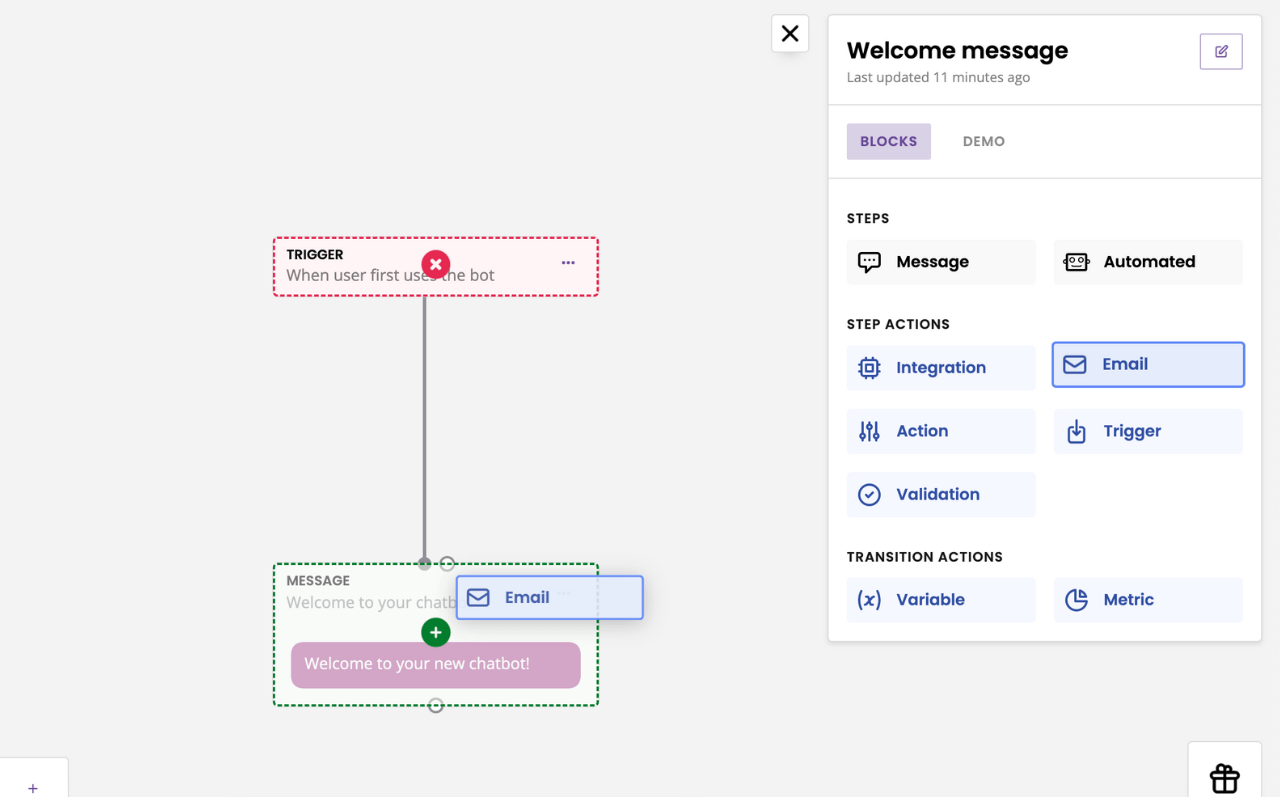
As you click and drag them, you will notice every element of the canvas will turn red, except steps.
Section 5: Transition actions
These blocks take action in transition between two existing steps. There are two transition blocks.
Variable, which will store the user’s response to the previous step (learn more).
Metric, which will increase a metric as users go through the step (learn more).
Transition actions cannot be dropped anywhere else on the canvas.
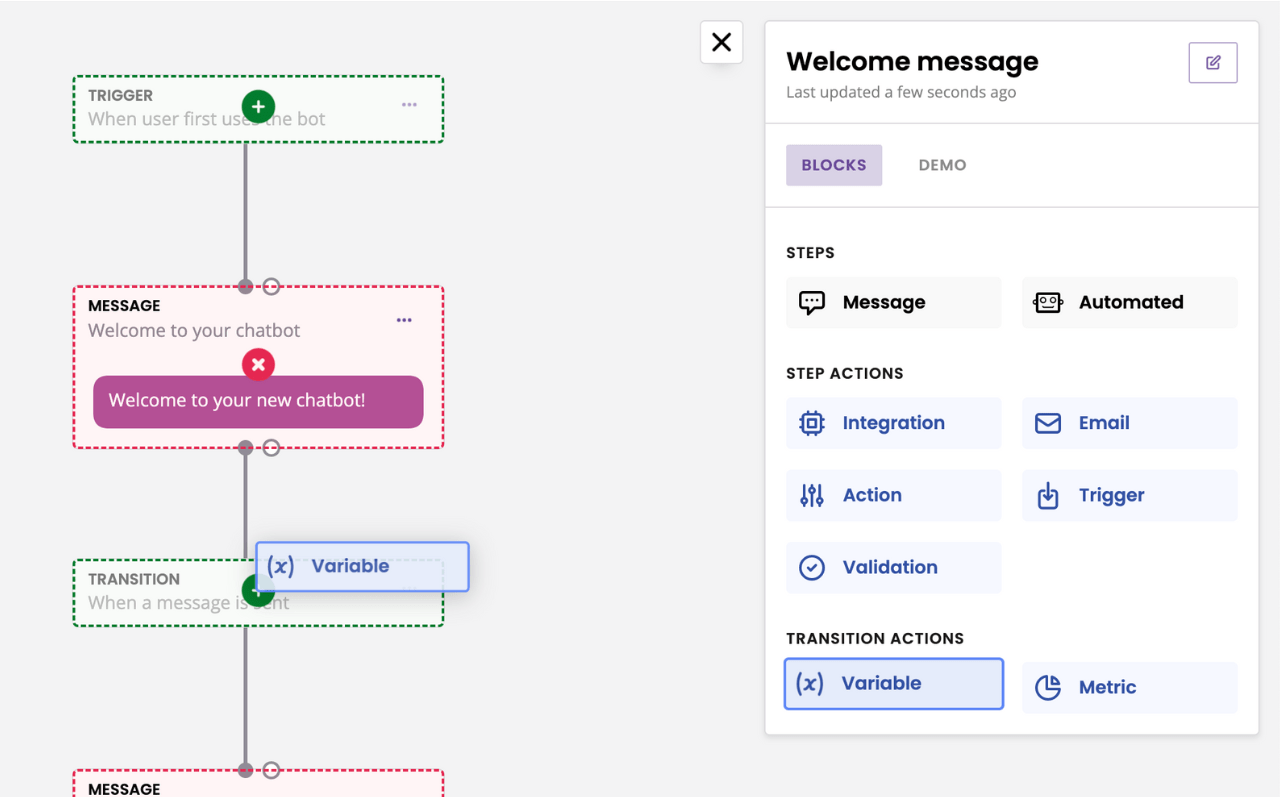
As you click and drag them, you will notice every element of the canvas will turn red, except transitions.
Connect steps
There are two ways to create new steps in your workflow.
The first is to drag and drop a new step from your Block bank onto the canvas. Doing so will produce an orphaned step; one that is not connected to anything else.
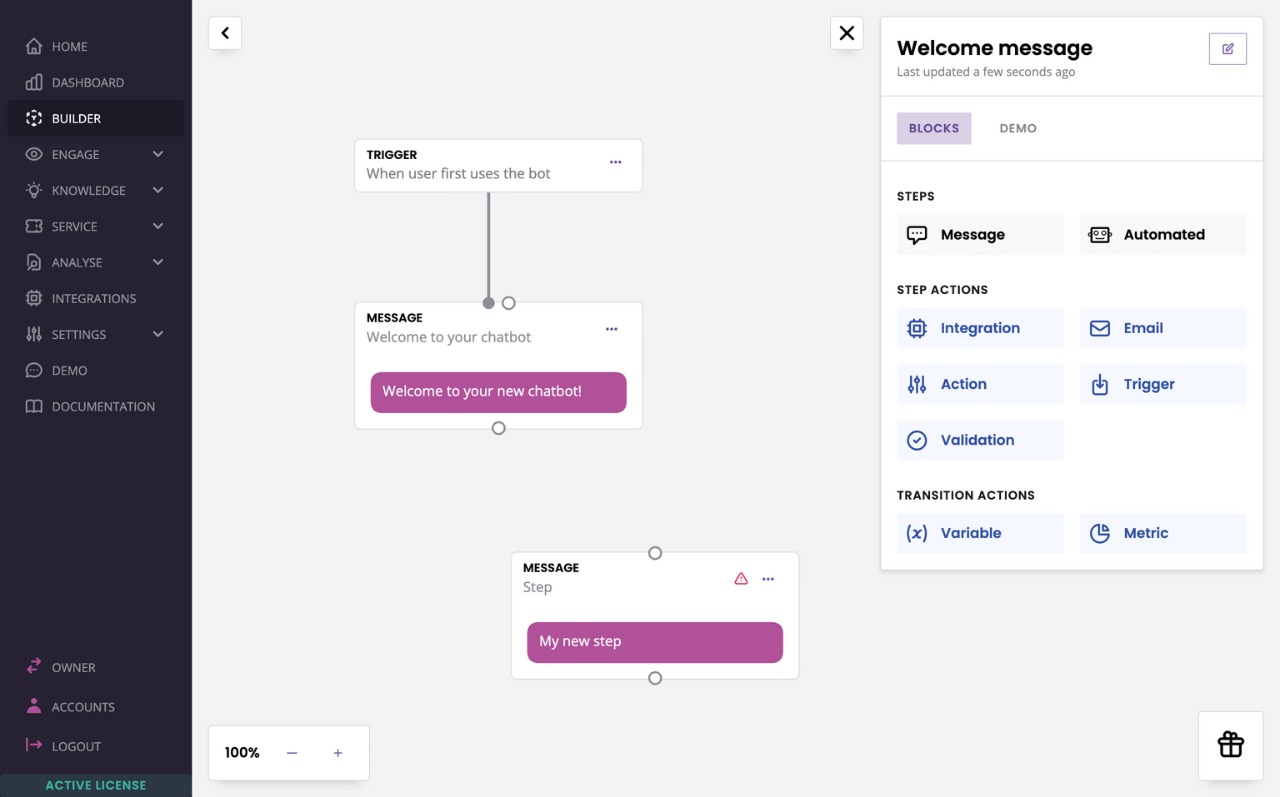
Orphaned steps are marked with a red warning sign in the top right corner of the step.
To connect this step with another, all you have to do is click on the white dot of a step and drag the dotted line across to the new step’s white dot:
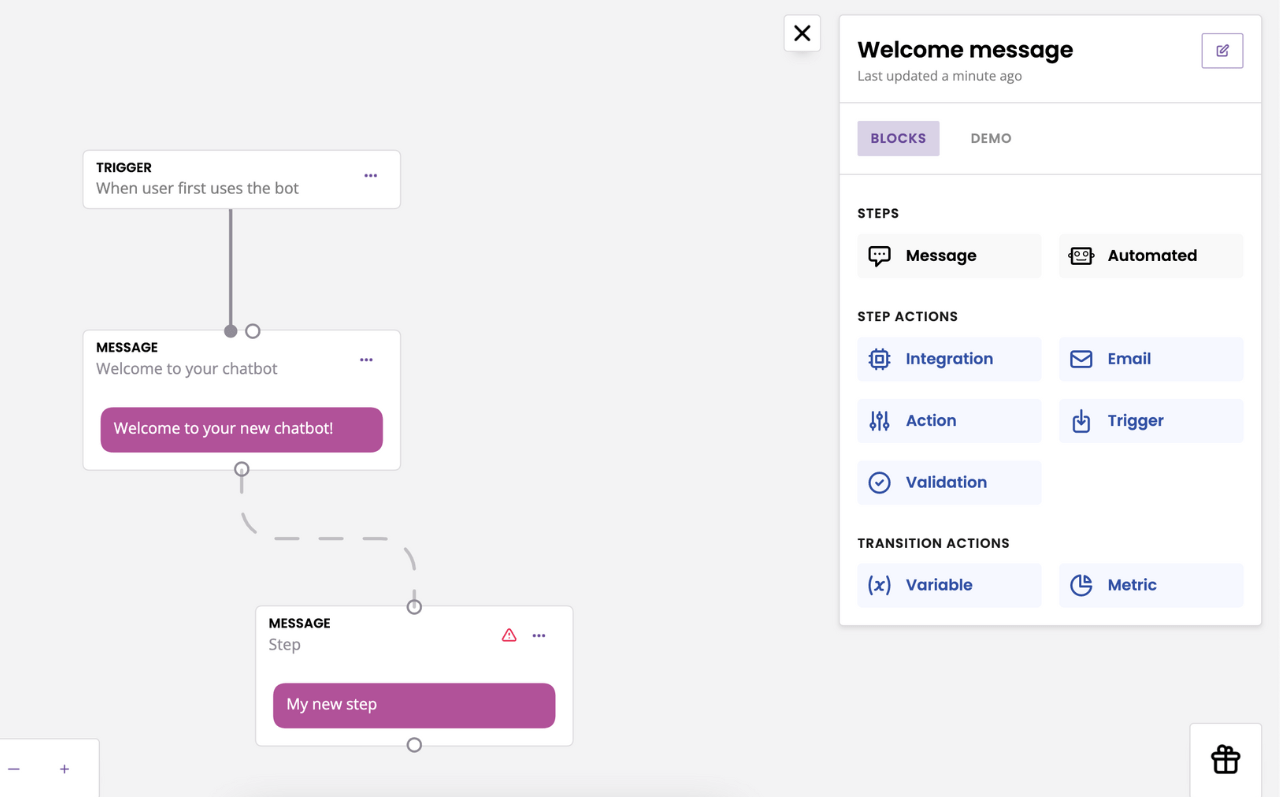
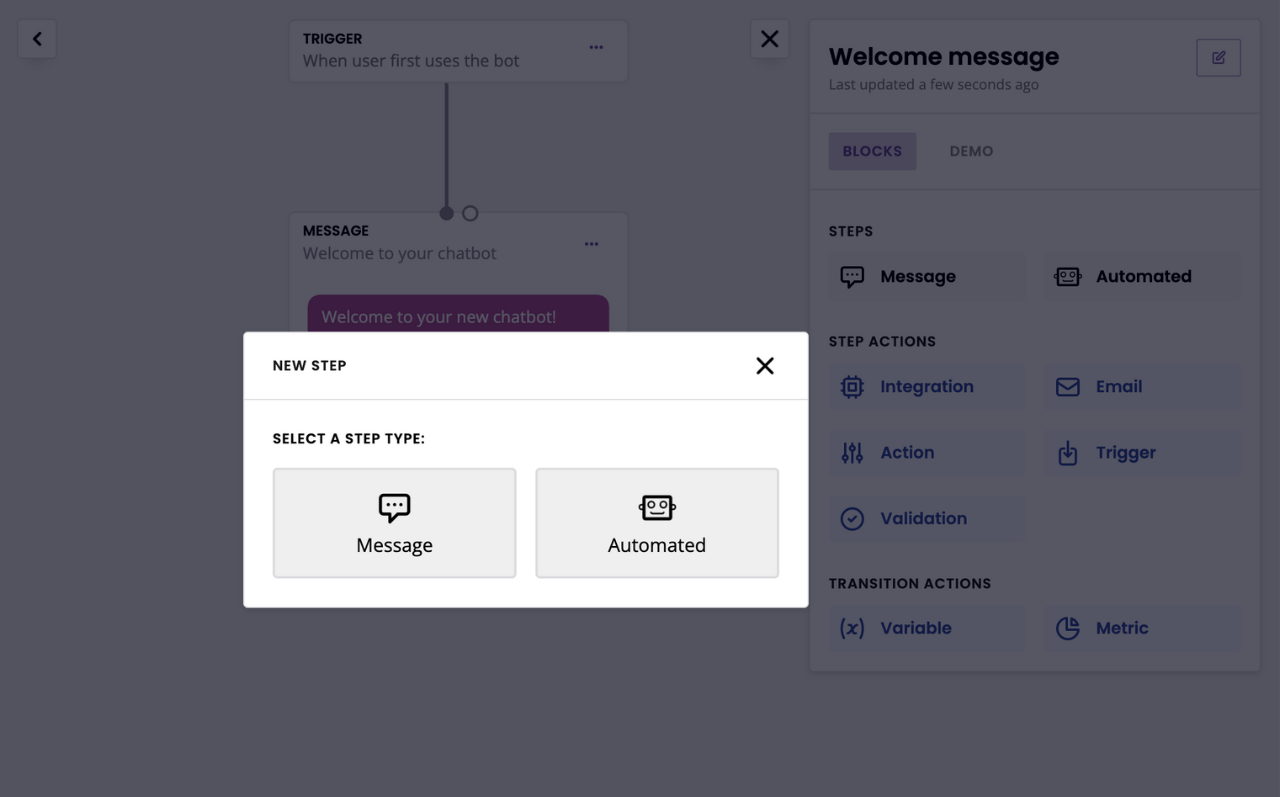
Doing so will open the transition modal.
The second way to create a new step is to click an exiting step’s white dot and click again anywhere on the canvas. A modal will appear asking you to pick between creating a message step or an automated step.